 to go randomly to other content.
 to view the help that you are ... presently reading.
 Menu button to access functions not immediately visible.


Radial Pointillist: A foray into generative art
I've been working on a computer visualization I call "Radial Pointillist" (you can try the web version here). It is my first focused stab at generative art (though I've been eyeing the subject for some time now).
Below are some high-level thoughts / findings from the exploration as I took my program from producing this kind of output:

to more varied output such as this:


I'll try to keep this walkthrough light, not overly technical, and digestible even if you're not a programmer or artist. (For those interested, I will provide some details on libraries & tooling towards the end).
Please also note that I'm distilling my thoughts as a beginner in generative art, so I can't say how meaningful or useful this account will be, but hopefully you'll at least get a sense of the journey and why I find such exploration compelling and even, well, addictive =).
Starting out
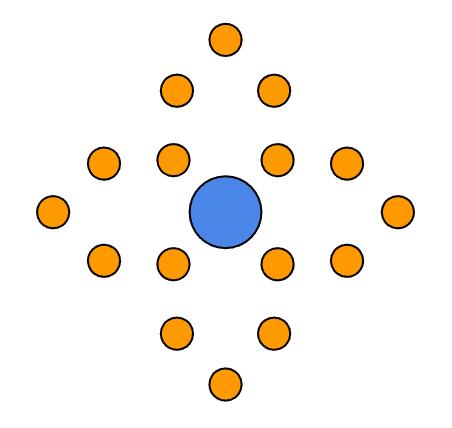
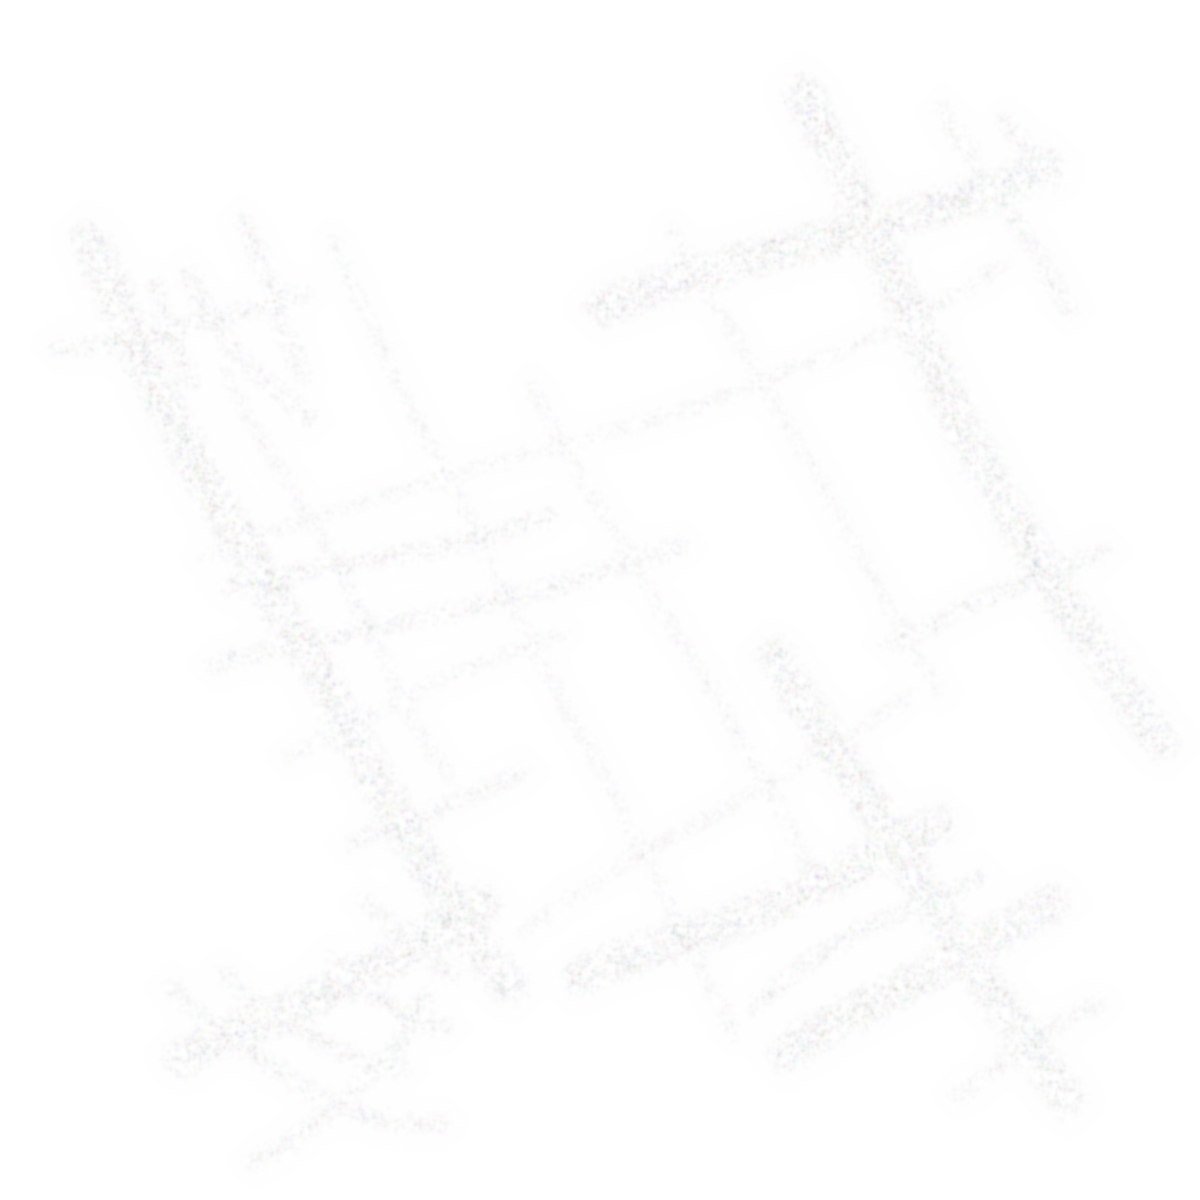
It began with a pretty simple transient thought: Draw a circle at a random position on a plane, and then draw "child circles" radiating from it at angle-steps of 30°:

Simple right? "So what?" one might quite rightfully say. But the next question that pops to mind (or did in mine) was, "Okay, then what happens?"
"Well then," I answered this imaginary challenge, "then you draw the whole pattern again of course!"
"All over again?"
"Sure," I replied, "but the cunning part is that you choose one of the child circles —"
"Spawn — let's call them spawn, it sounds cooler."
"Okay, so you choose one of the spawn circles, and you make that the next parent!"
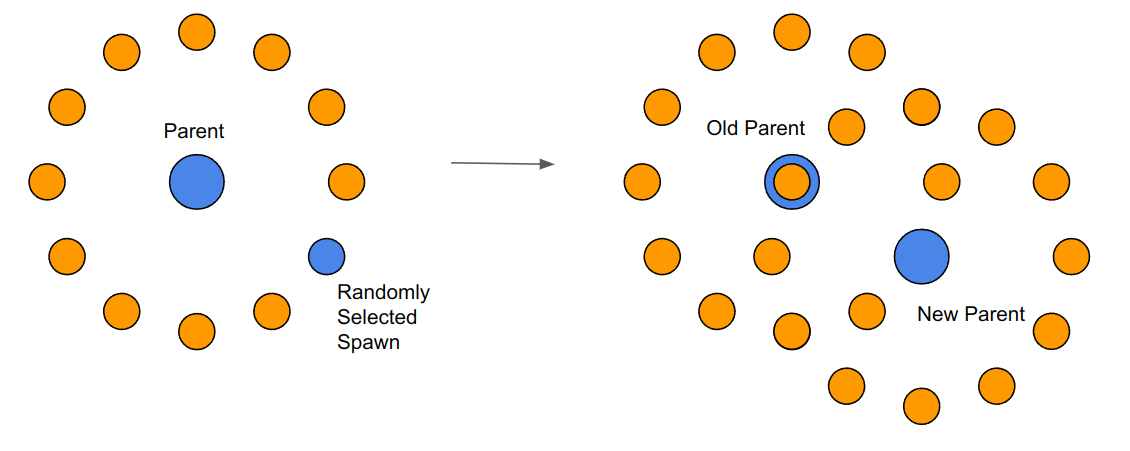
So this is still a pretty simple idea, but now there is a basis for repeating the pattern. Every time a new set is drawn, a random spawn circle (or node, in the parlance of graph theory) is chosen as the next parent, and the pattern is repeated.
This was enough to get me coding a first pass. The resulting compositions were pleasant enough, but nothing too surprising:
A first opportunity for variation: Radial distance
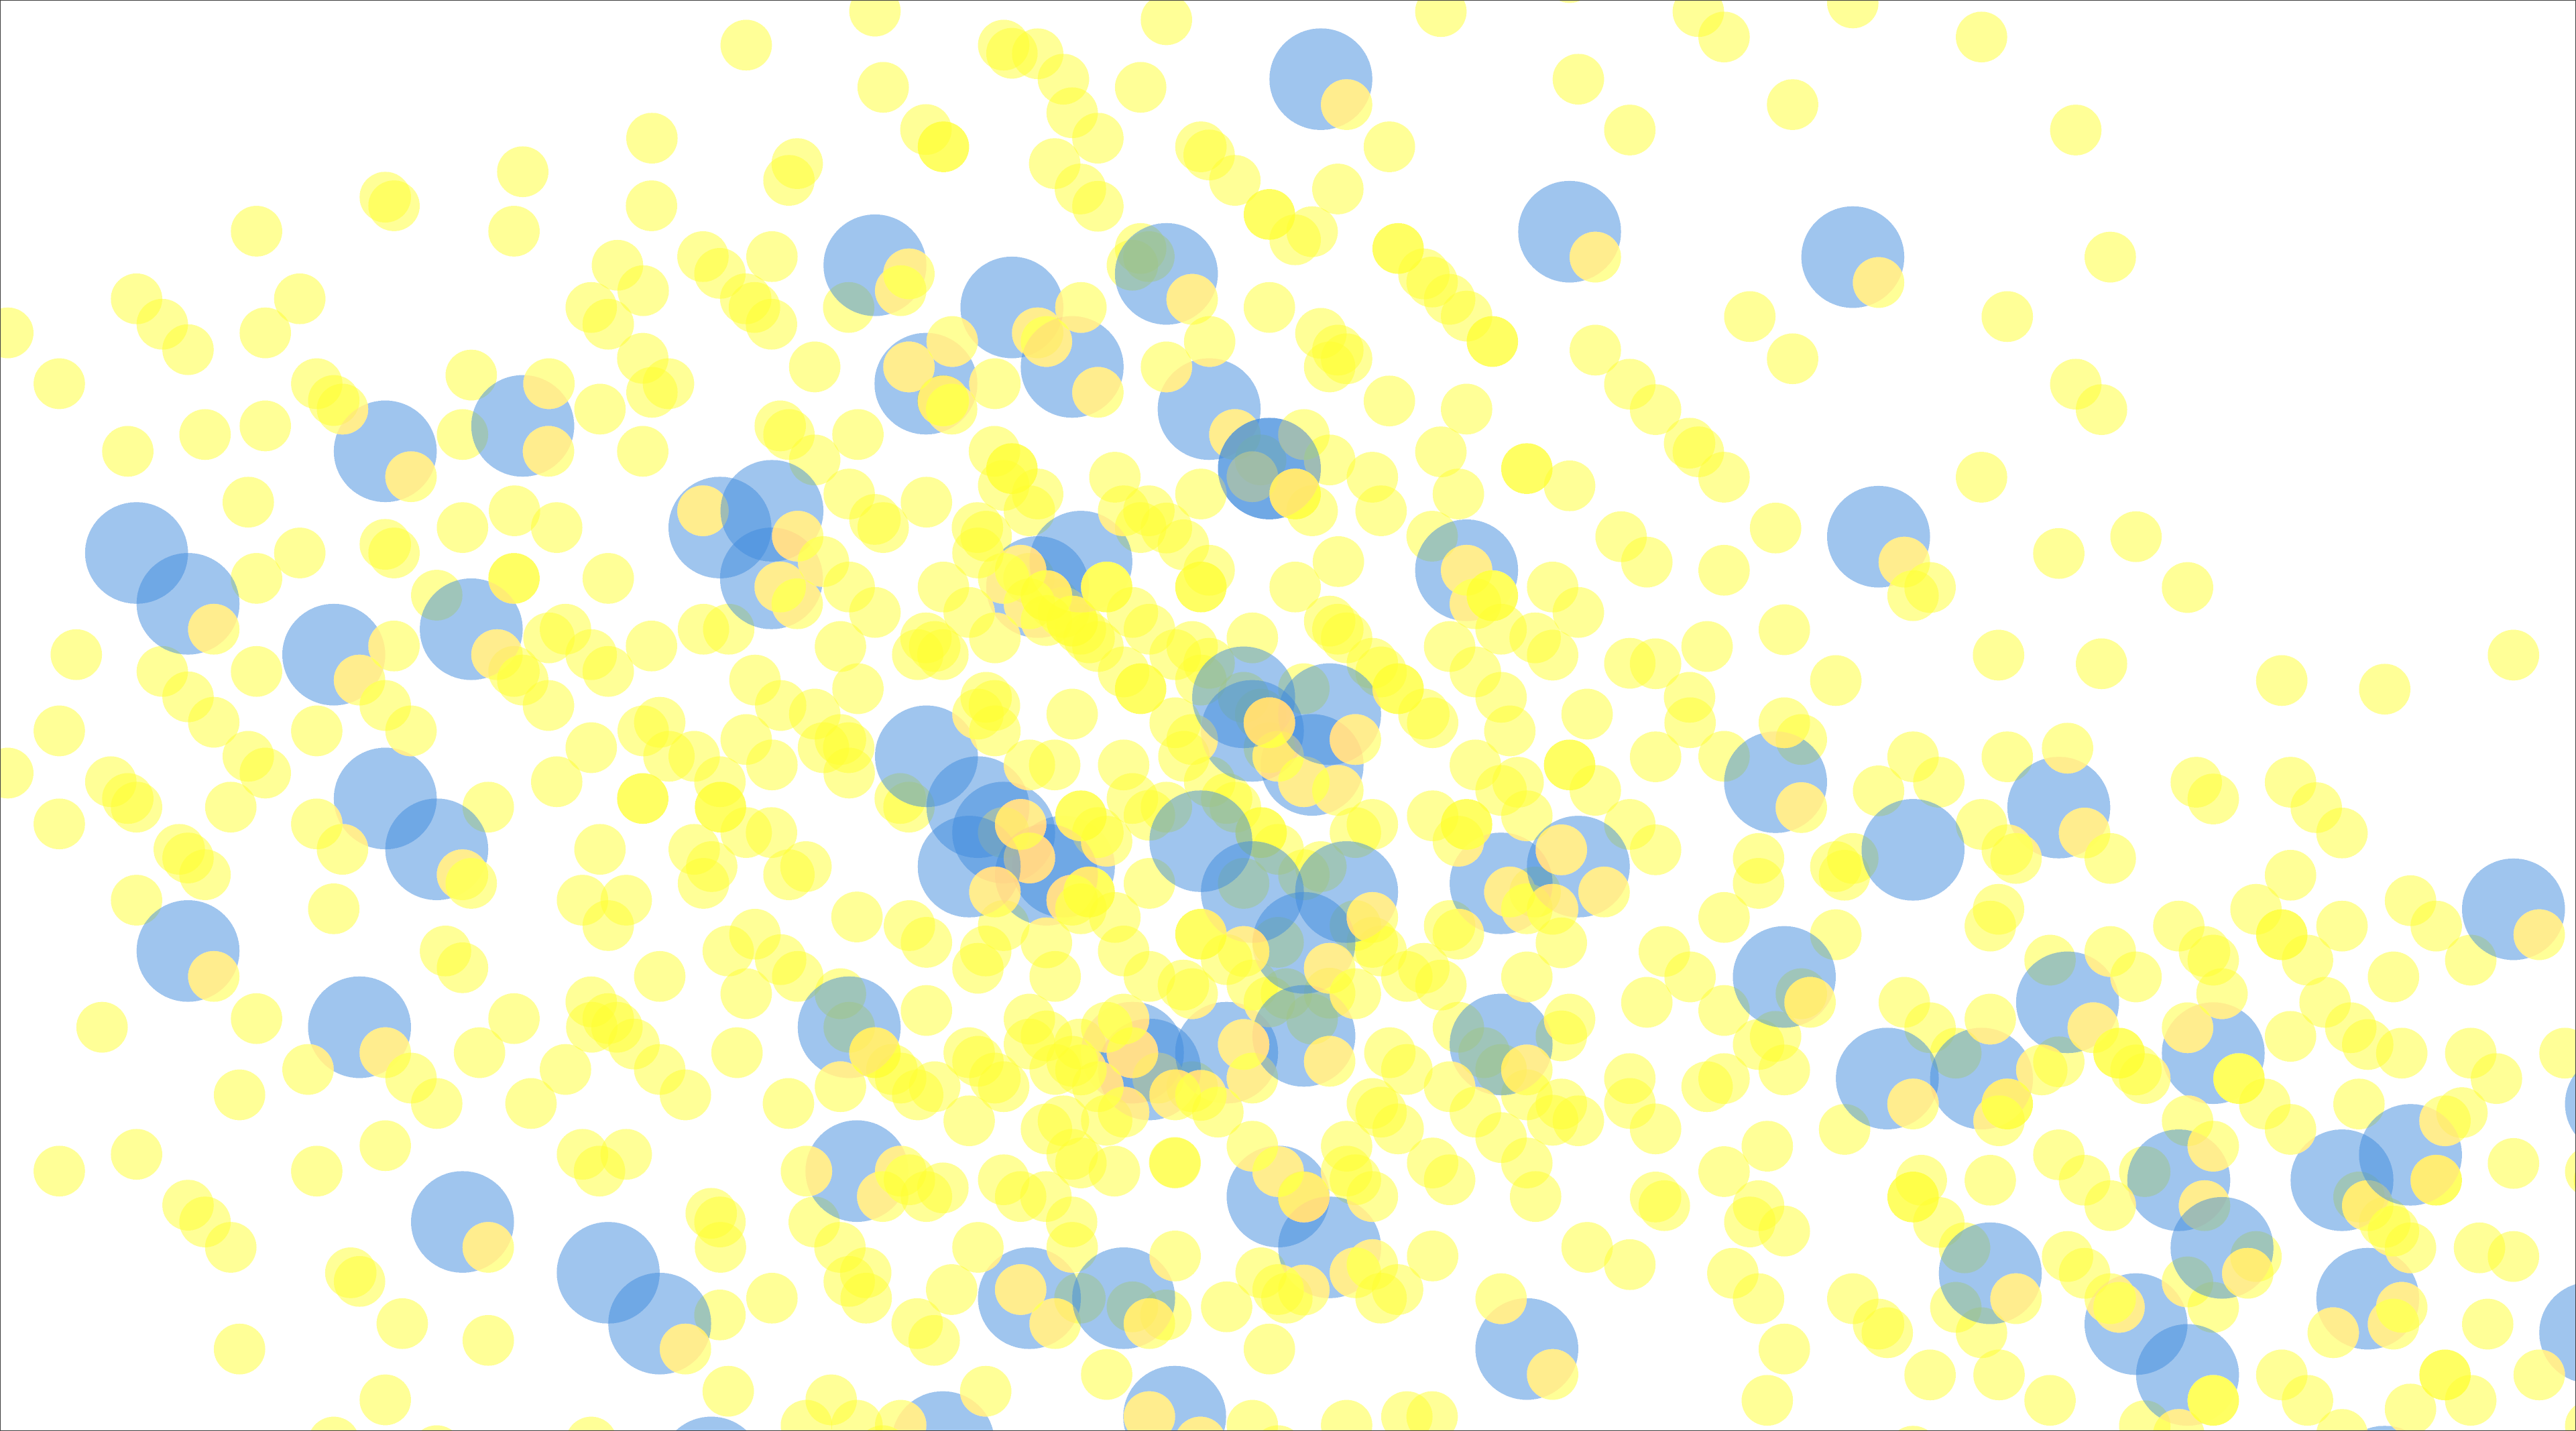
Now that I had a pretty solid base algorithm with the repeatable steps above, it was time to come up with ways to create variation. Of course, there are many directions one could take, but my first (and perhaps rather obvious) inclination was:
"What if each spawn had a different radial distance from the parent?"

You can compare the difference in practice from the renders below:
Uniform distance:
Varying distance:

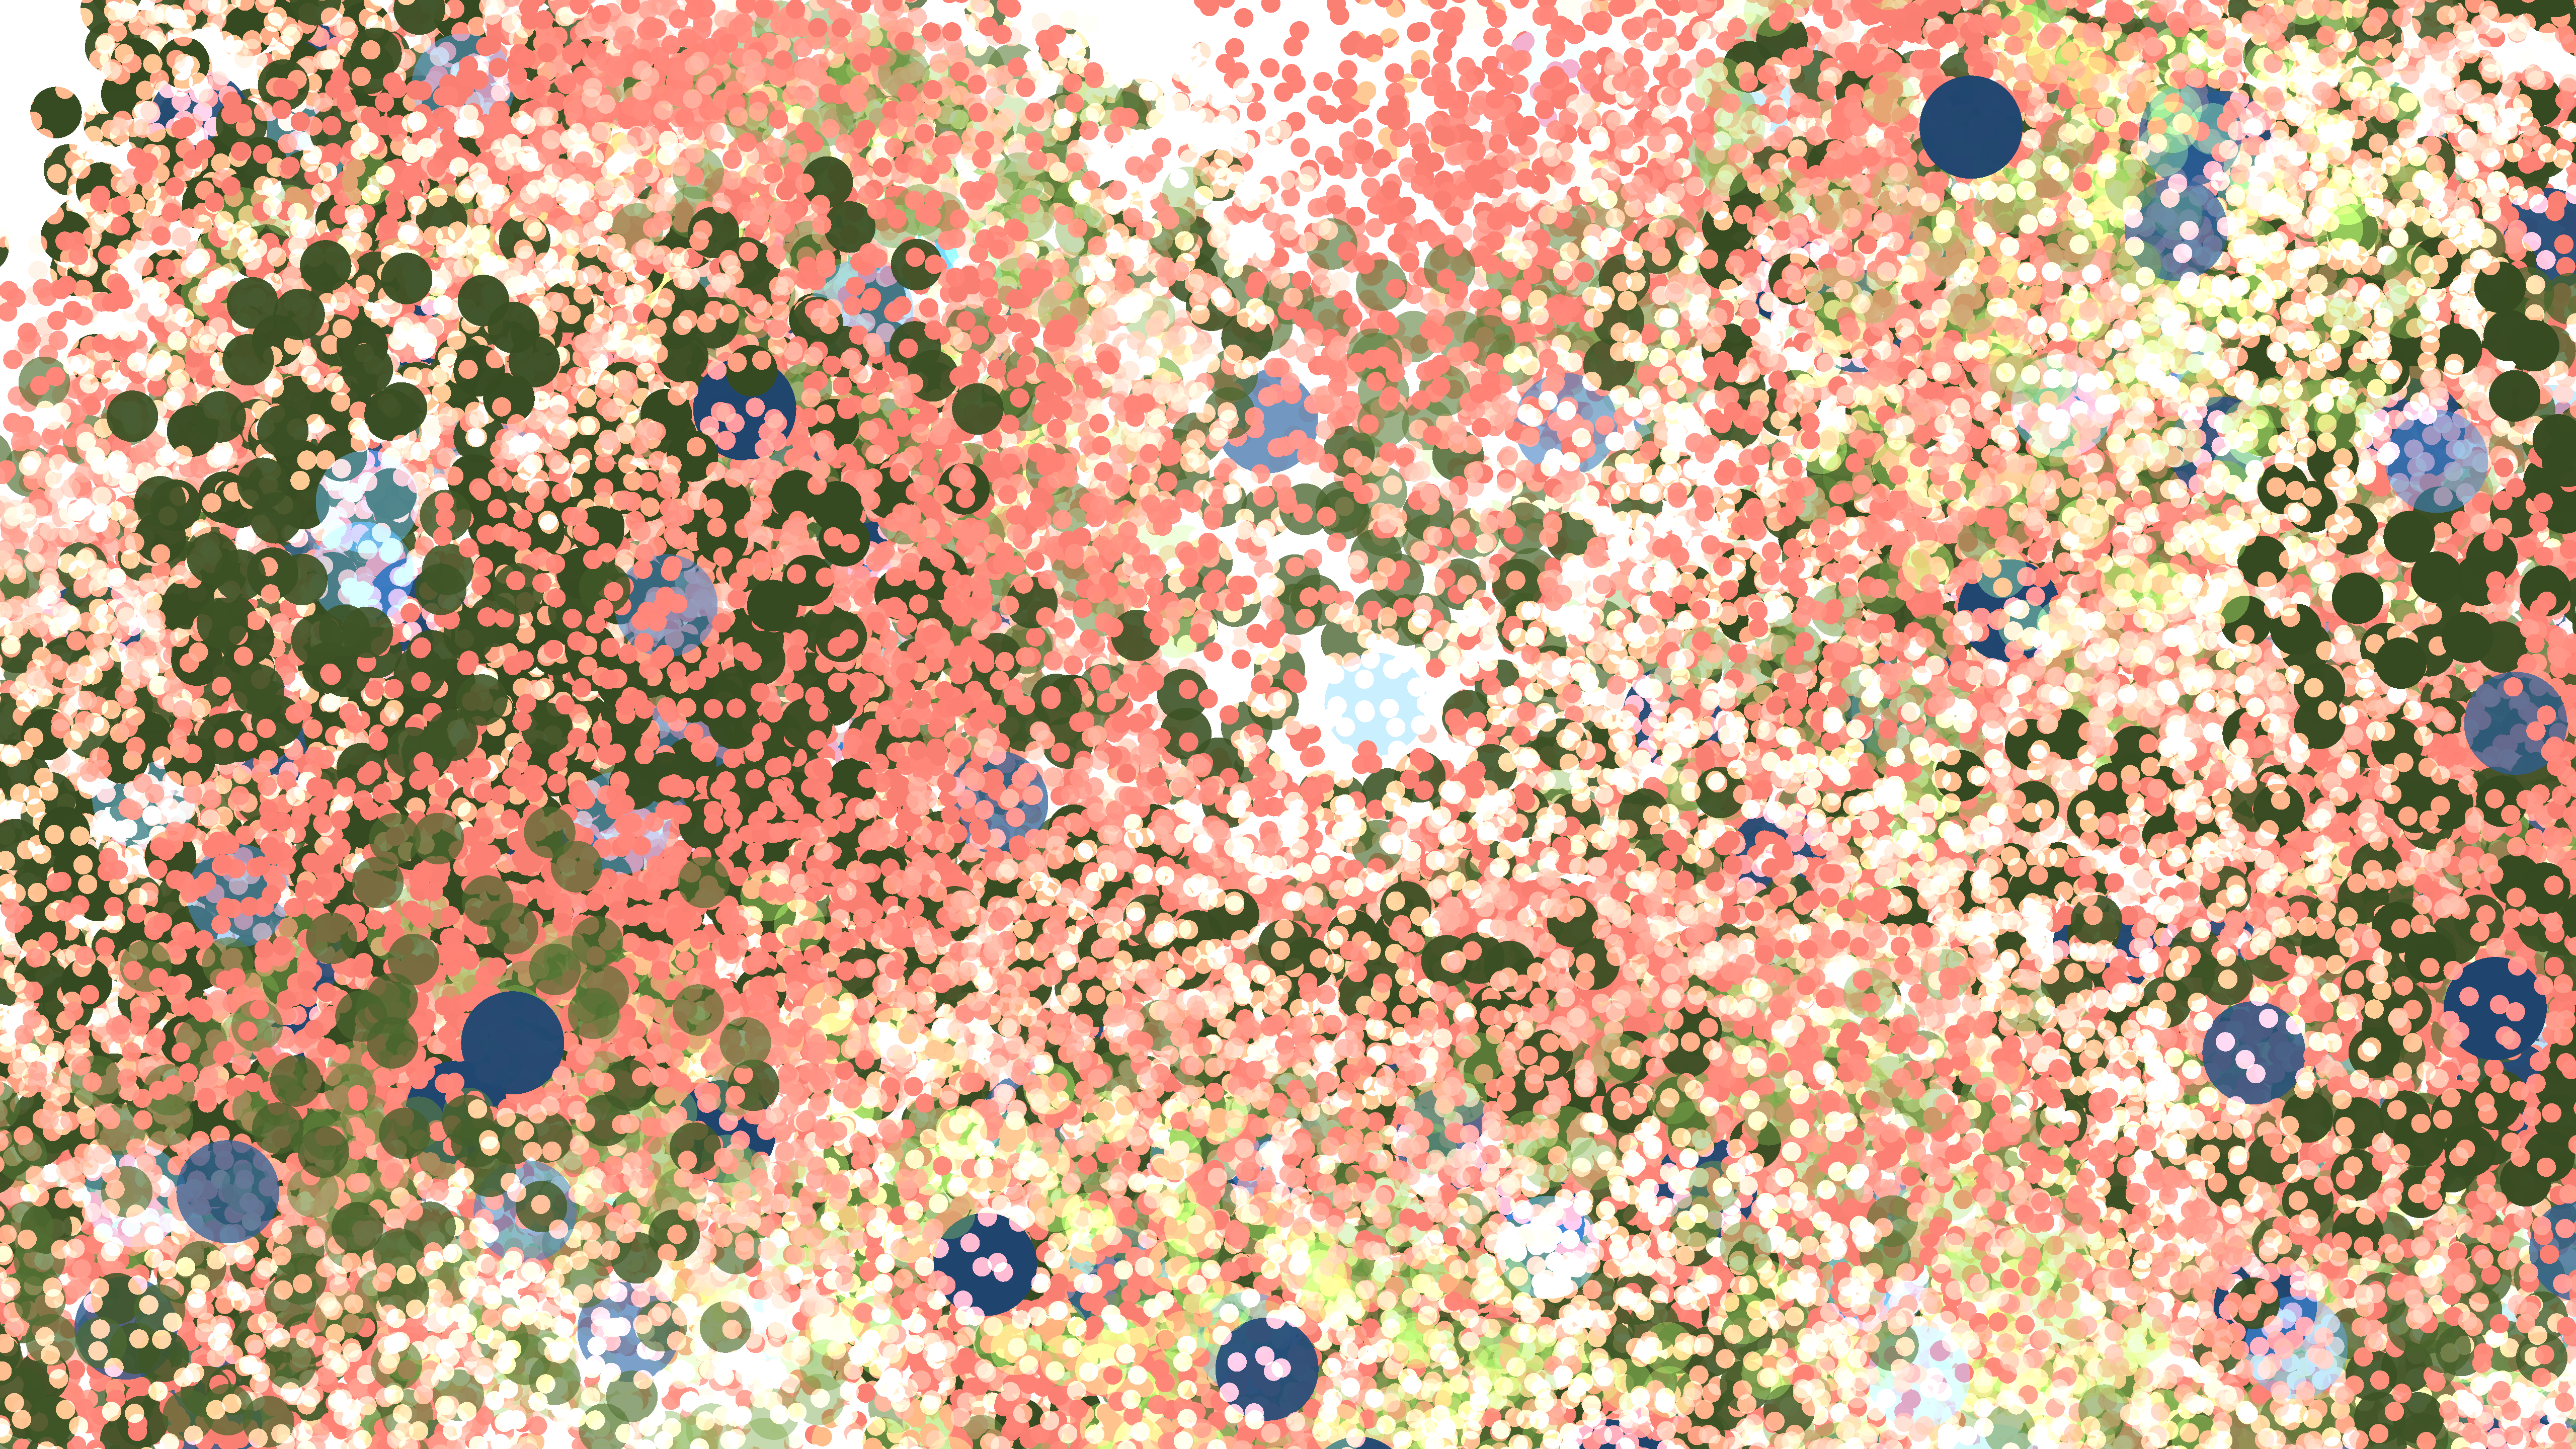
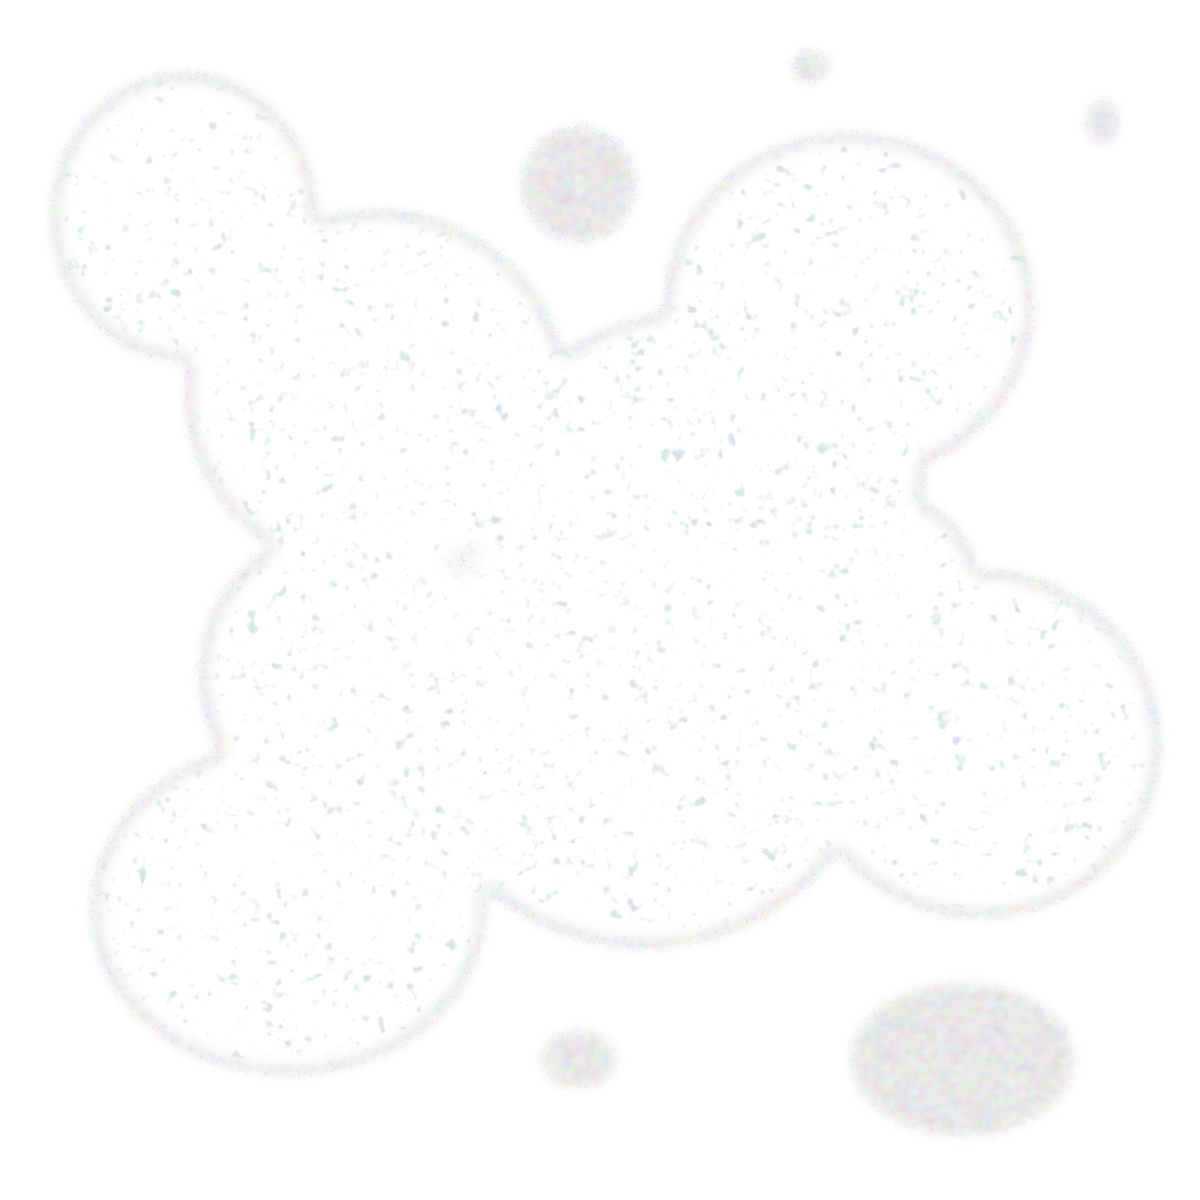
By using a random length (selected from a fixed range) for the distance of each spawn from its parent, I was now getting images that were more varied than the uniform arrangements produced by the original algorithm.
Observed casually, the results look pretty noisy -- but as a matter of transition in the process, it was exciting to see the program output a more "different looking" result each time it was run.
As a sidenote, this randomized radial distance is where the "Radial" in the title "Radial Pointillist" comes from.
Also note that, because the nature of the algorithm meant that there were a lot of overlapping nodes, I lowered the node opacity (i.e. made them more transparent), giving those that were buried underneath a chance to show. It was a simple change that made the resulting image more interesting, but also...
Changing the node transparency with a wave
Noticing that node transparency had a neat visual effect, I treated it as another opportunity for variation. Whereas before I had a fixed transparency value (e.g. "50% transparent"), I now set the value to match a sine wave over time. So now the level of transparency would continuously increase and decrease over the course of the painting. A node drawn 30 seconds in might be 30% transparent, but one drawn 20 seconds later might be 50% transparent, and then all the way back to 0% at the end, and repeat.
To modulate the transparency change, I set an "alpha frequency" constant in my program that modified the sine wave. This way I could experiment with how different rates of change affected the visual output by simply changing the value of the constant.


I feel this was a pretty important early formative element, because having this variation in transparency creates a distinctively more blended and "painterly" effect. The results made me think of the pointillism technique in painting (especially since I was rendering a lot of "dots"!), and it's where the "Pointillist" in the title "Radial Pointillist" comes from. (Of course, pointillism is actually a technique derived from Neo-Impressionist painting, and not really about abstract shapes as seen here, but I think it's an okay nod).
The second spawn
As I watched the program draw spawn at random distances from their parents, I began to think about other ways I could draw them. For example, instead of just random distances, why not vary the distances according to a wave (this was coming off working with sine waves for transparency)? Something like this:
However, I didn't want to get rid of the randomly distanced spawn I had already created, so...I decided I would introduce a second spawn type.
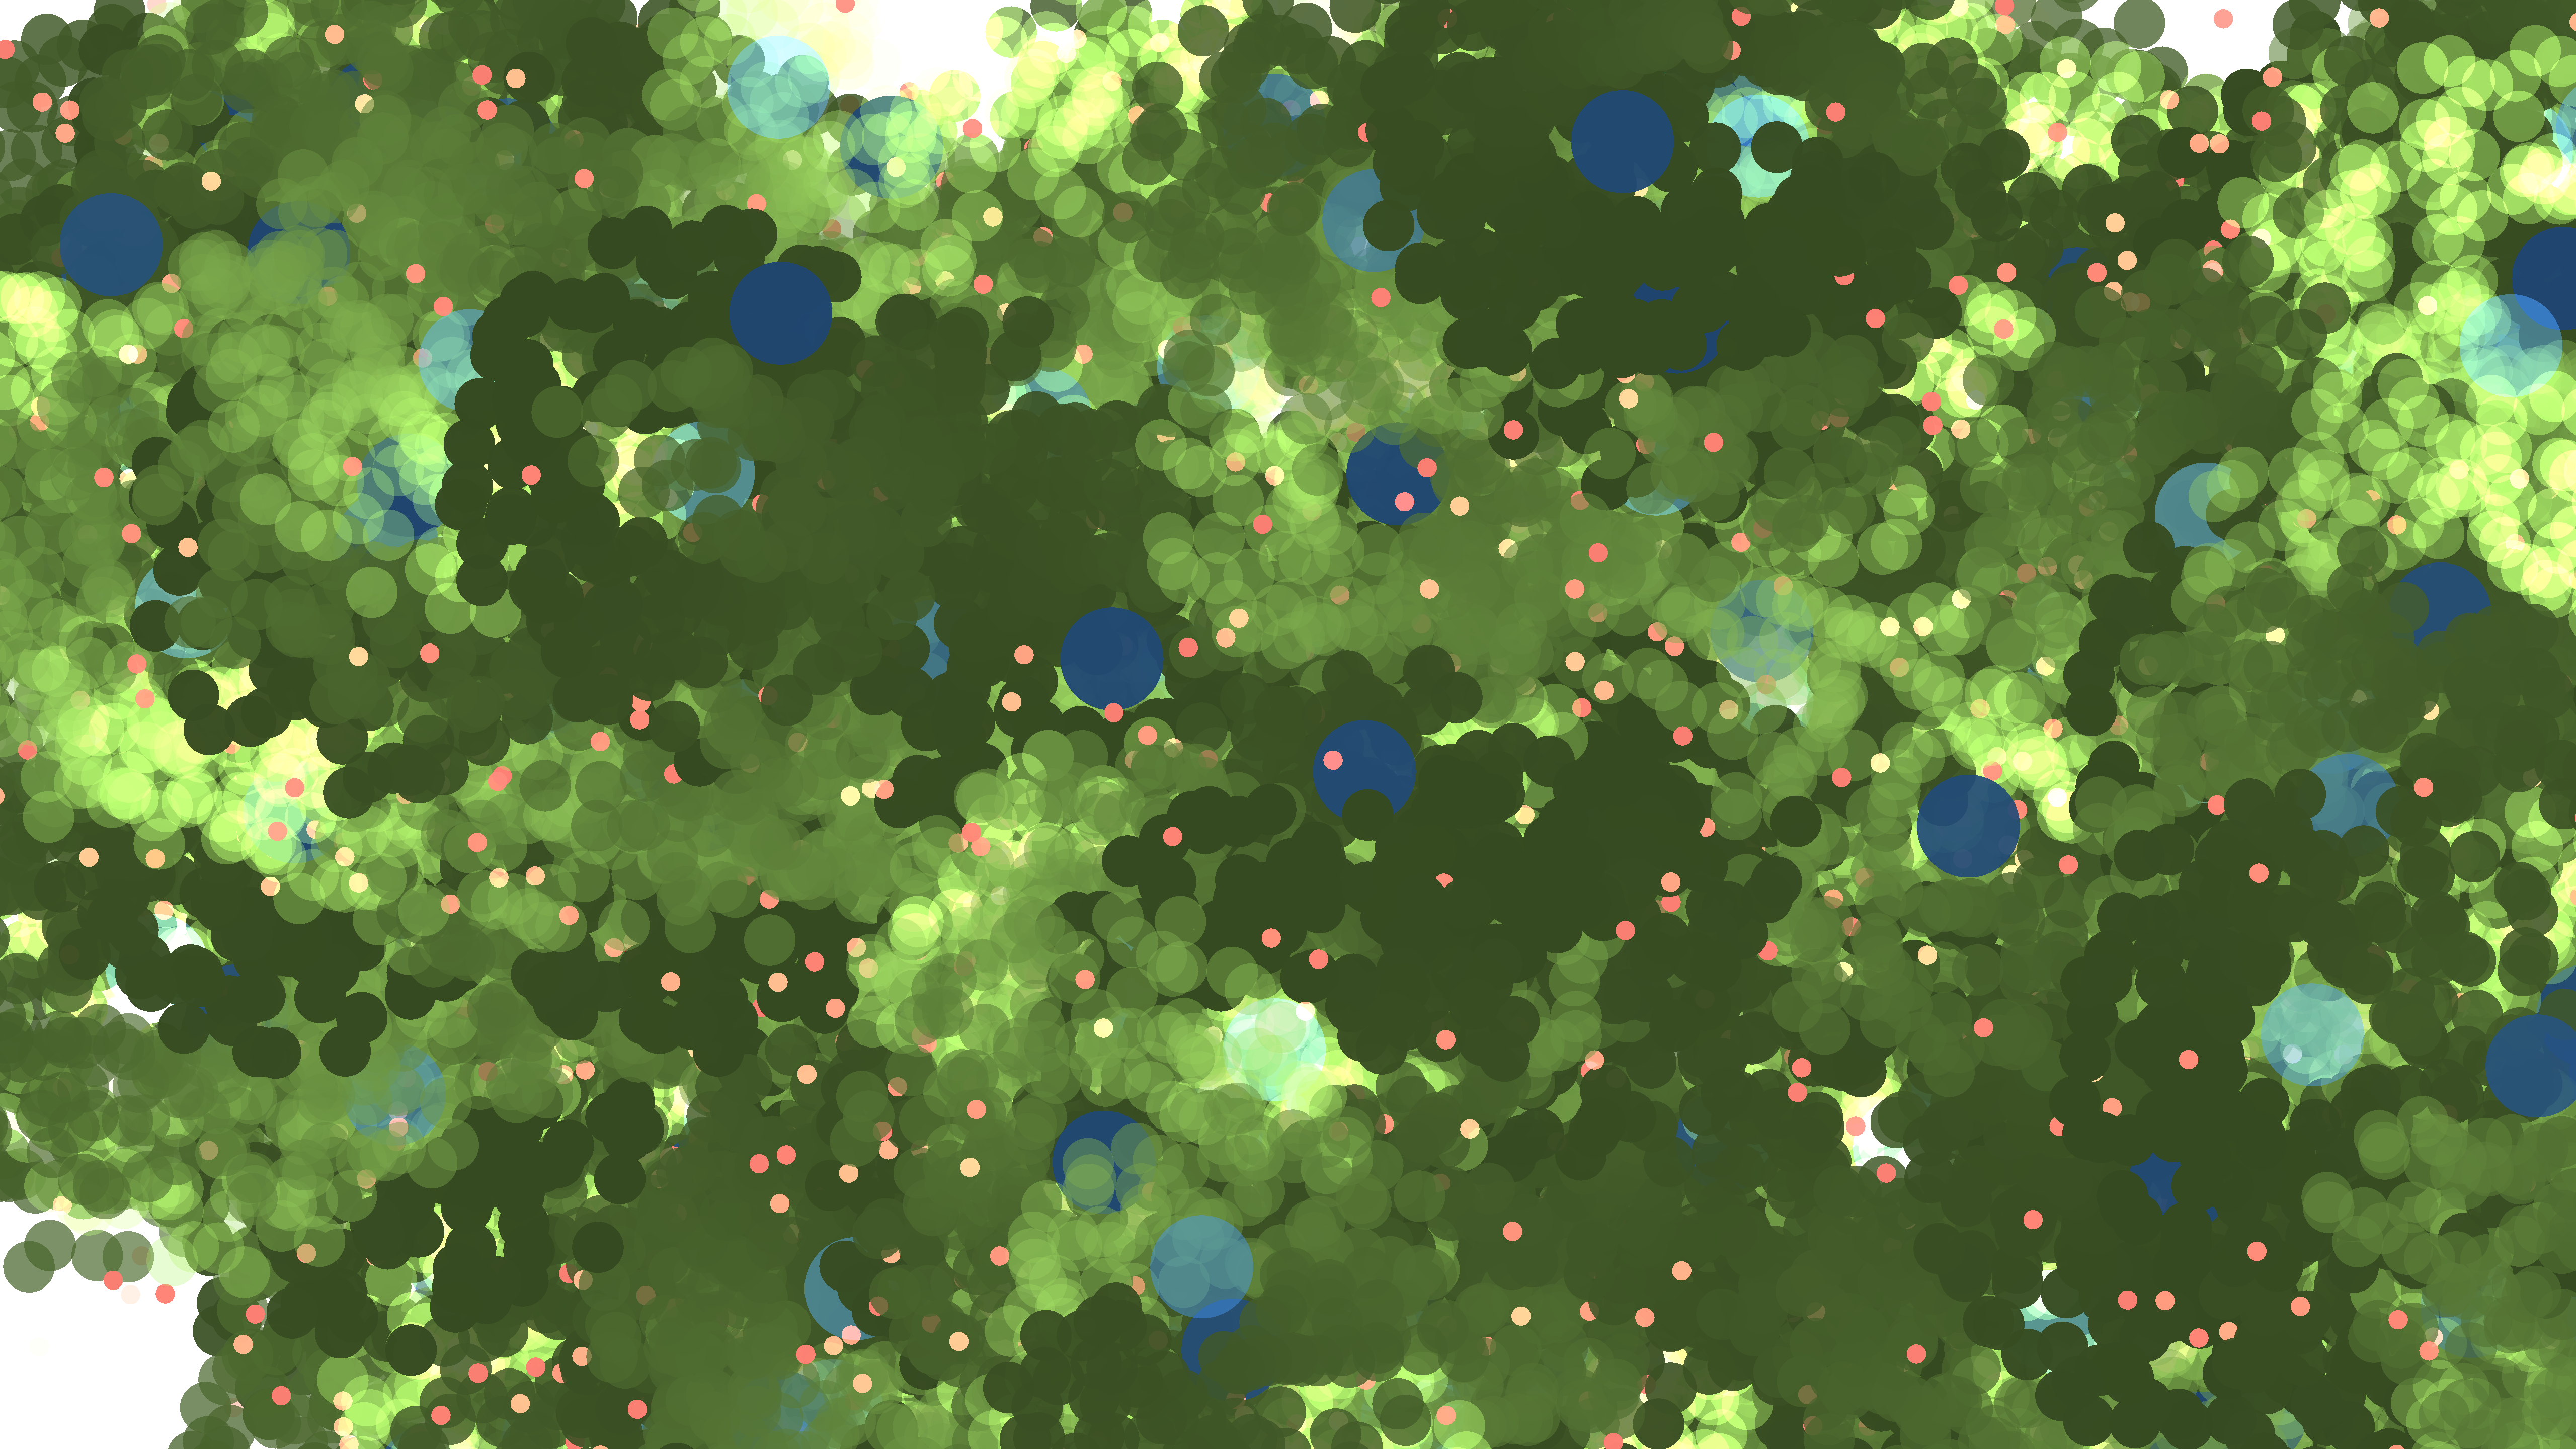
To differentiate them, I made the second spawn size much smaller than the first type of spawn, and also a darker color. Here's an example render from this stage. The new spawn are the small green dots:
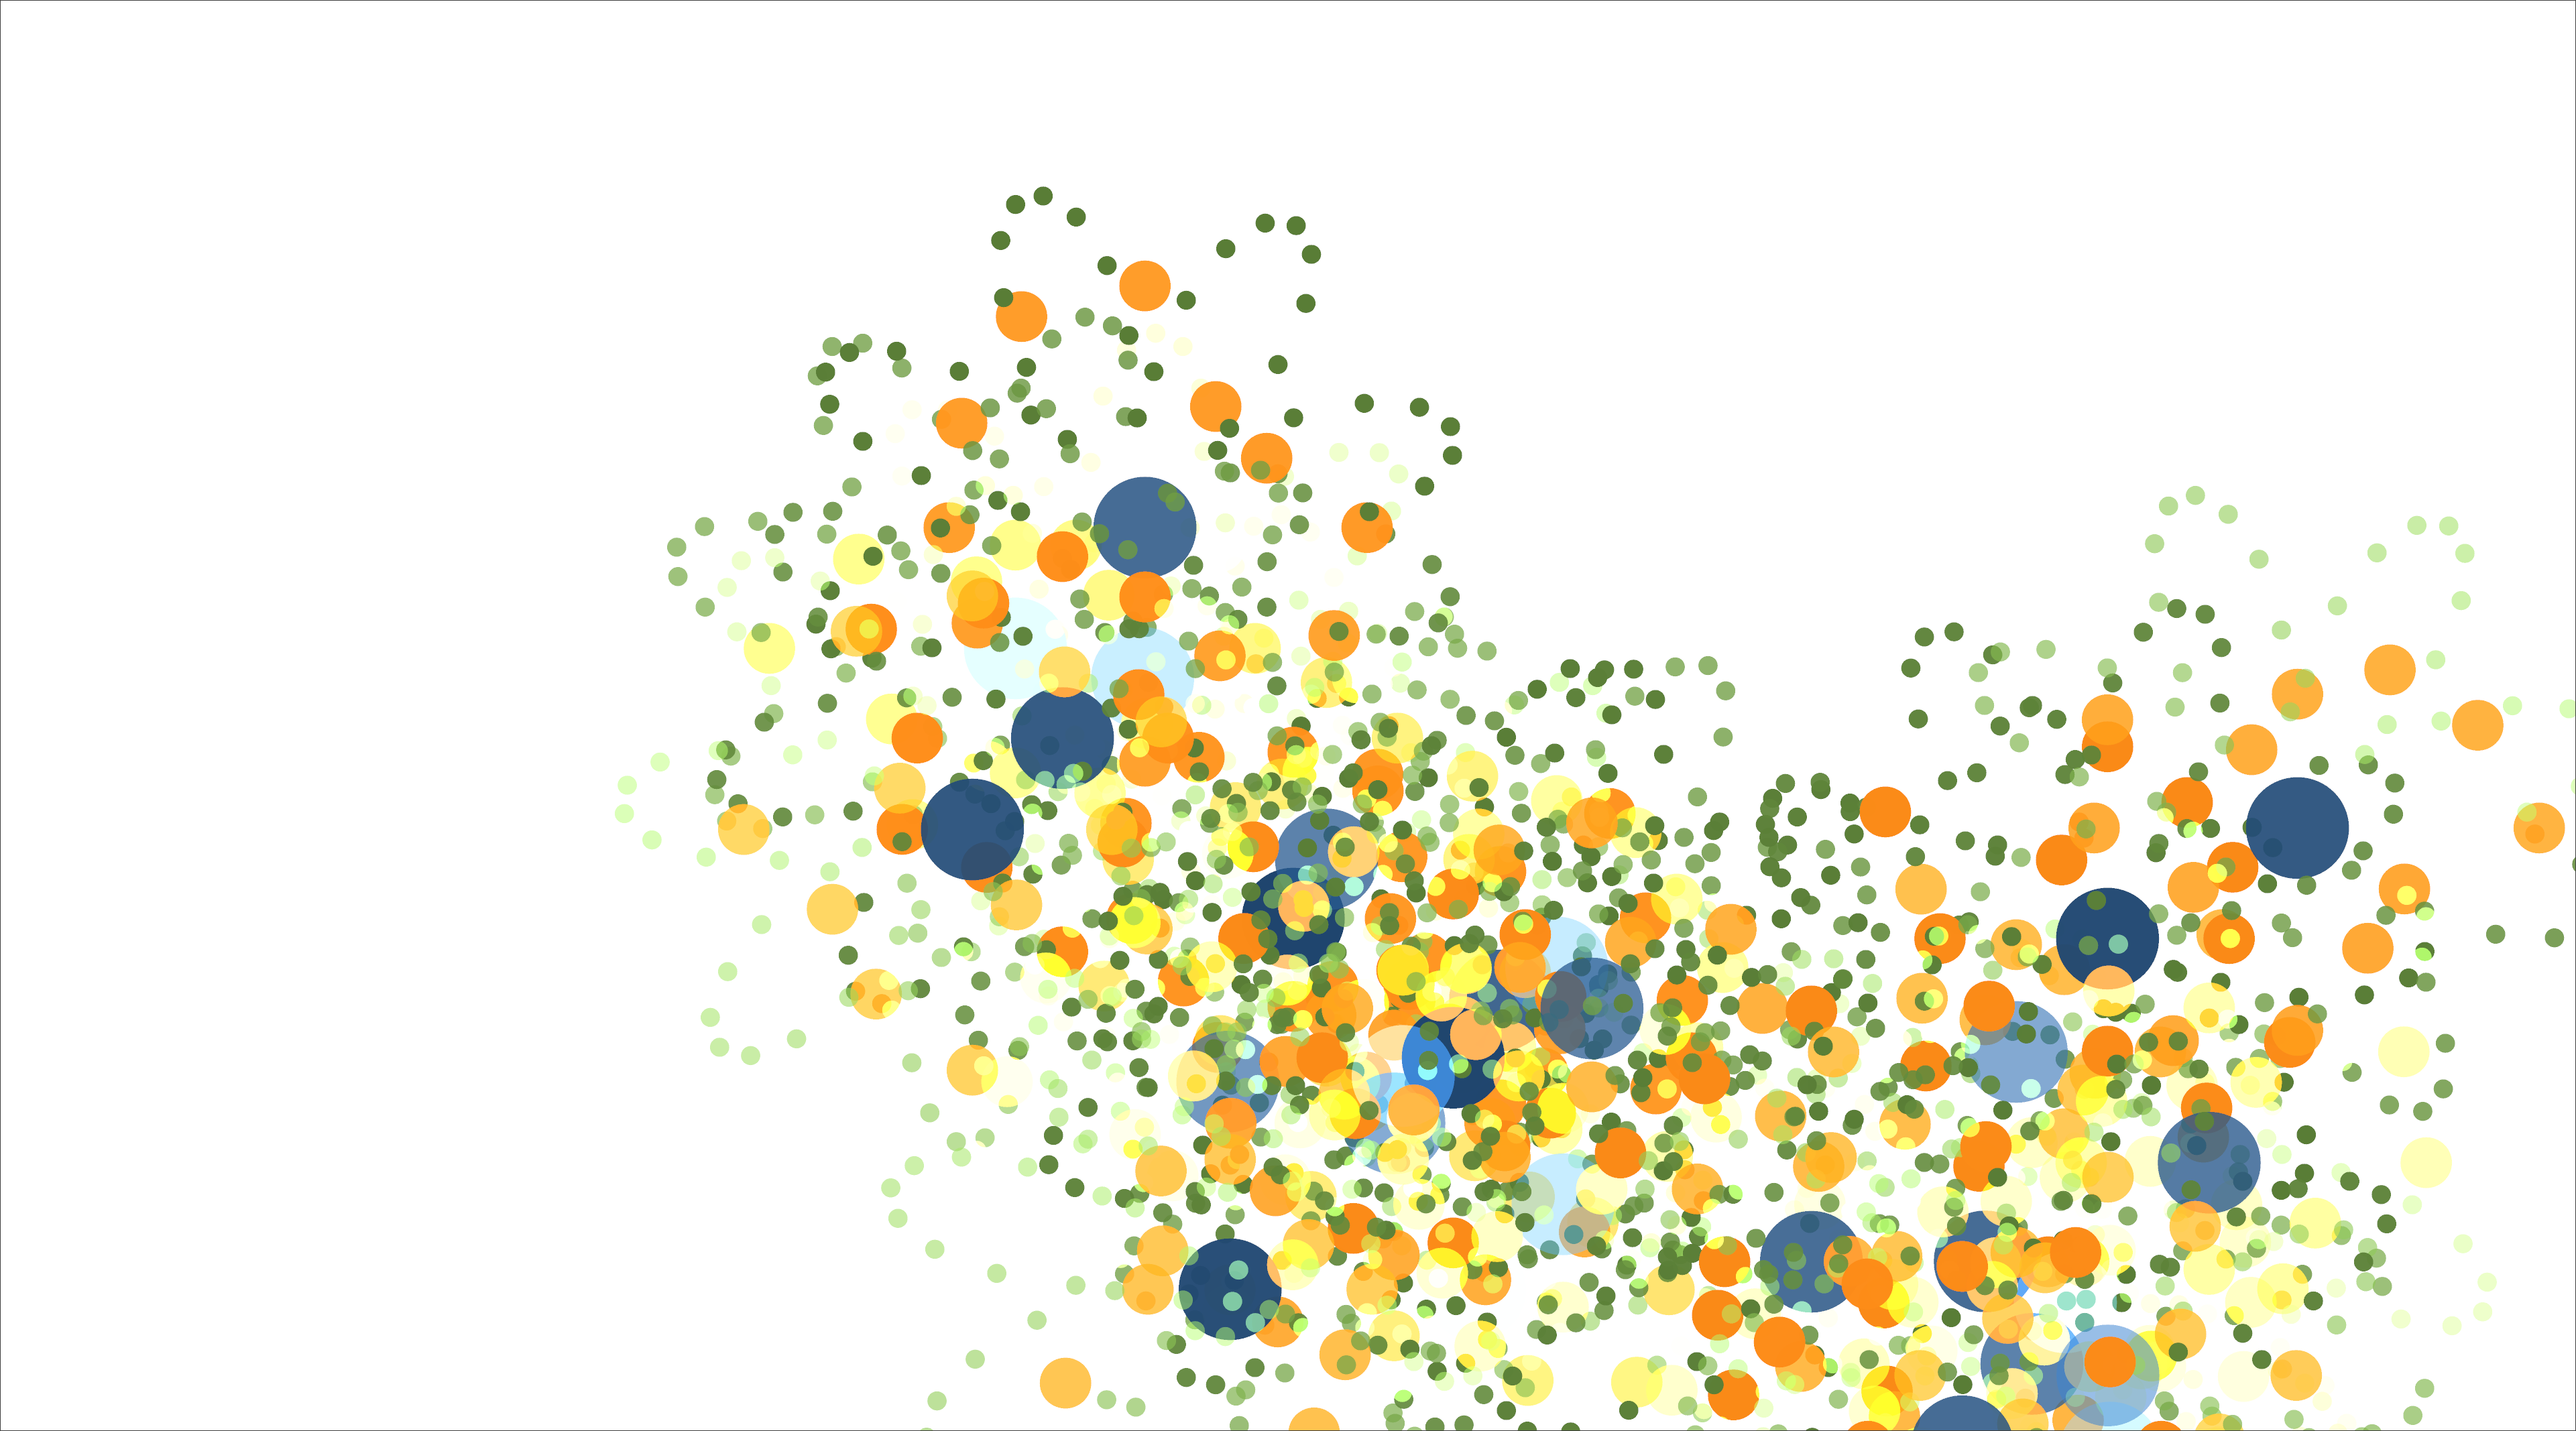
To take advantage of the wave-based distance and achieve the petal-like shape seen above, I had to tweak the angle-step a little. Whereas the first spawn occurred at angle steps of 30°, I had to bring it down to 5° for spawn2.
In this tinkering, I found that several other values for the angle-step also produced interesting results:
Thus it was that, with the essential formative elements of the piece in place, my attention was turned to the rich and fatty land of "settings manipulation", which I was to discover is sort of where "the heart" of all this generative stuff resides. Well, "discover" is not quite the right word, since I think this is a well known aspect of generative work, but the importance of being able to vary the settings (i.e. parameters) of the program simply became solidified and real to me personally when I finally arrived at this direction.
Lord of the Settings
Until now I had been maintaining and tweaking the various settings in my program by hand. They were represented as constants in code, and by this point the list of things I was tweaking here and there on an ongoing basis looked something like this:
const SPAWN_ANGLE_STEP: f32 = 30.0;
const SPAWN2_ANGLE_STEP: f32 = 1.0;
// The frequency of the wave that determines the distance of the Spawn2's position
// from its parent
const SPAWN2_WAVE_FREQ: f32 = 20.0;
// const SPAWN_STRATEGY: &str = "random";
const SPAWN_STRATEGY: &str = "random any child";
// const SPAWN_STRATEGY: &str = "random child of node";
// const RANDOMIZE_SPAWN_DISTANCE: bool = false;
const RANDOMIZE_SPAWN_DISTANCE: bool = true;
const DEFAULT_ALPHA: f32 = 0.5;
const ALPHA_FREQ: f32 = 0.5;
Now, there aren't that many settings here, and managing them by hand isn't a particularly onerous task. In fact, for getting the first passes up and running quickly, it's very handy to be able to tweak as needed in this direct manner.
But at this point, I increasingly felt it was important to get a sense, at scale, of how variations on these settings could affect the outcome. What I didn't realize yet was the degree to which having such a facility for variation could impact the work.
To get there though, I had to stop managing by hand and instead modify the software to create new variations on these settings every time it was run. To do this, I essentially created ranges for these values. This code diff illustrates:
-const SPAWN_ANGLE_STEP: f32 = 10.0;
+const SPAWN_ANGLE_STEP: RangeInclusive<f32> = 1.0..=45.0;
-const SPAWN2_ANGLE_STEP: f32 = 1.0;
+const SPAWN2_ANGLE_STEP: RangeInclusive<f32> = 1.0..=45.0;
 // The frequency of the wave that determines the distance of the Spawn2's position
 // from its parent
-const SPAWN2_WAVE_FREQ: f32 = 20.0;
+const SPAWN2_WAVE_FREQ: RangeInclusive<f32> = 3.0..=30.0;
-const ALPHA_FREQ: f32 = 0.5;
+const ALPHA_FREQ: RangeInclusive<f32> = 0.001..=5.0;
For example, you can see that SPAWN_ANGLE_STEP went from being a fixed value of 10.0 to a range of 1.0 to 45.0. The program would select a random value from this range at the start of each run.
By the end of my work, I had a new Settings structure that looked like this, and it would be populated at program start with random values from ranges such as those above:
pub struct Settings {
    spawn_strategy: SpawnStrategy,
    vary_spawn_distance: bool,
    parent_radius: f32,
    spawn_radius: f32,
    spawn2_radius: f32,
    spawn_angle_step: f32,
    spawn2_angle_step: f32,
    spawn2_wave_freq: f32,
    alpha_freq: f32,
    parent_color: Color,
    spawn_color: Color,
    spawn2_color: Color,
}
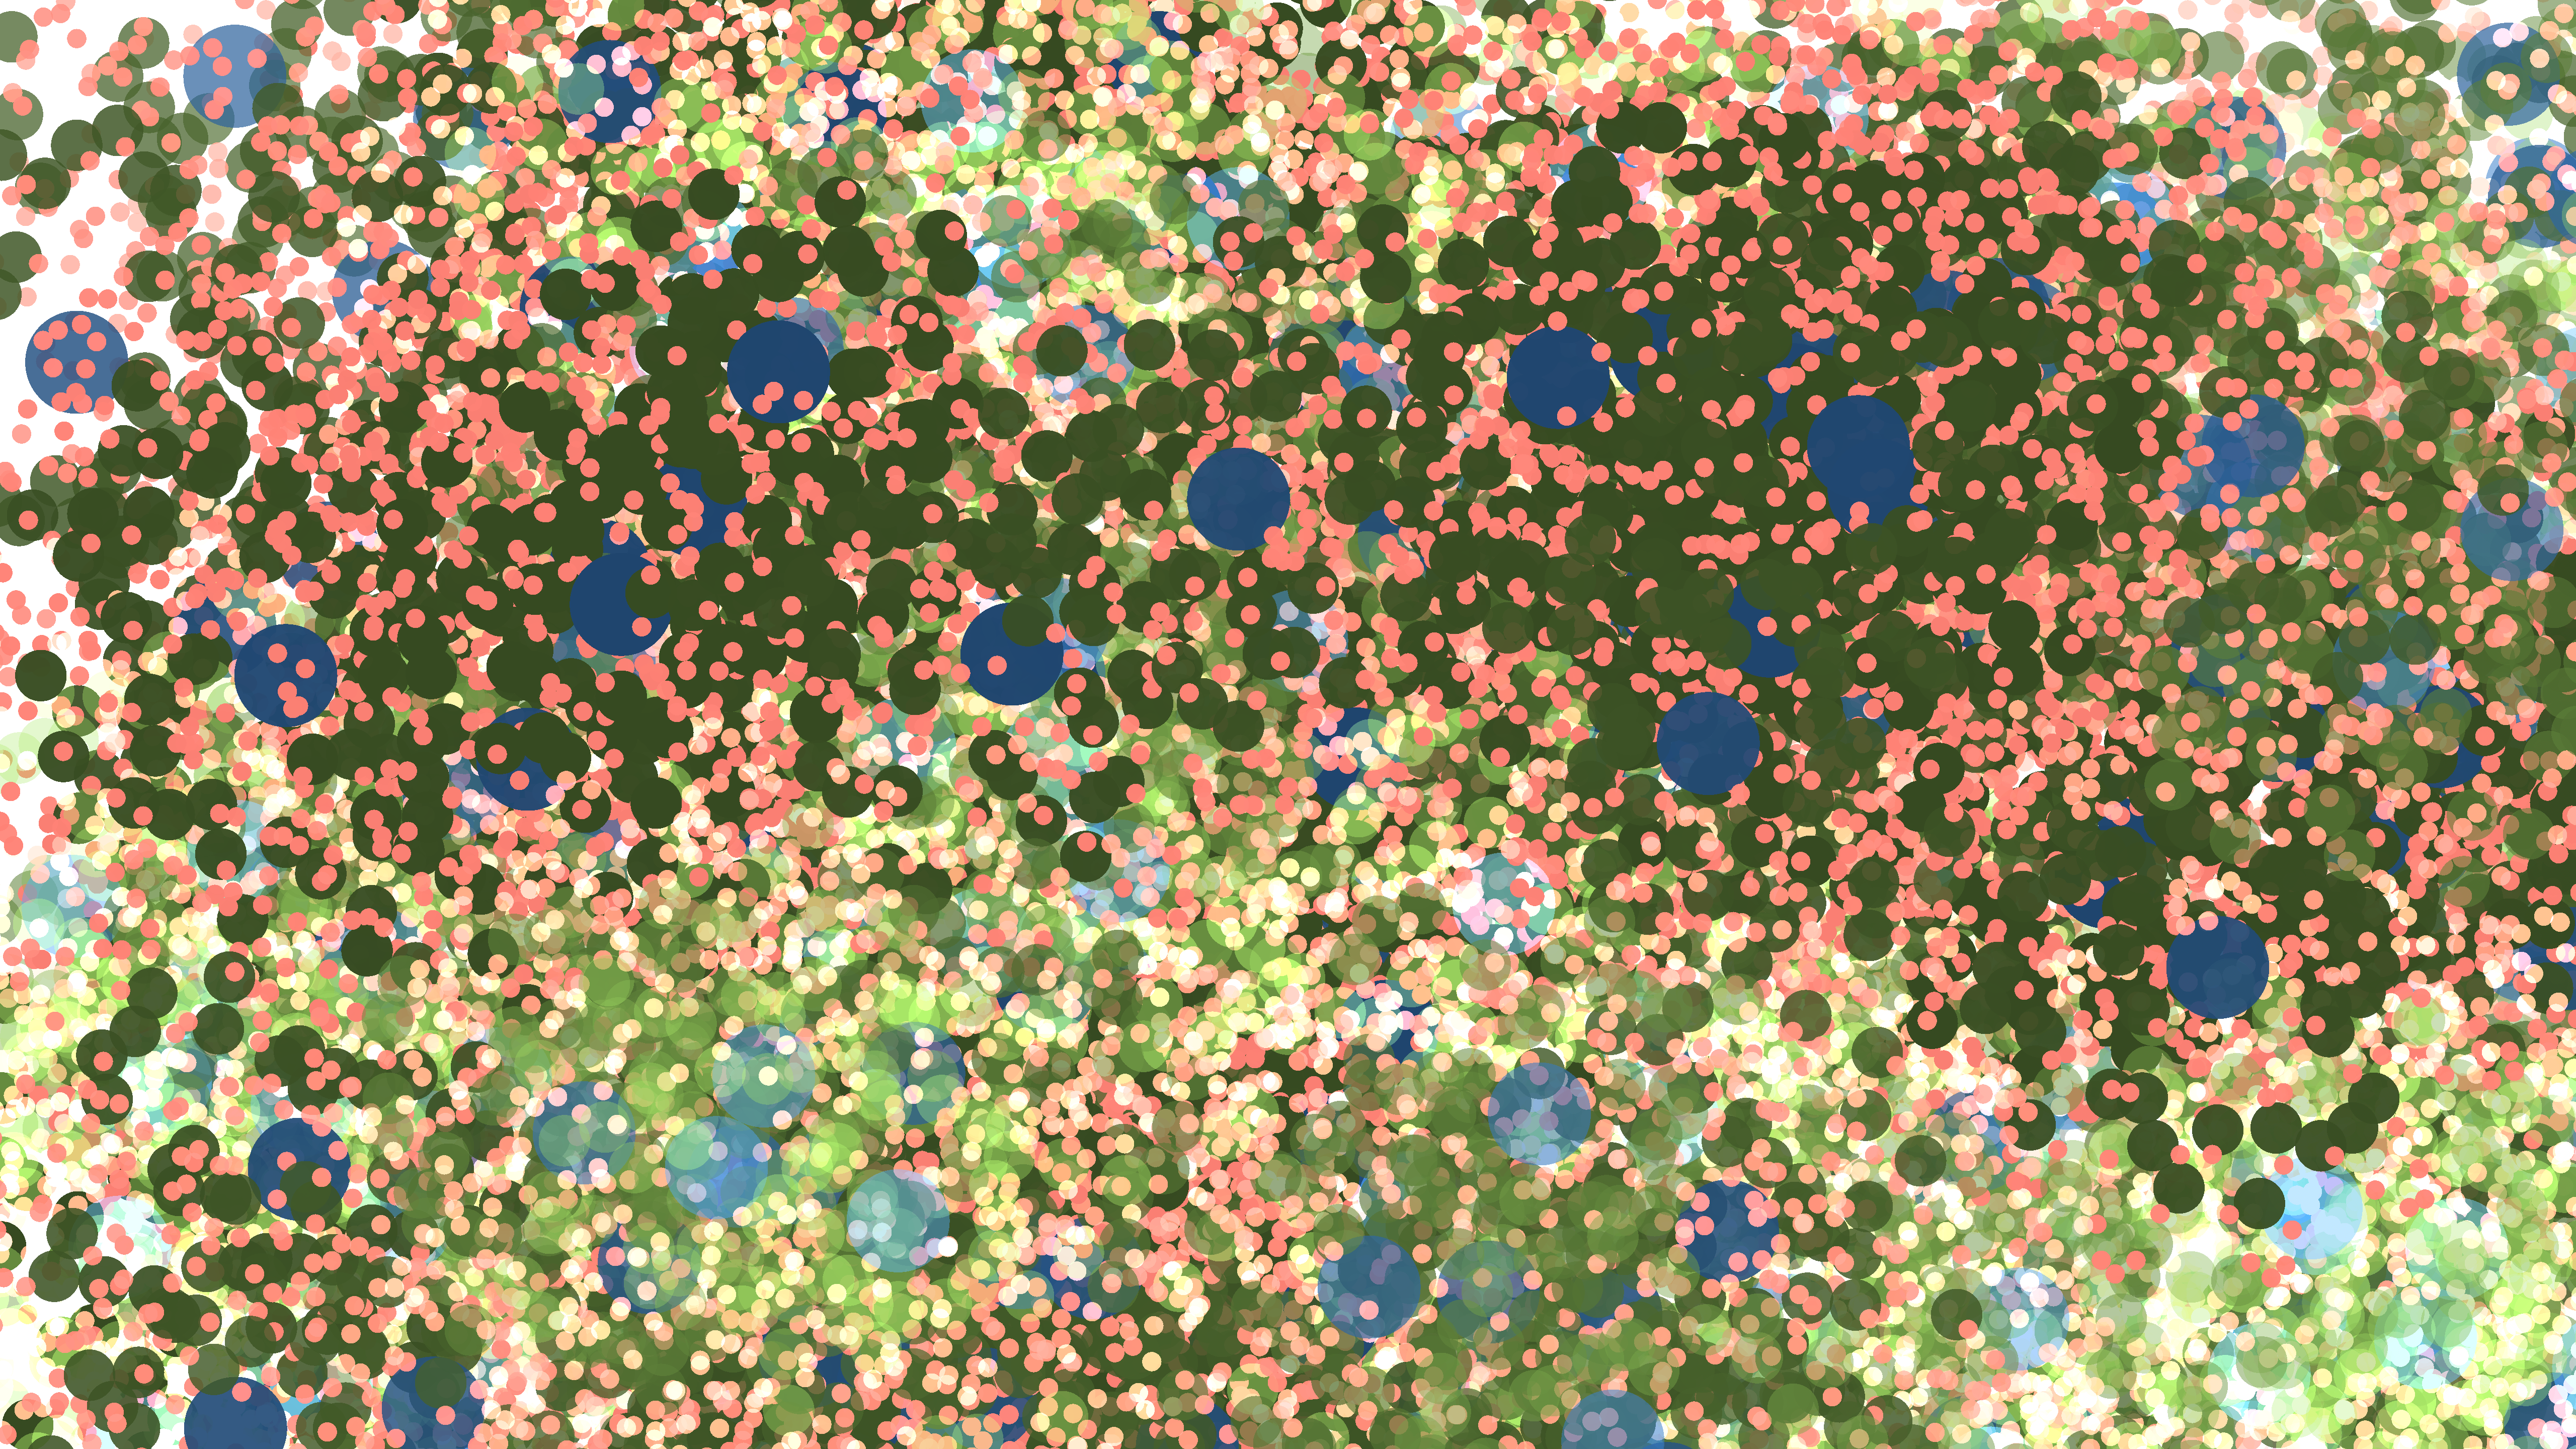
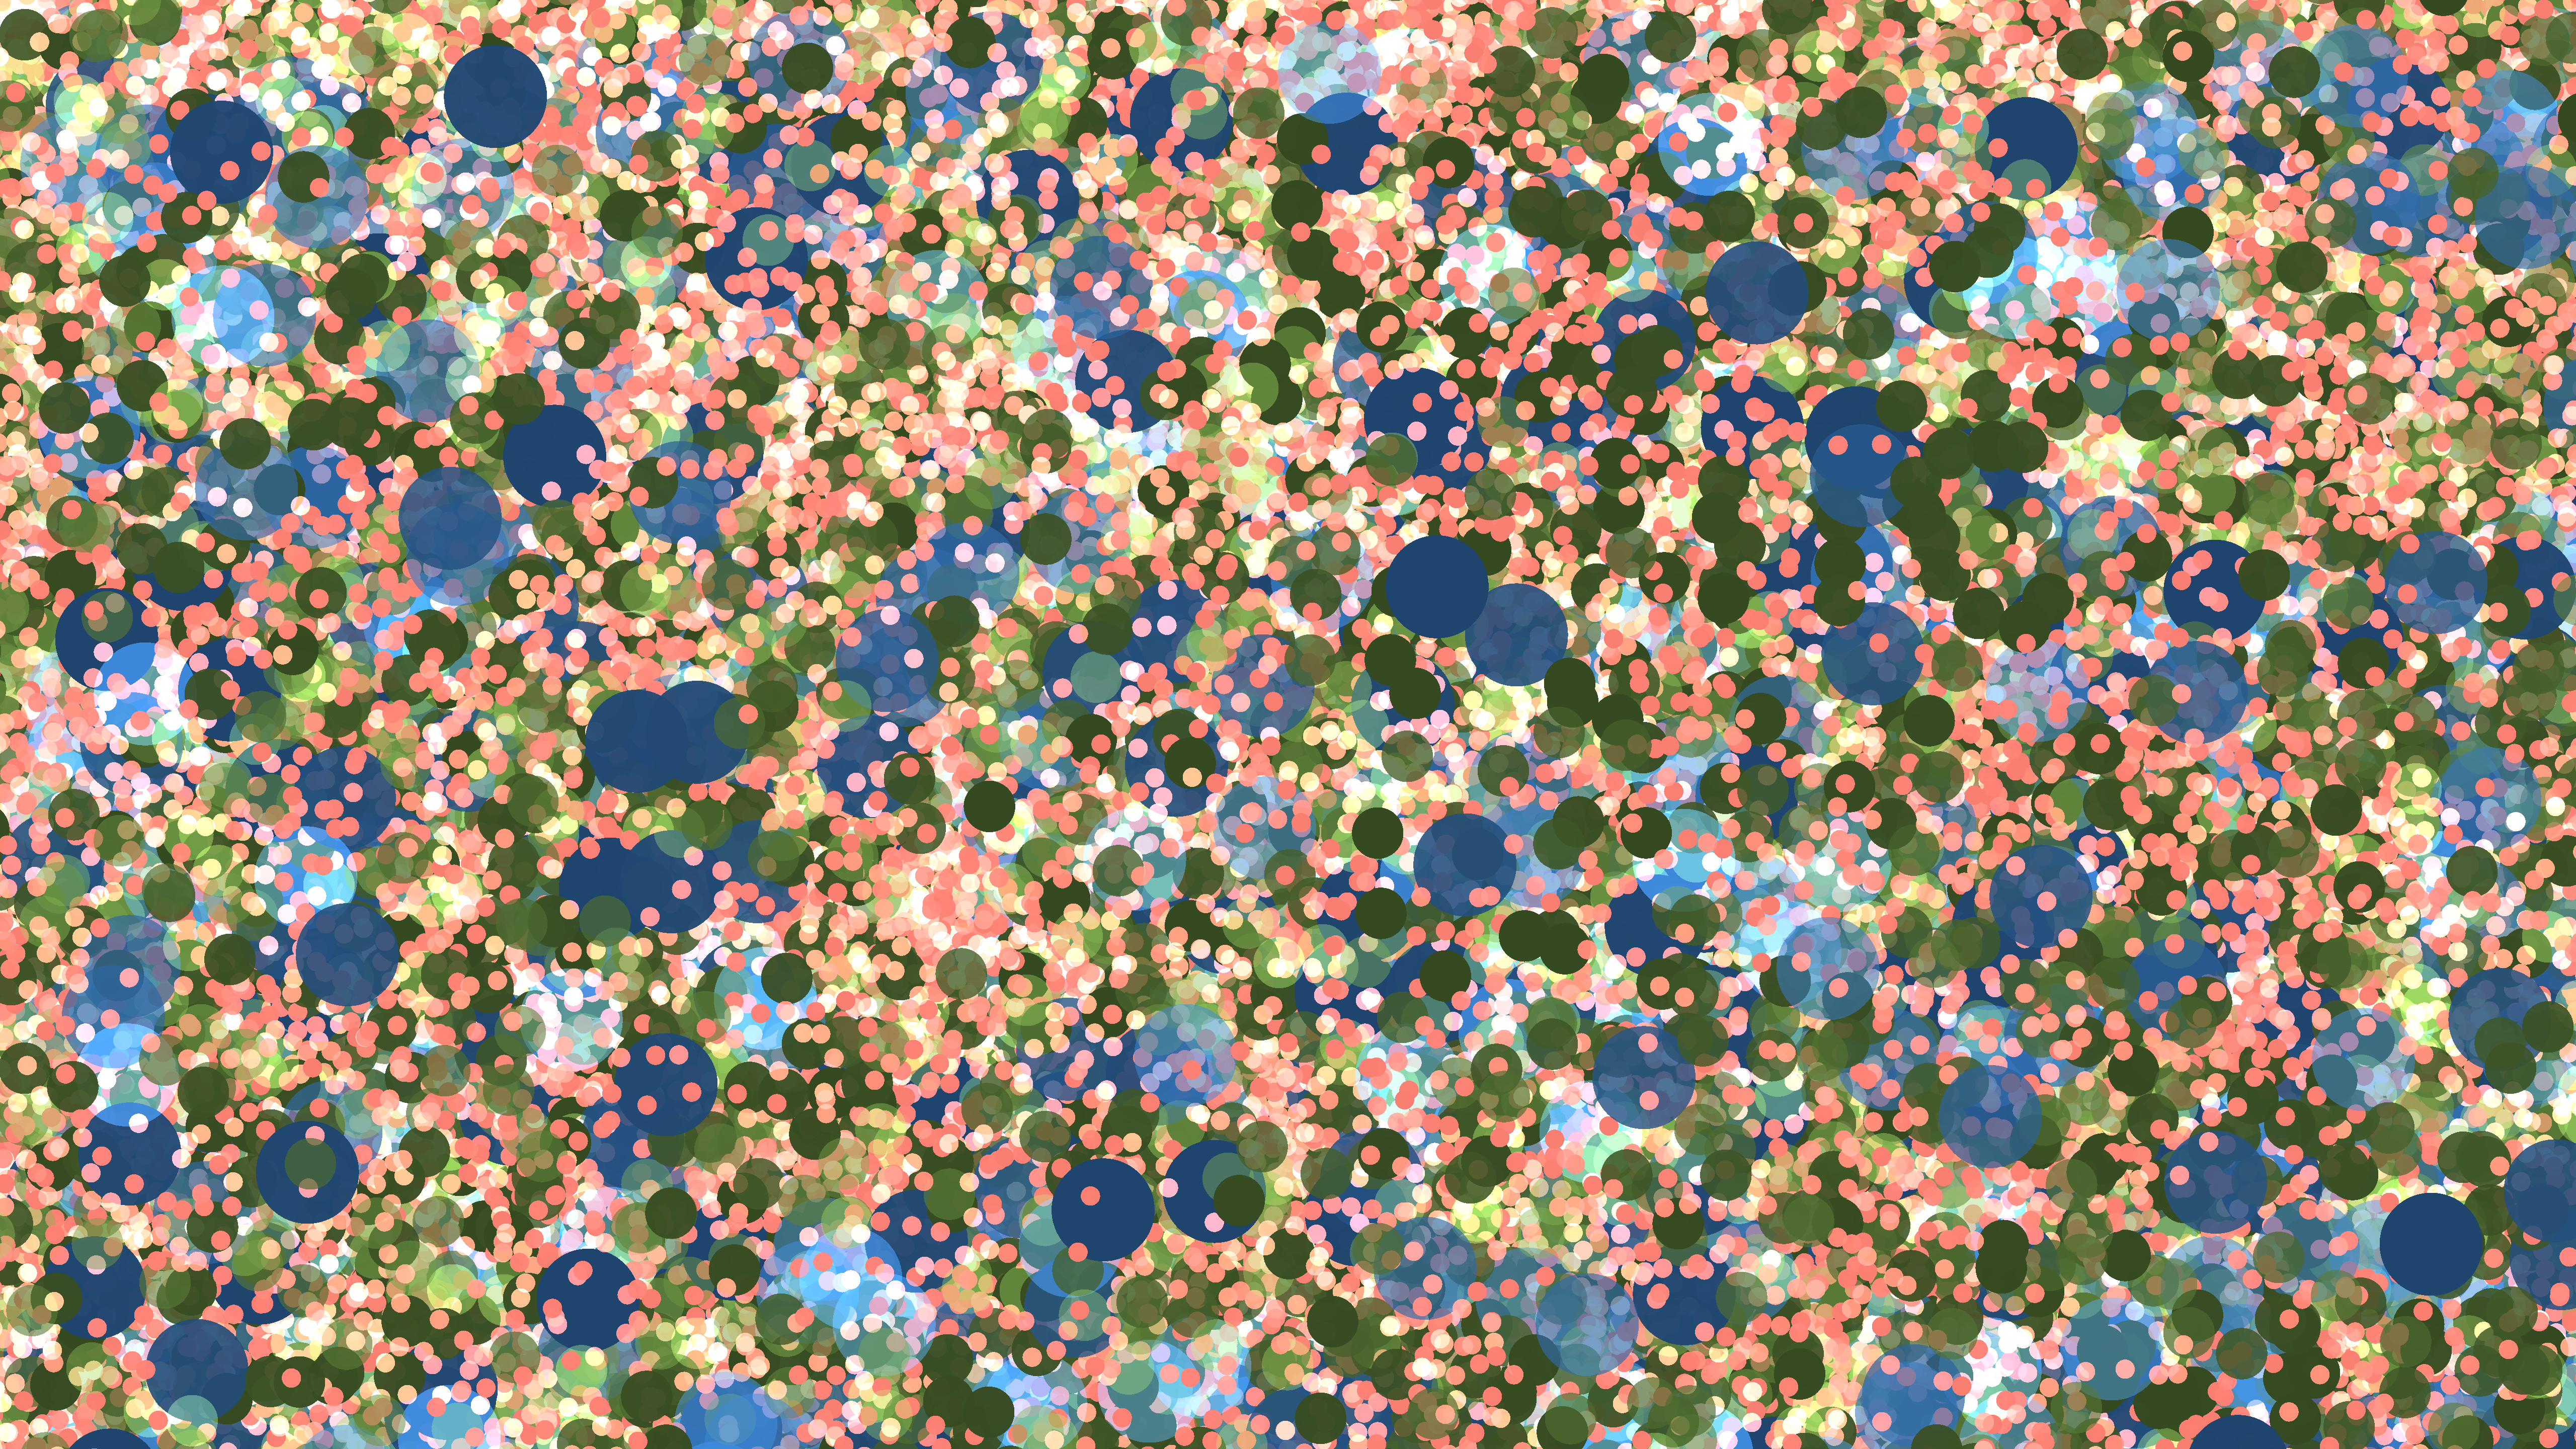
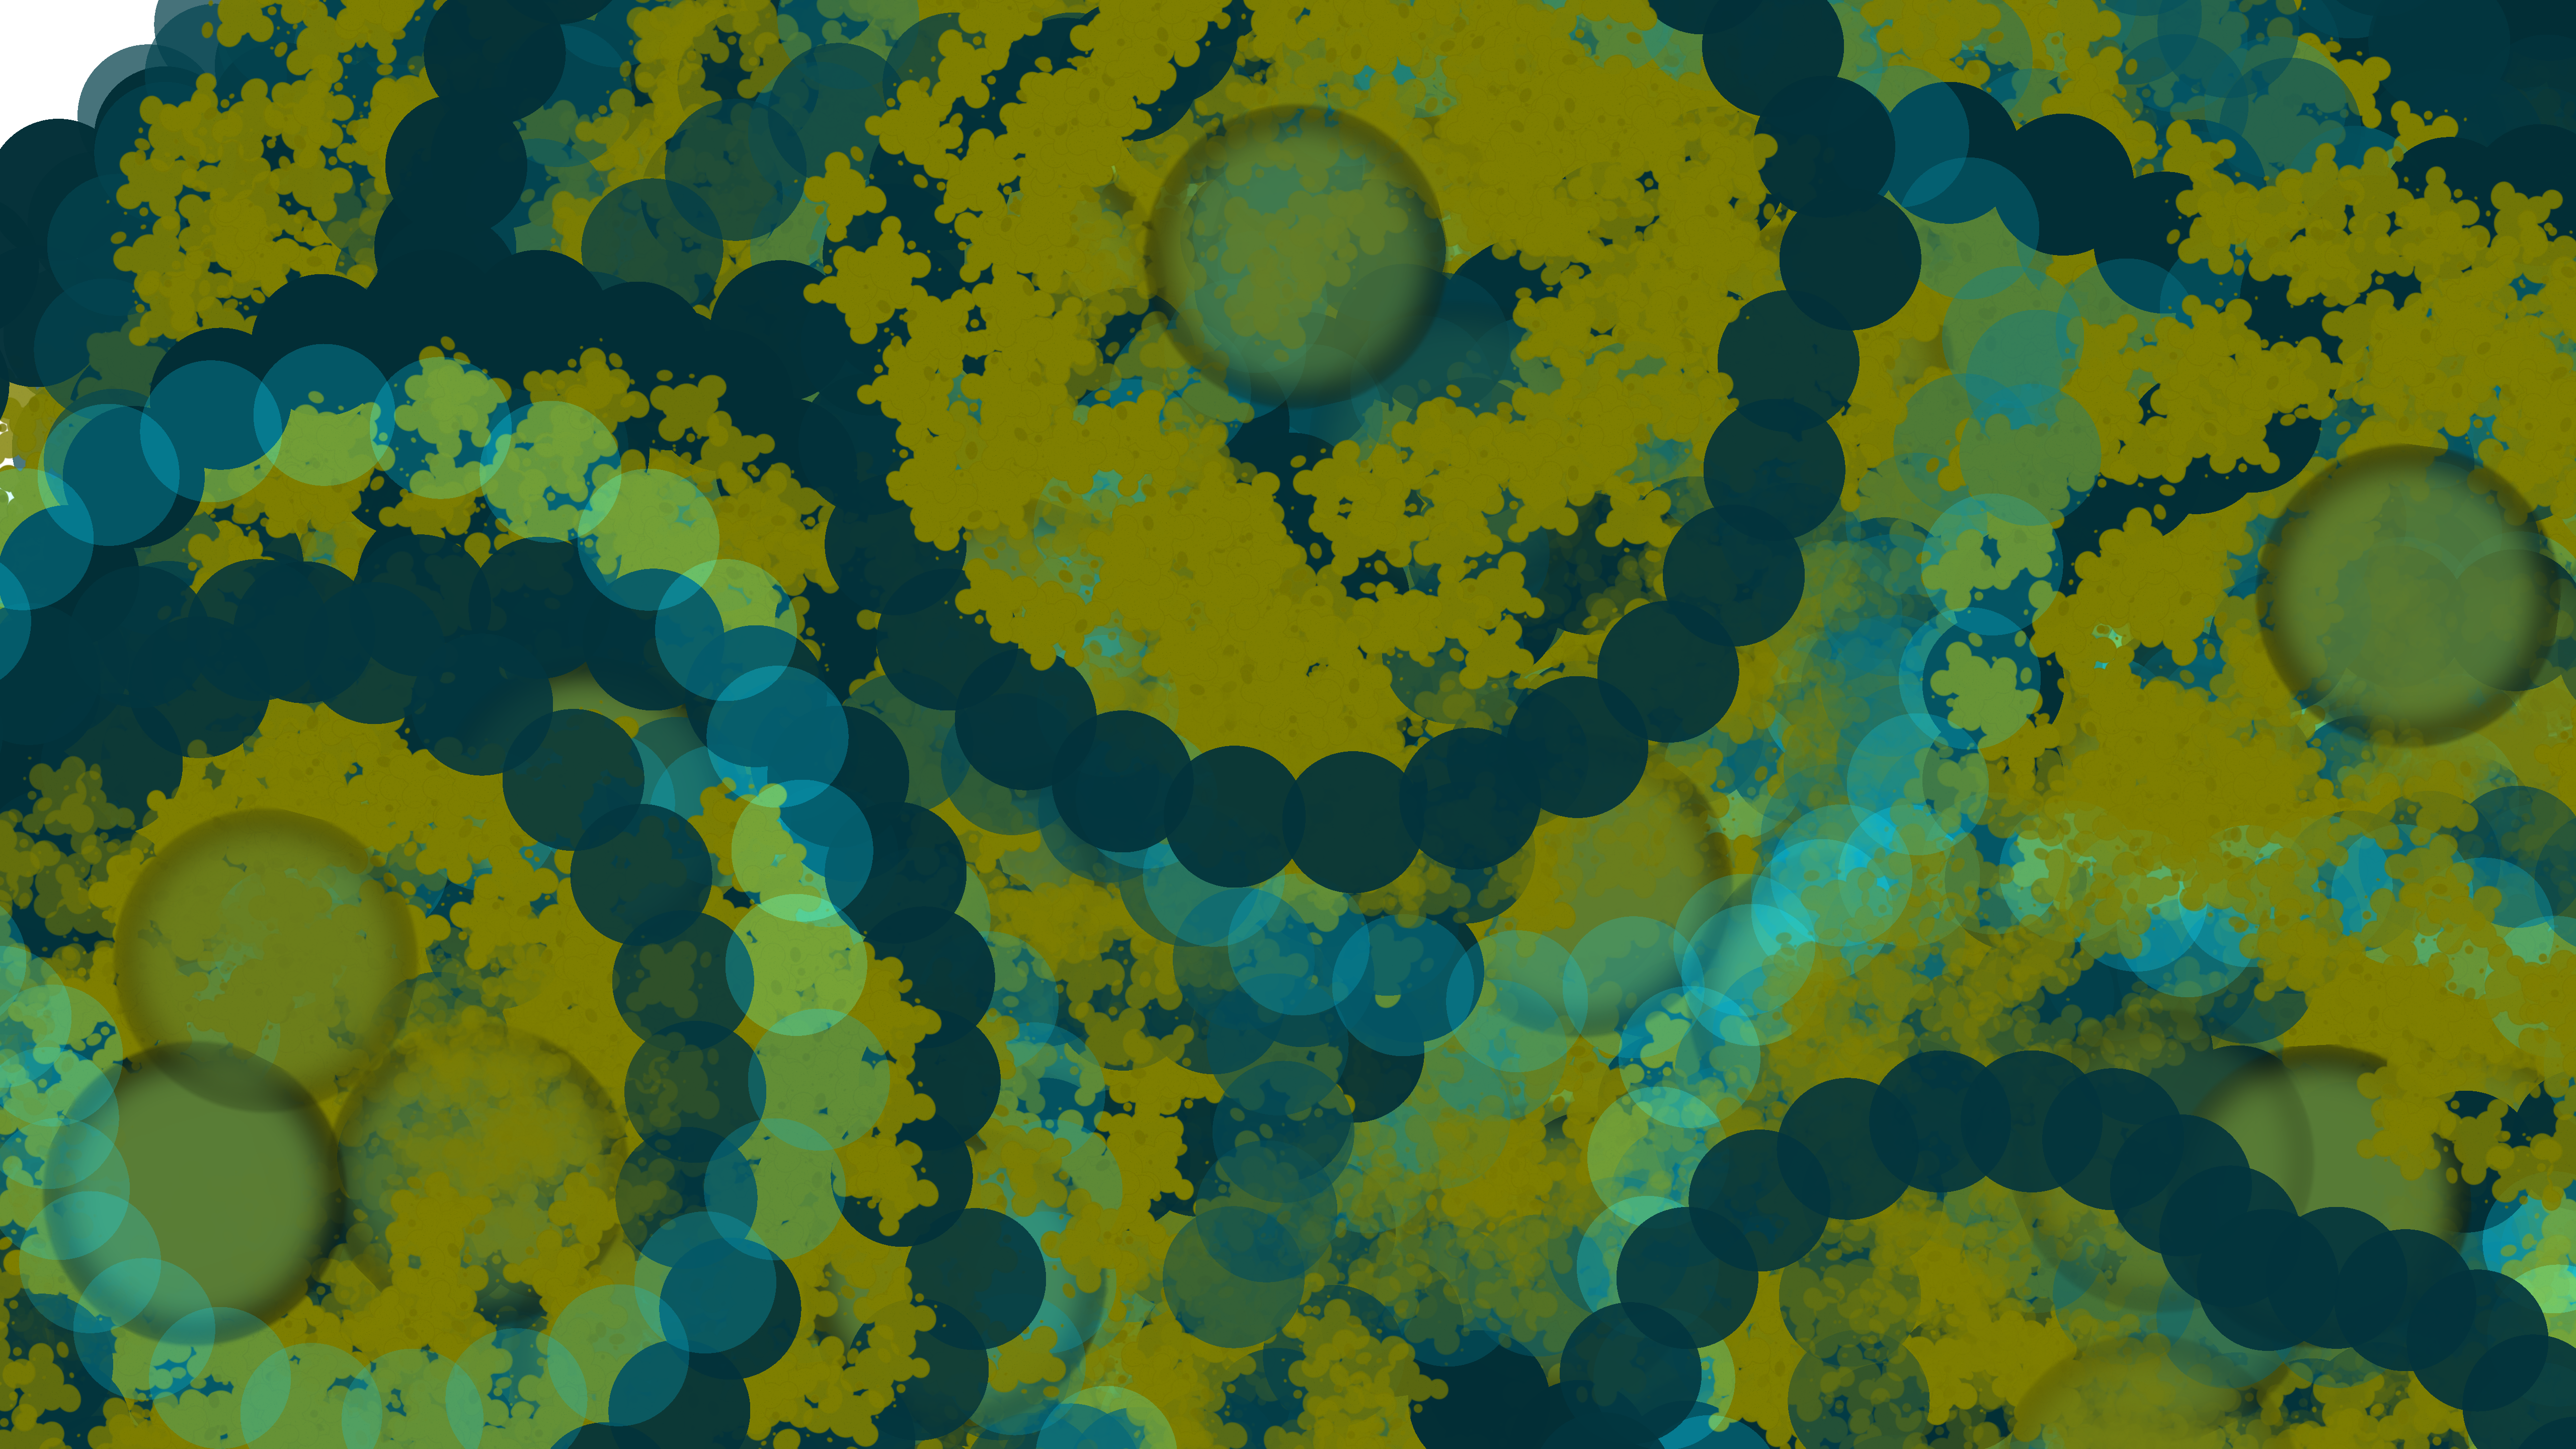
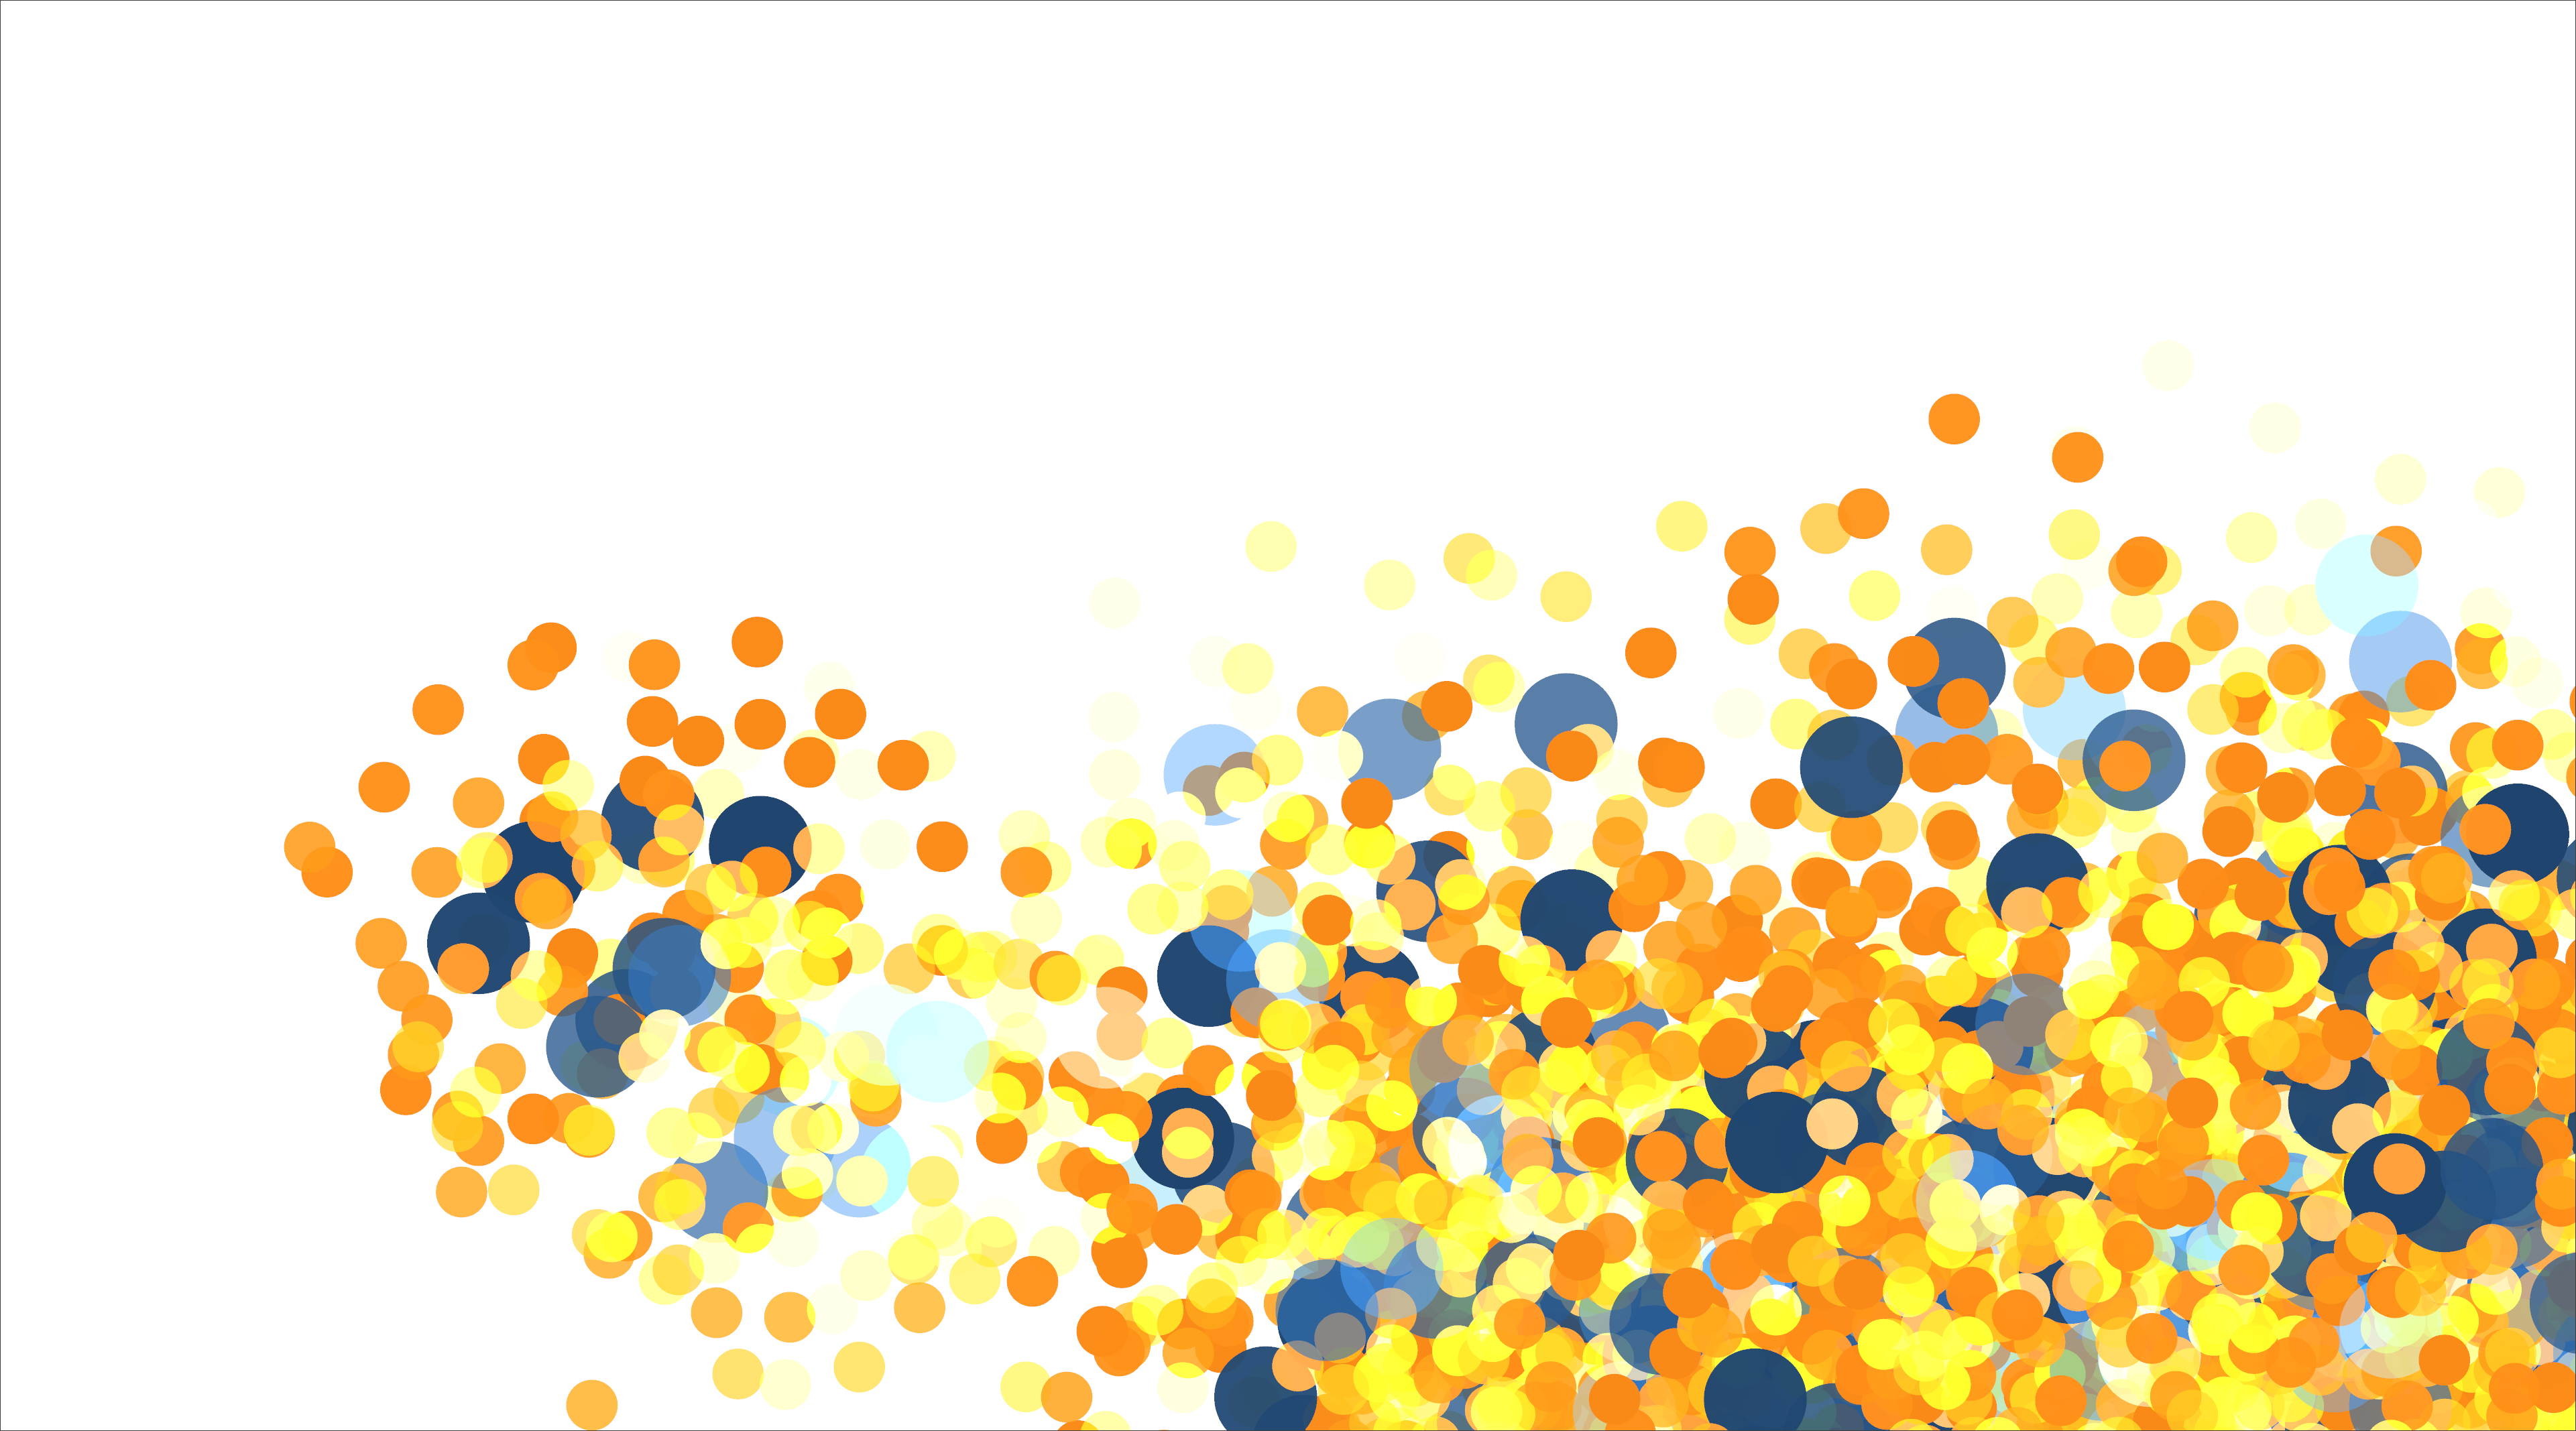
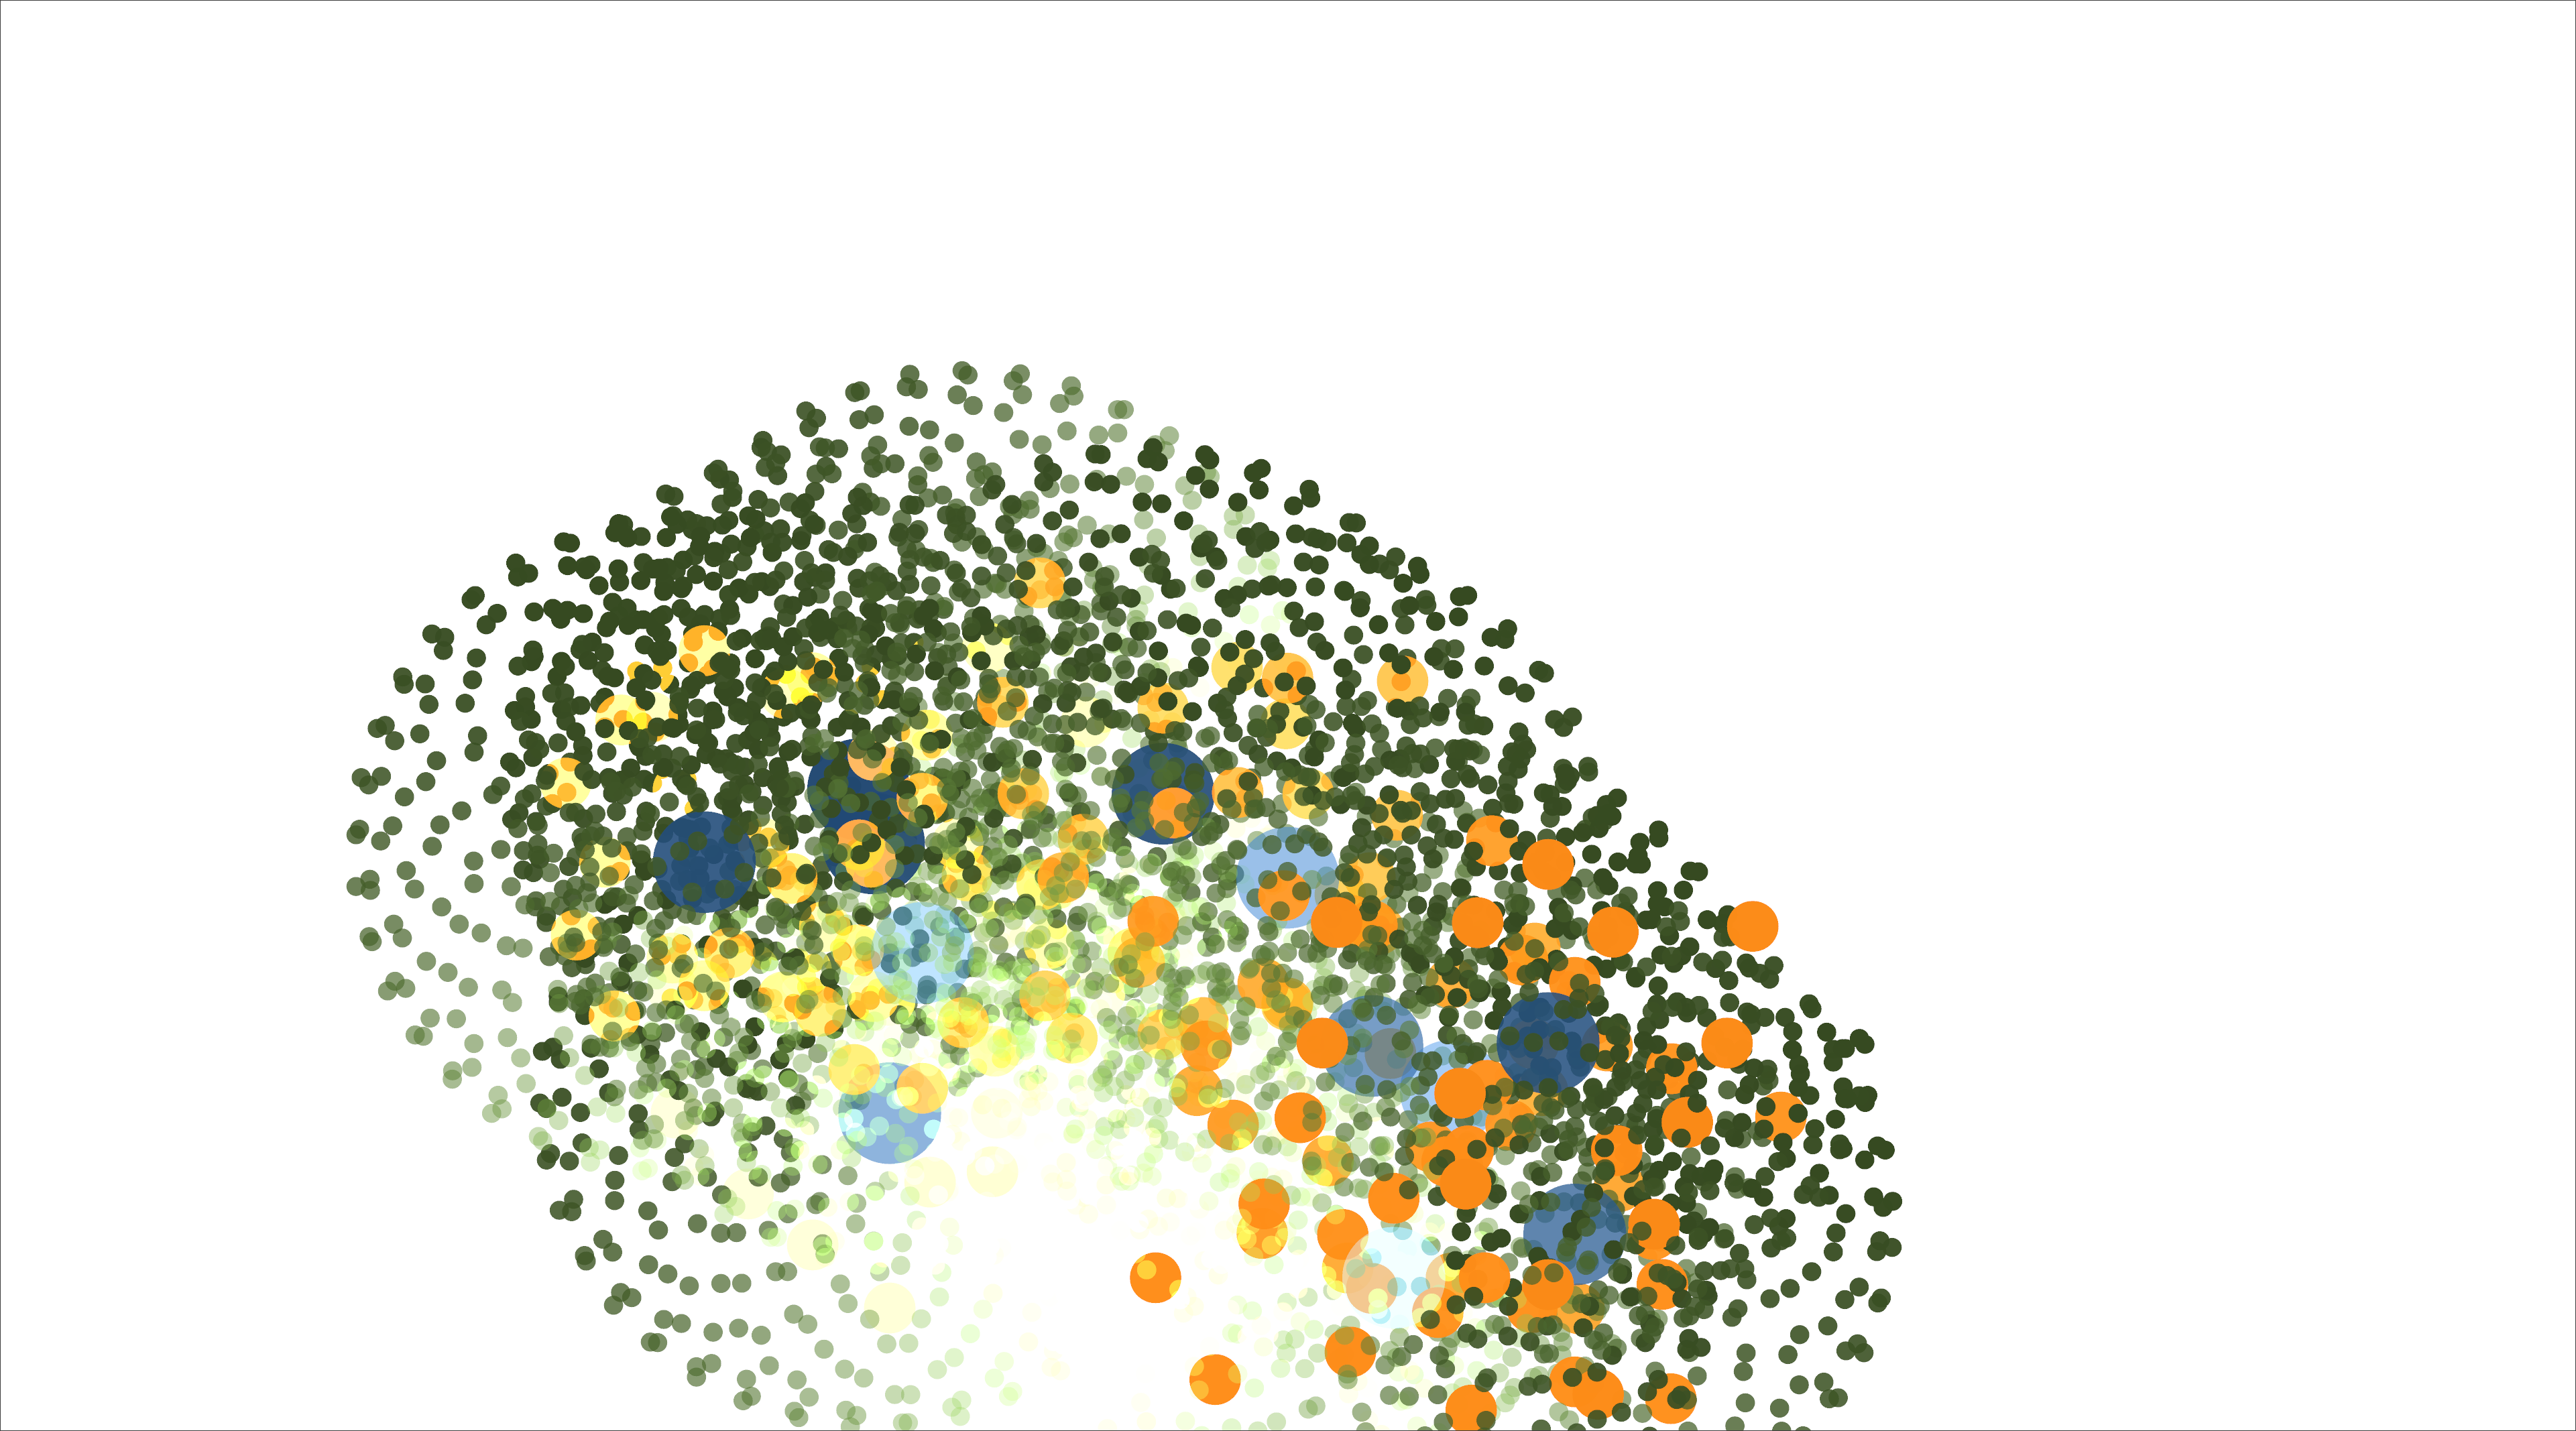
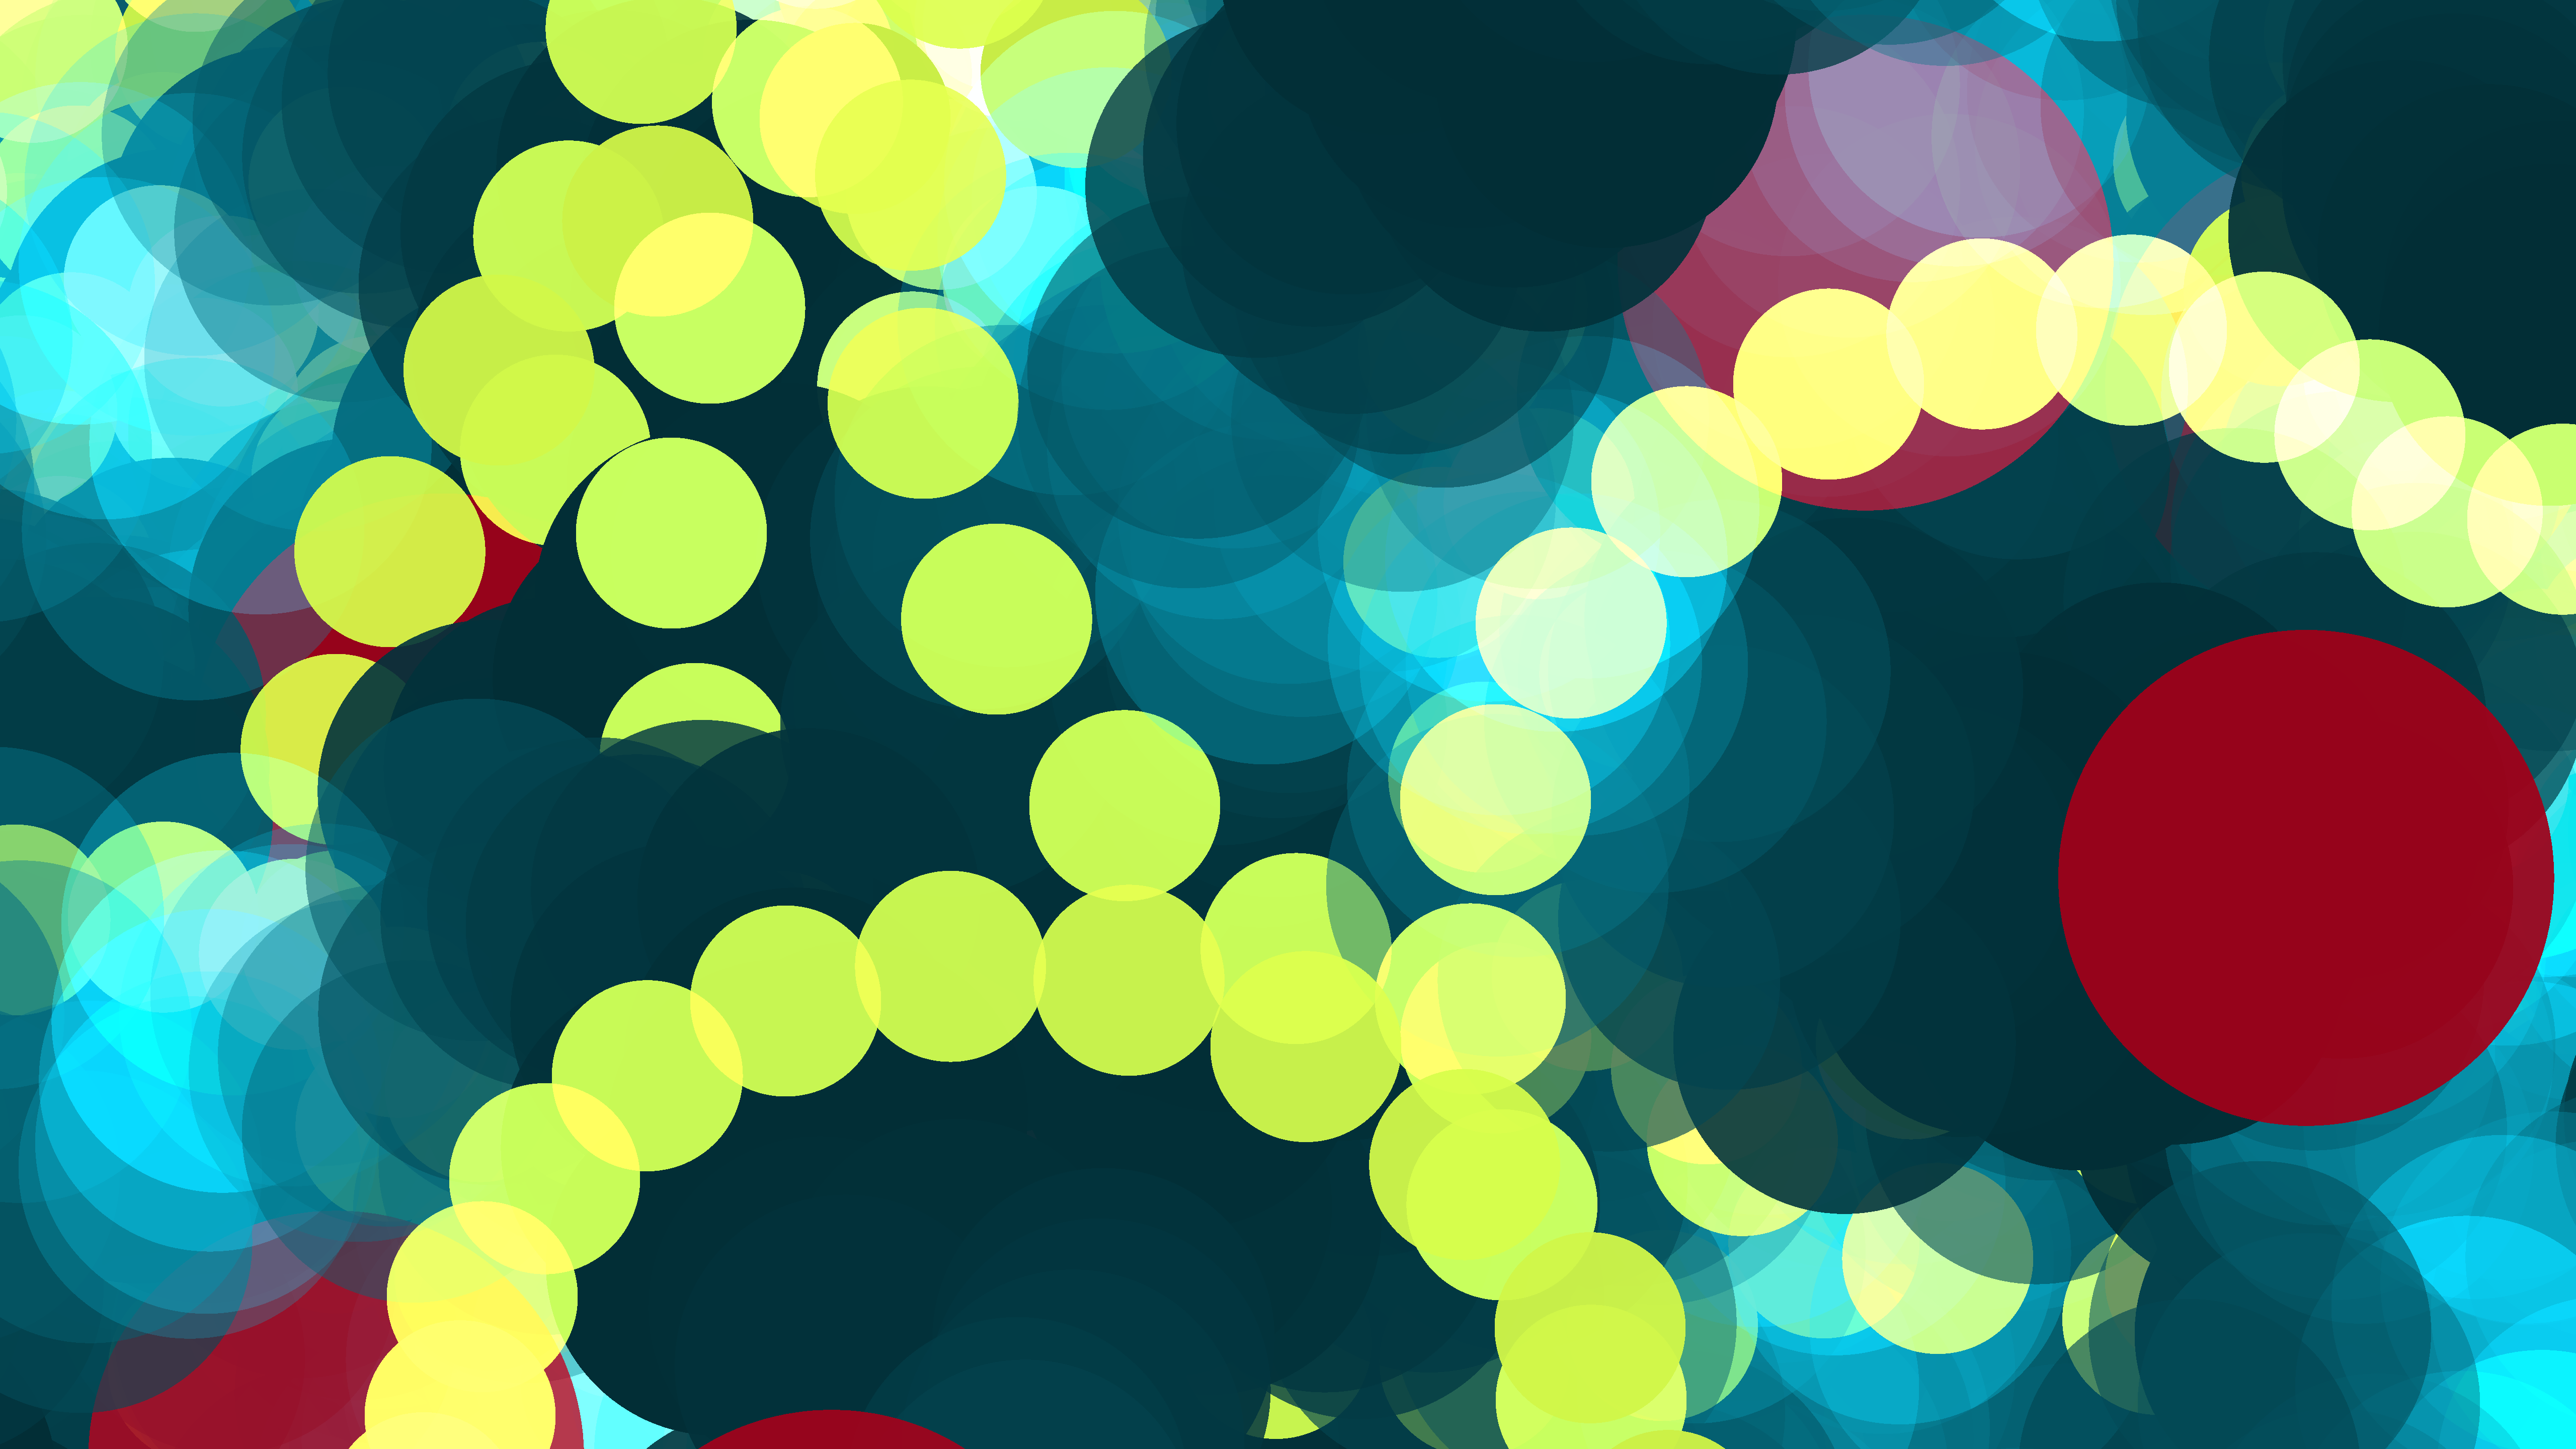
The randomization of the parent & spawn radii, as well as the colors, had some of the greatest impact. From these changes, the output of the program went from drawings that looked mostly like this:
to ones that looked like this:

I hope you can see what I meant earlier about this being a moment of realization for me — literally made me weak at the knees and have to find a settee to rest on.
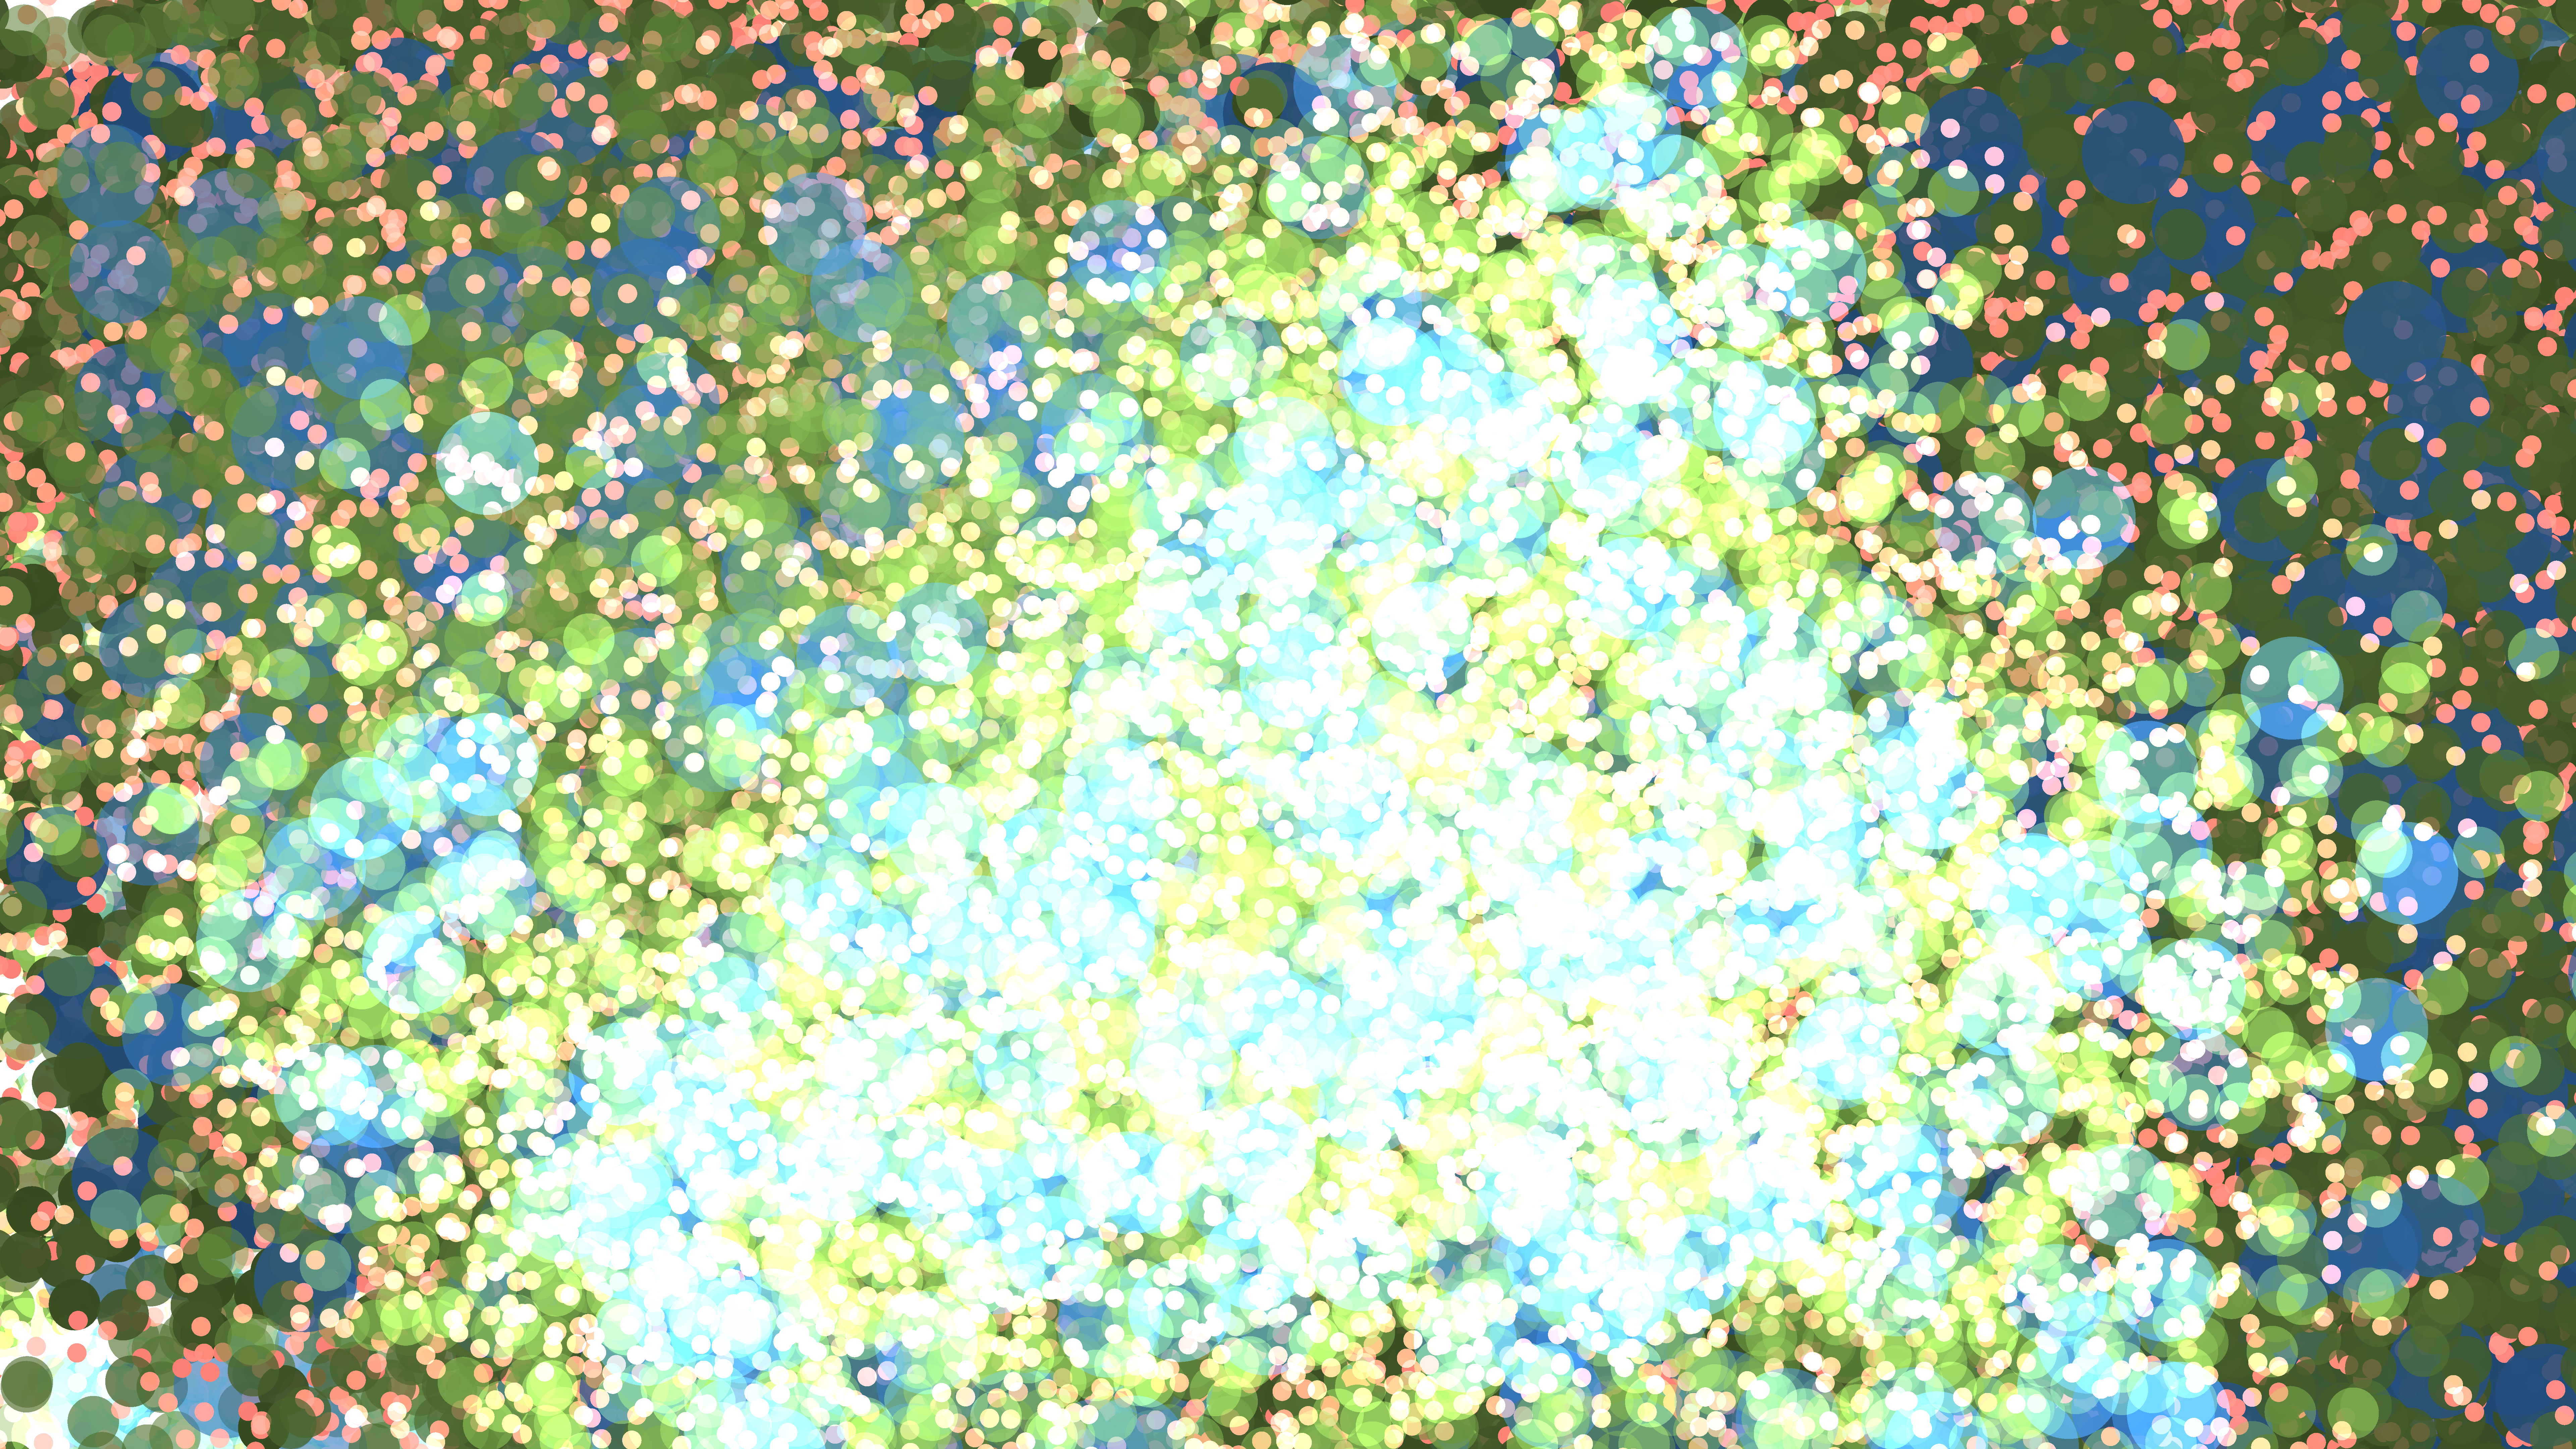
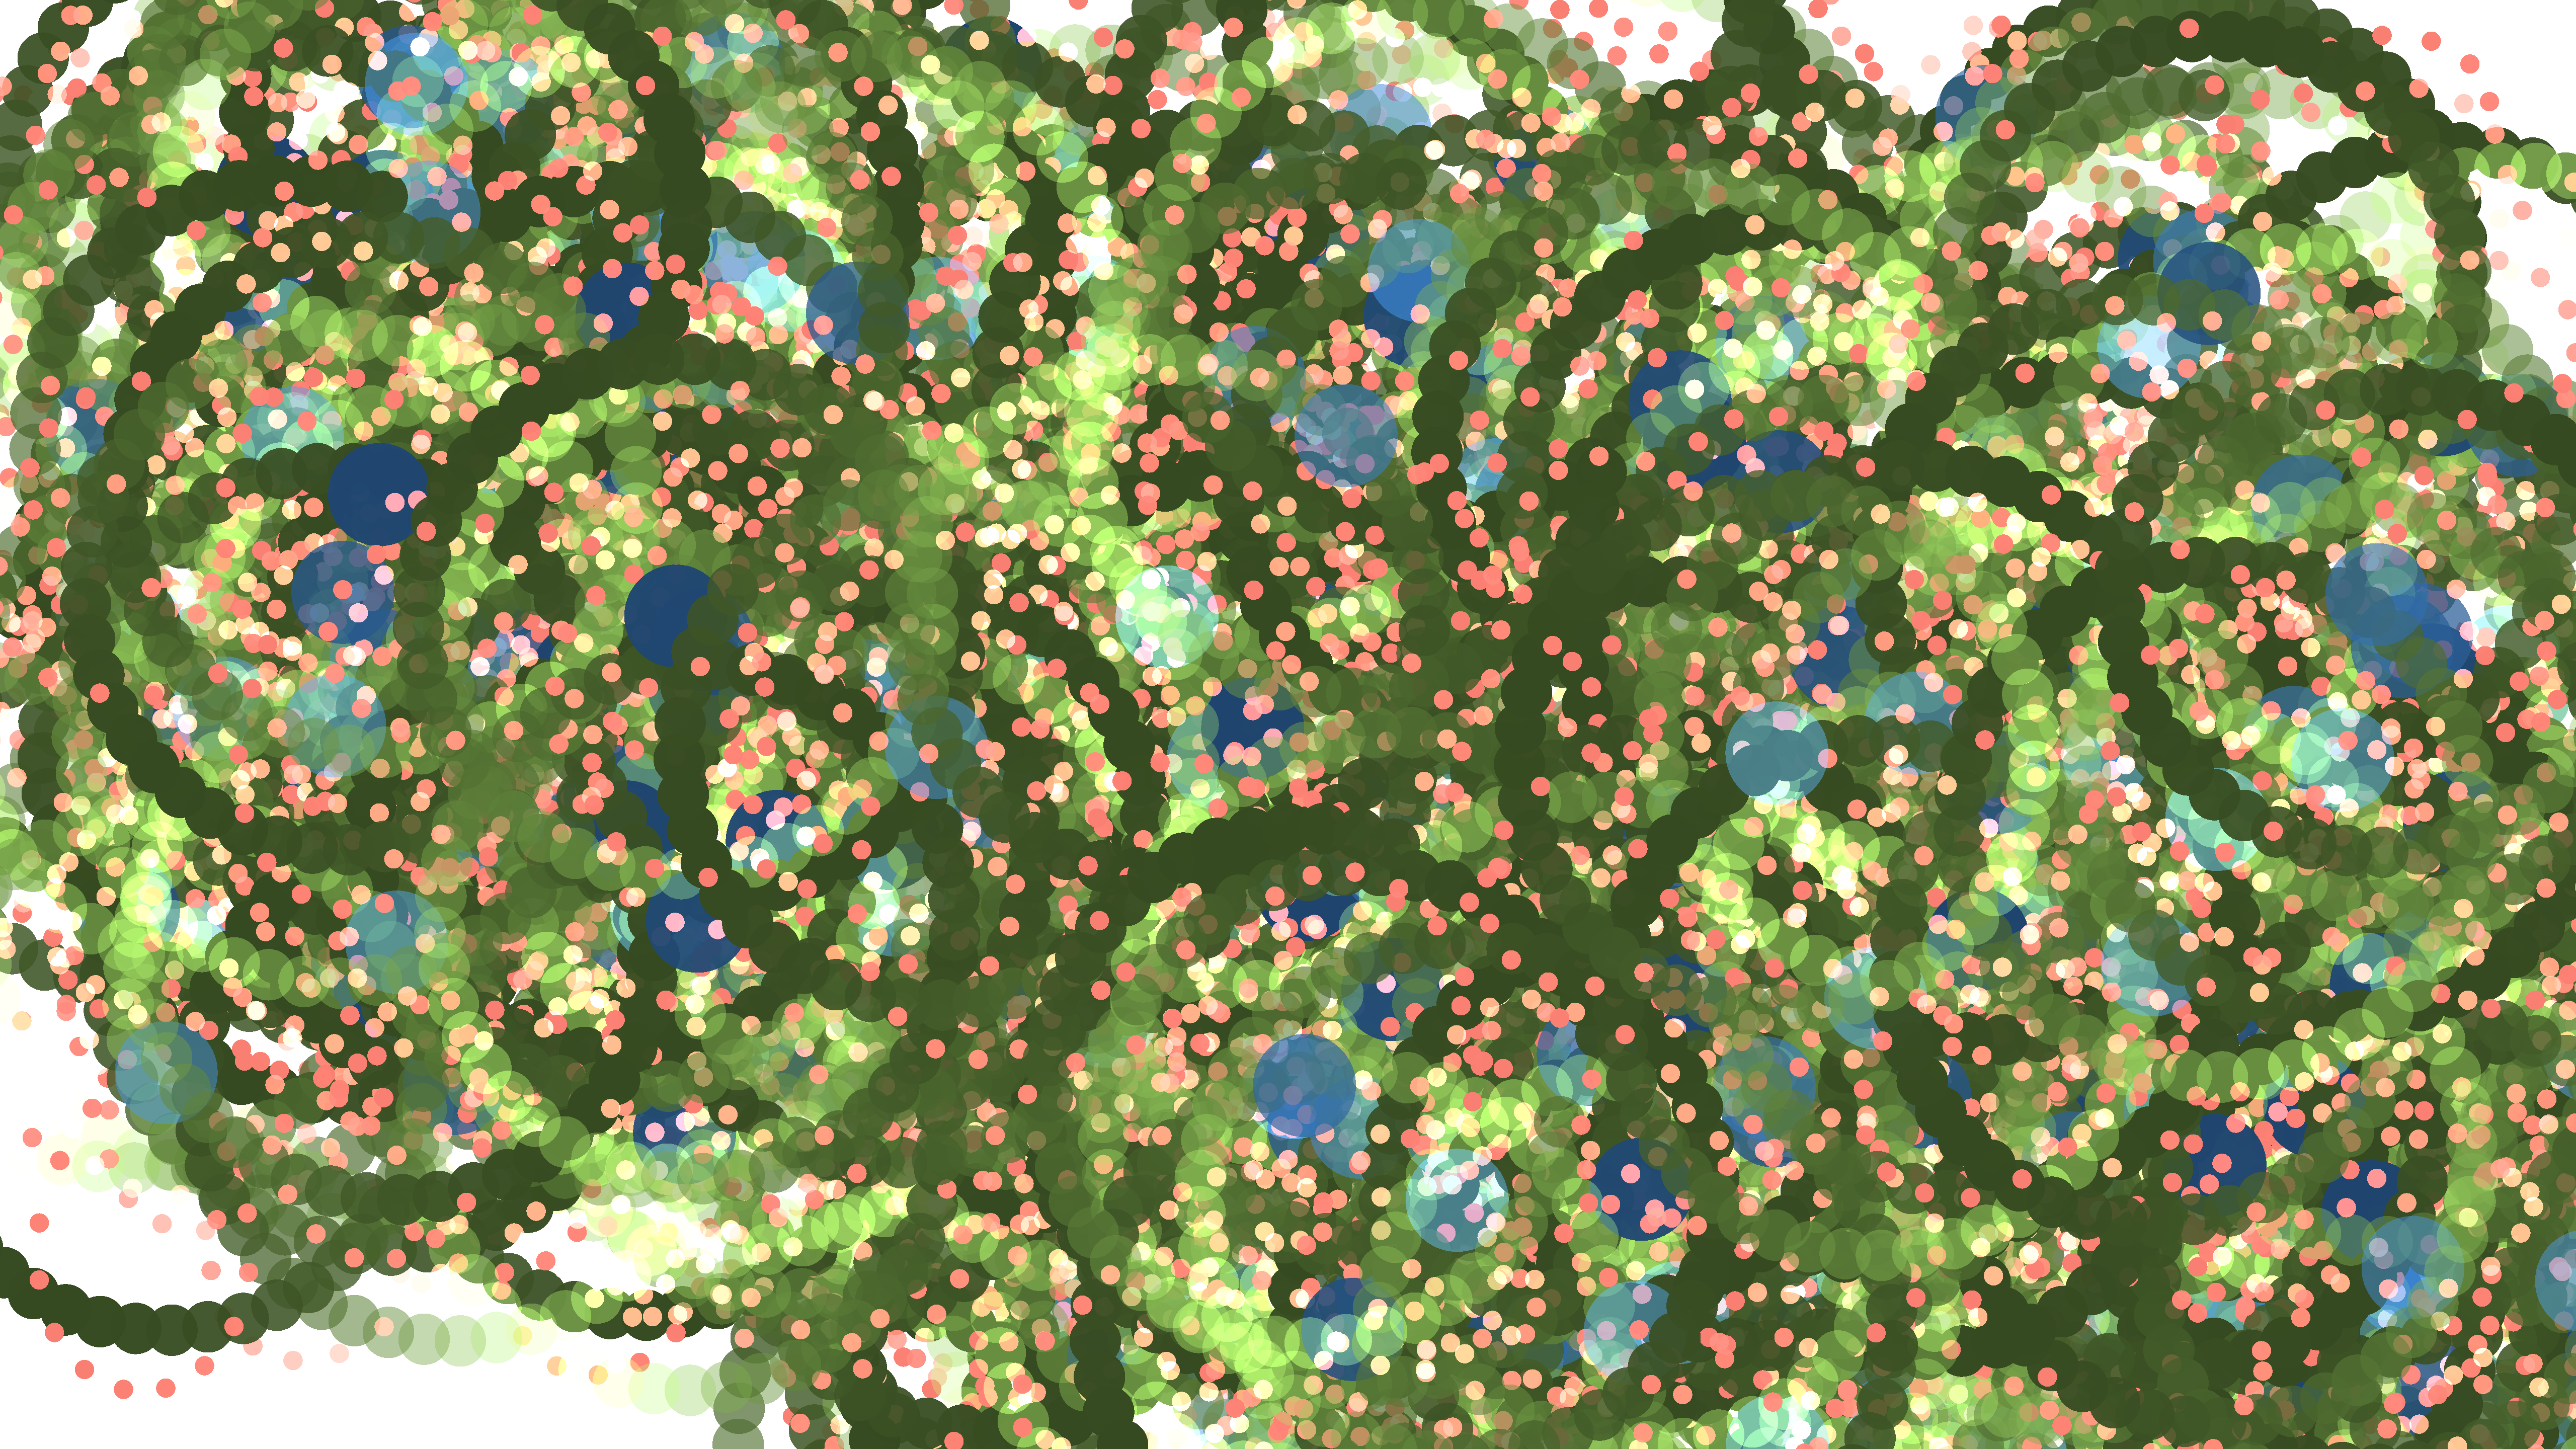
More colors
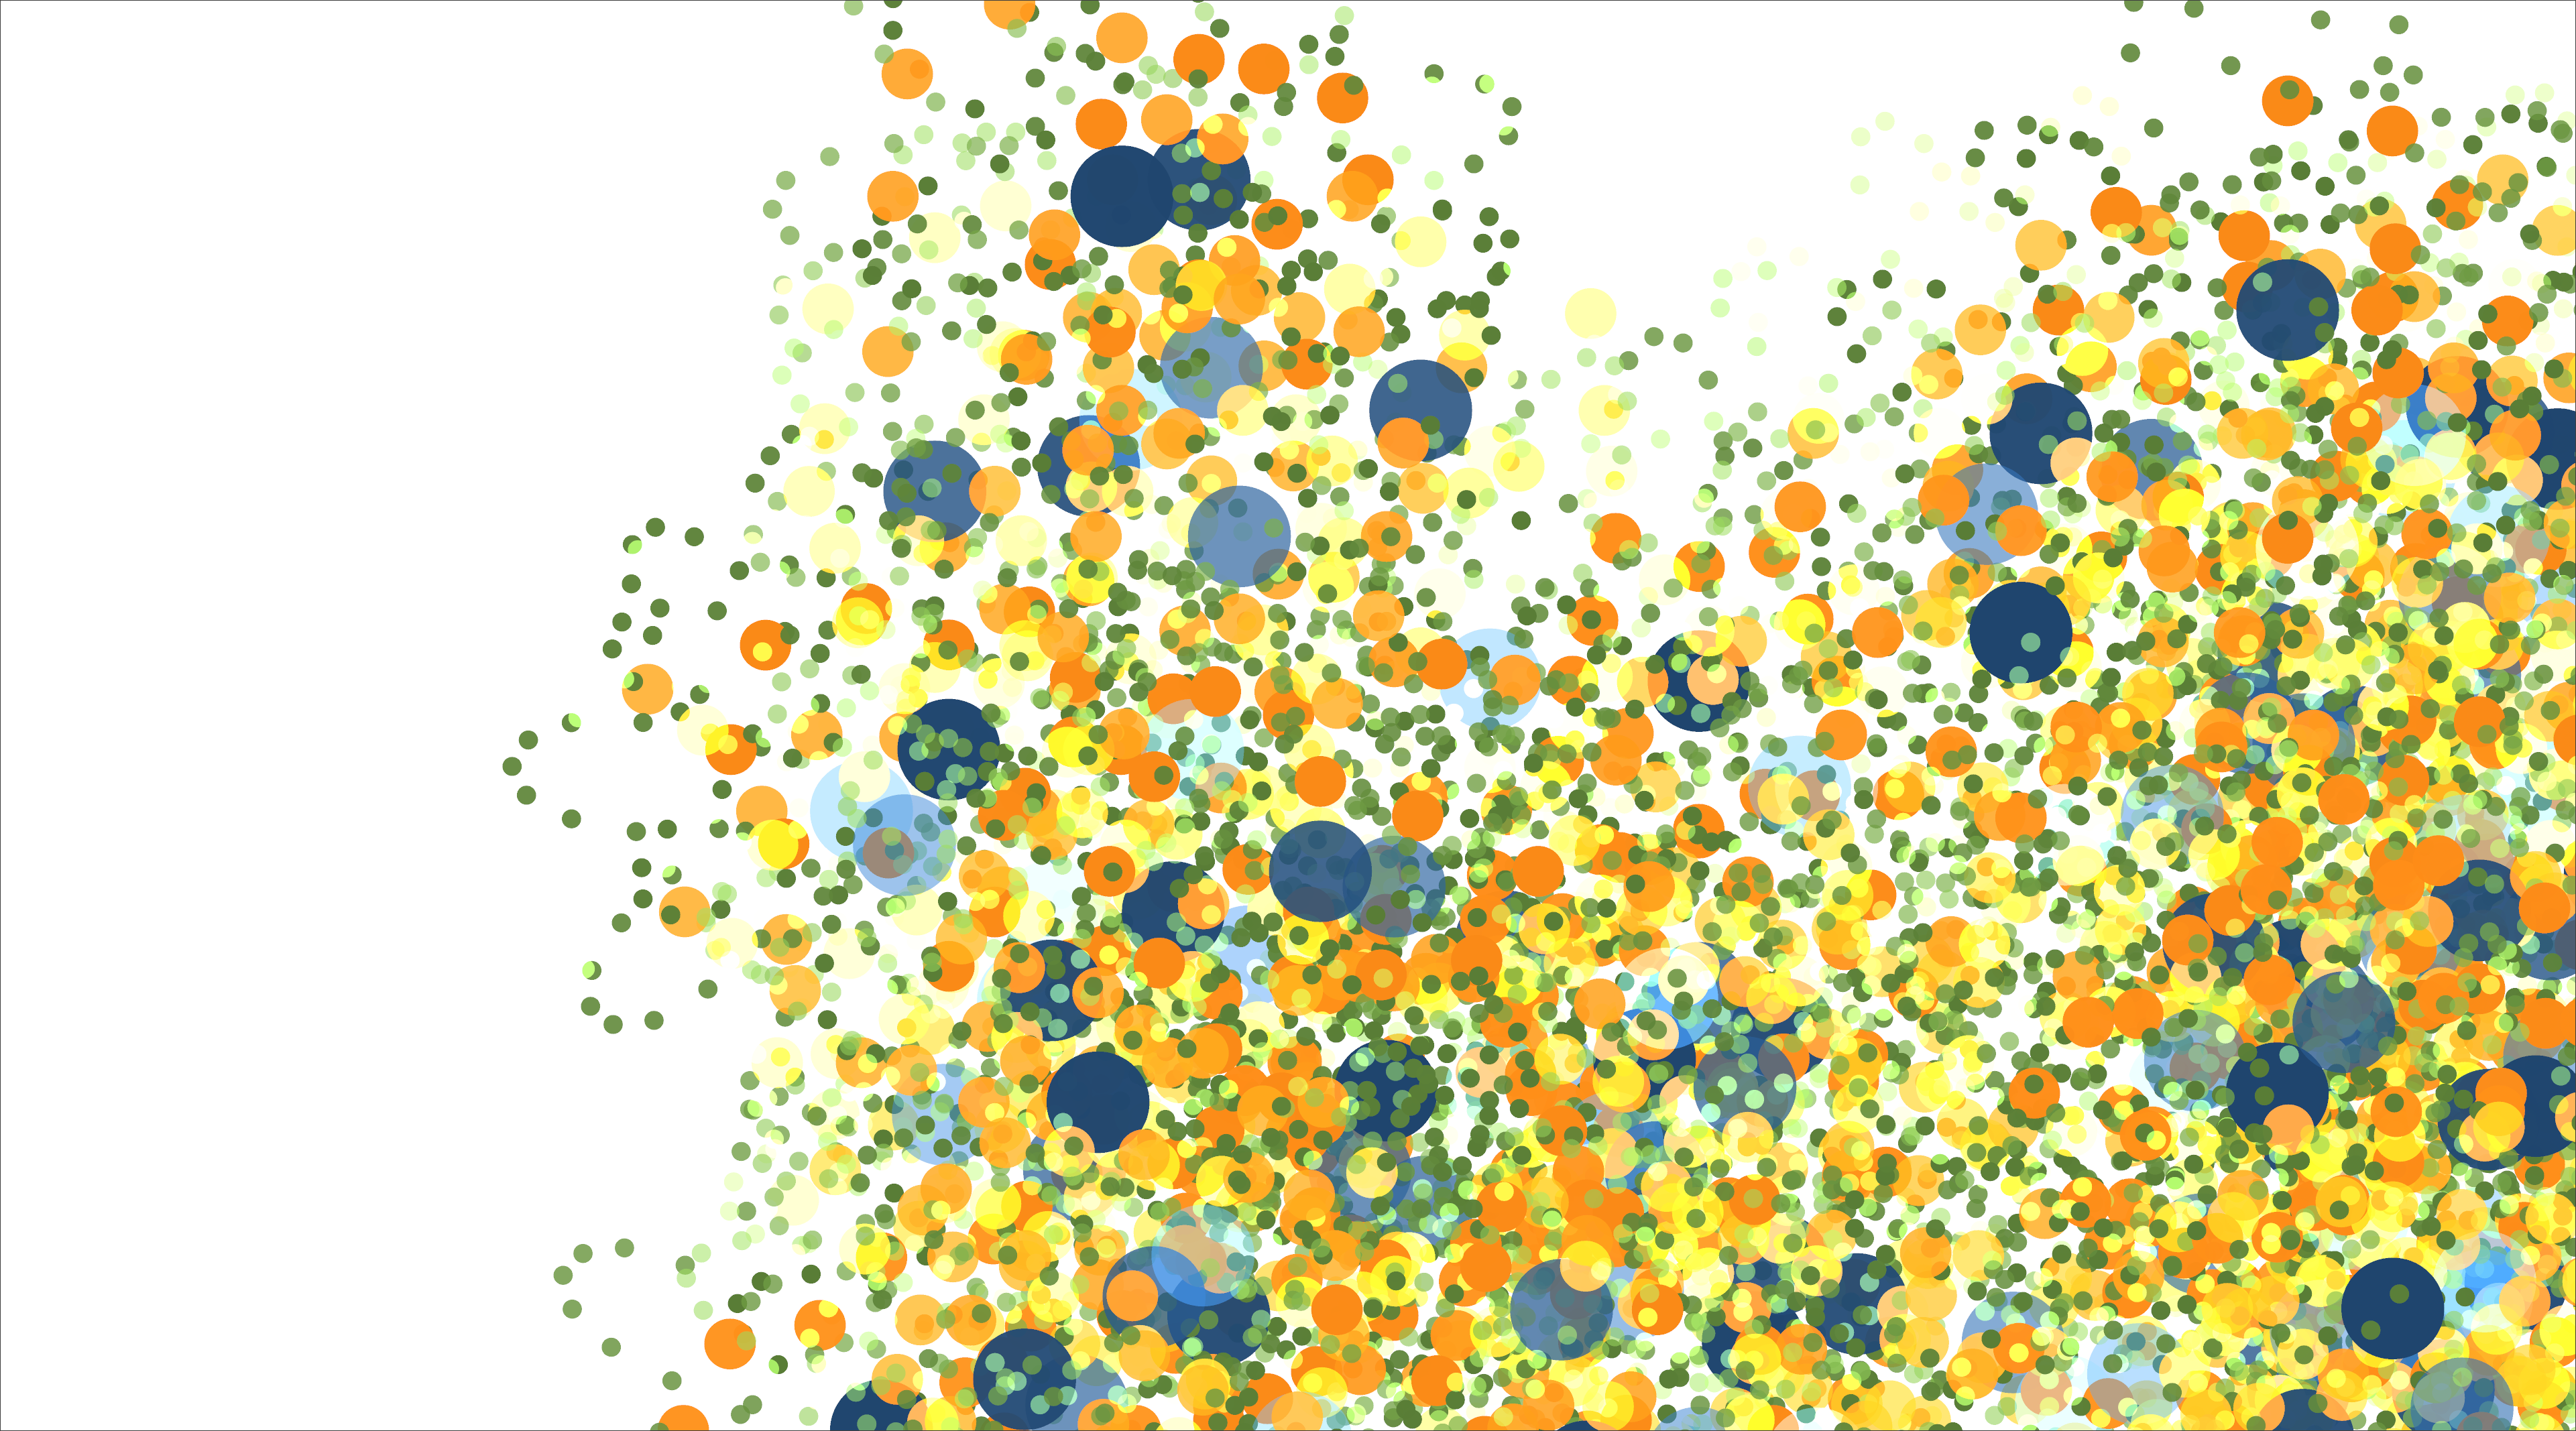
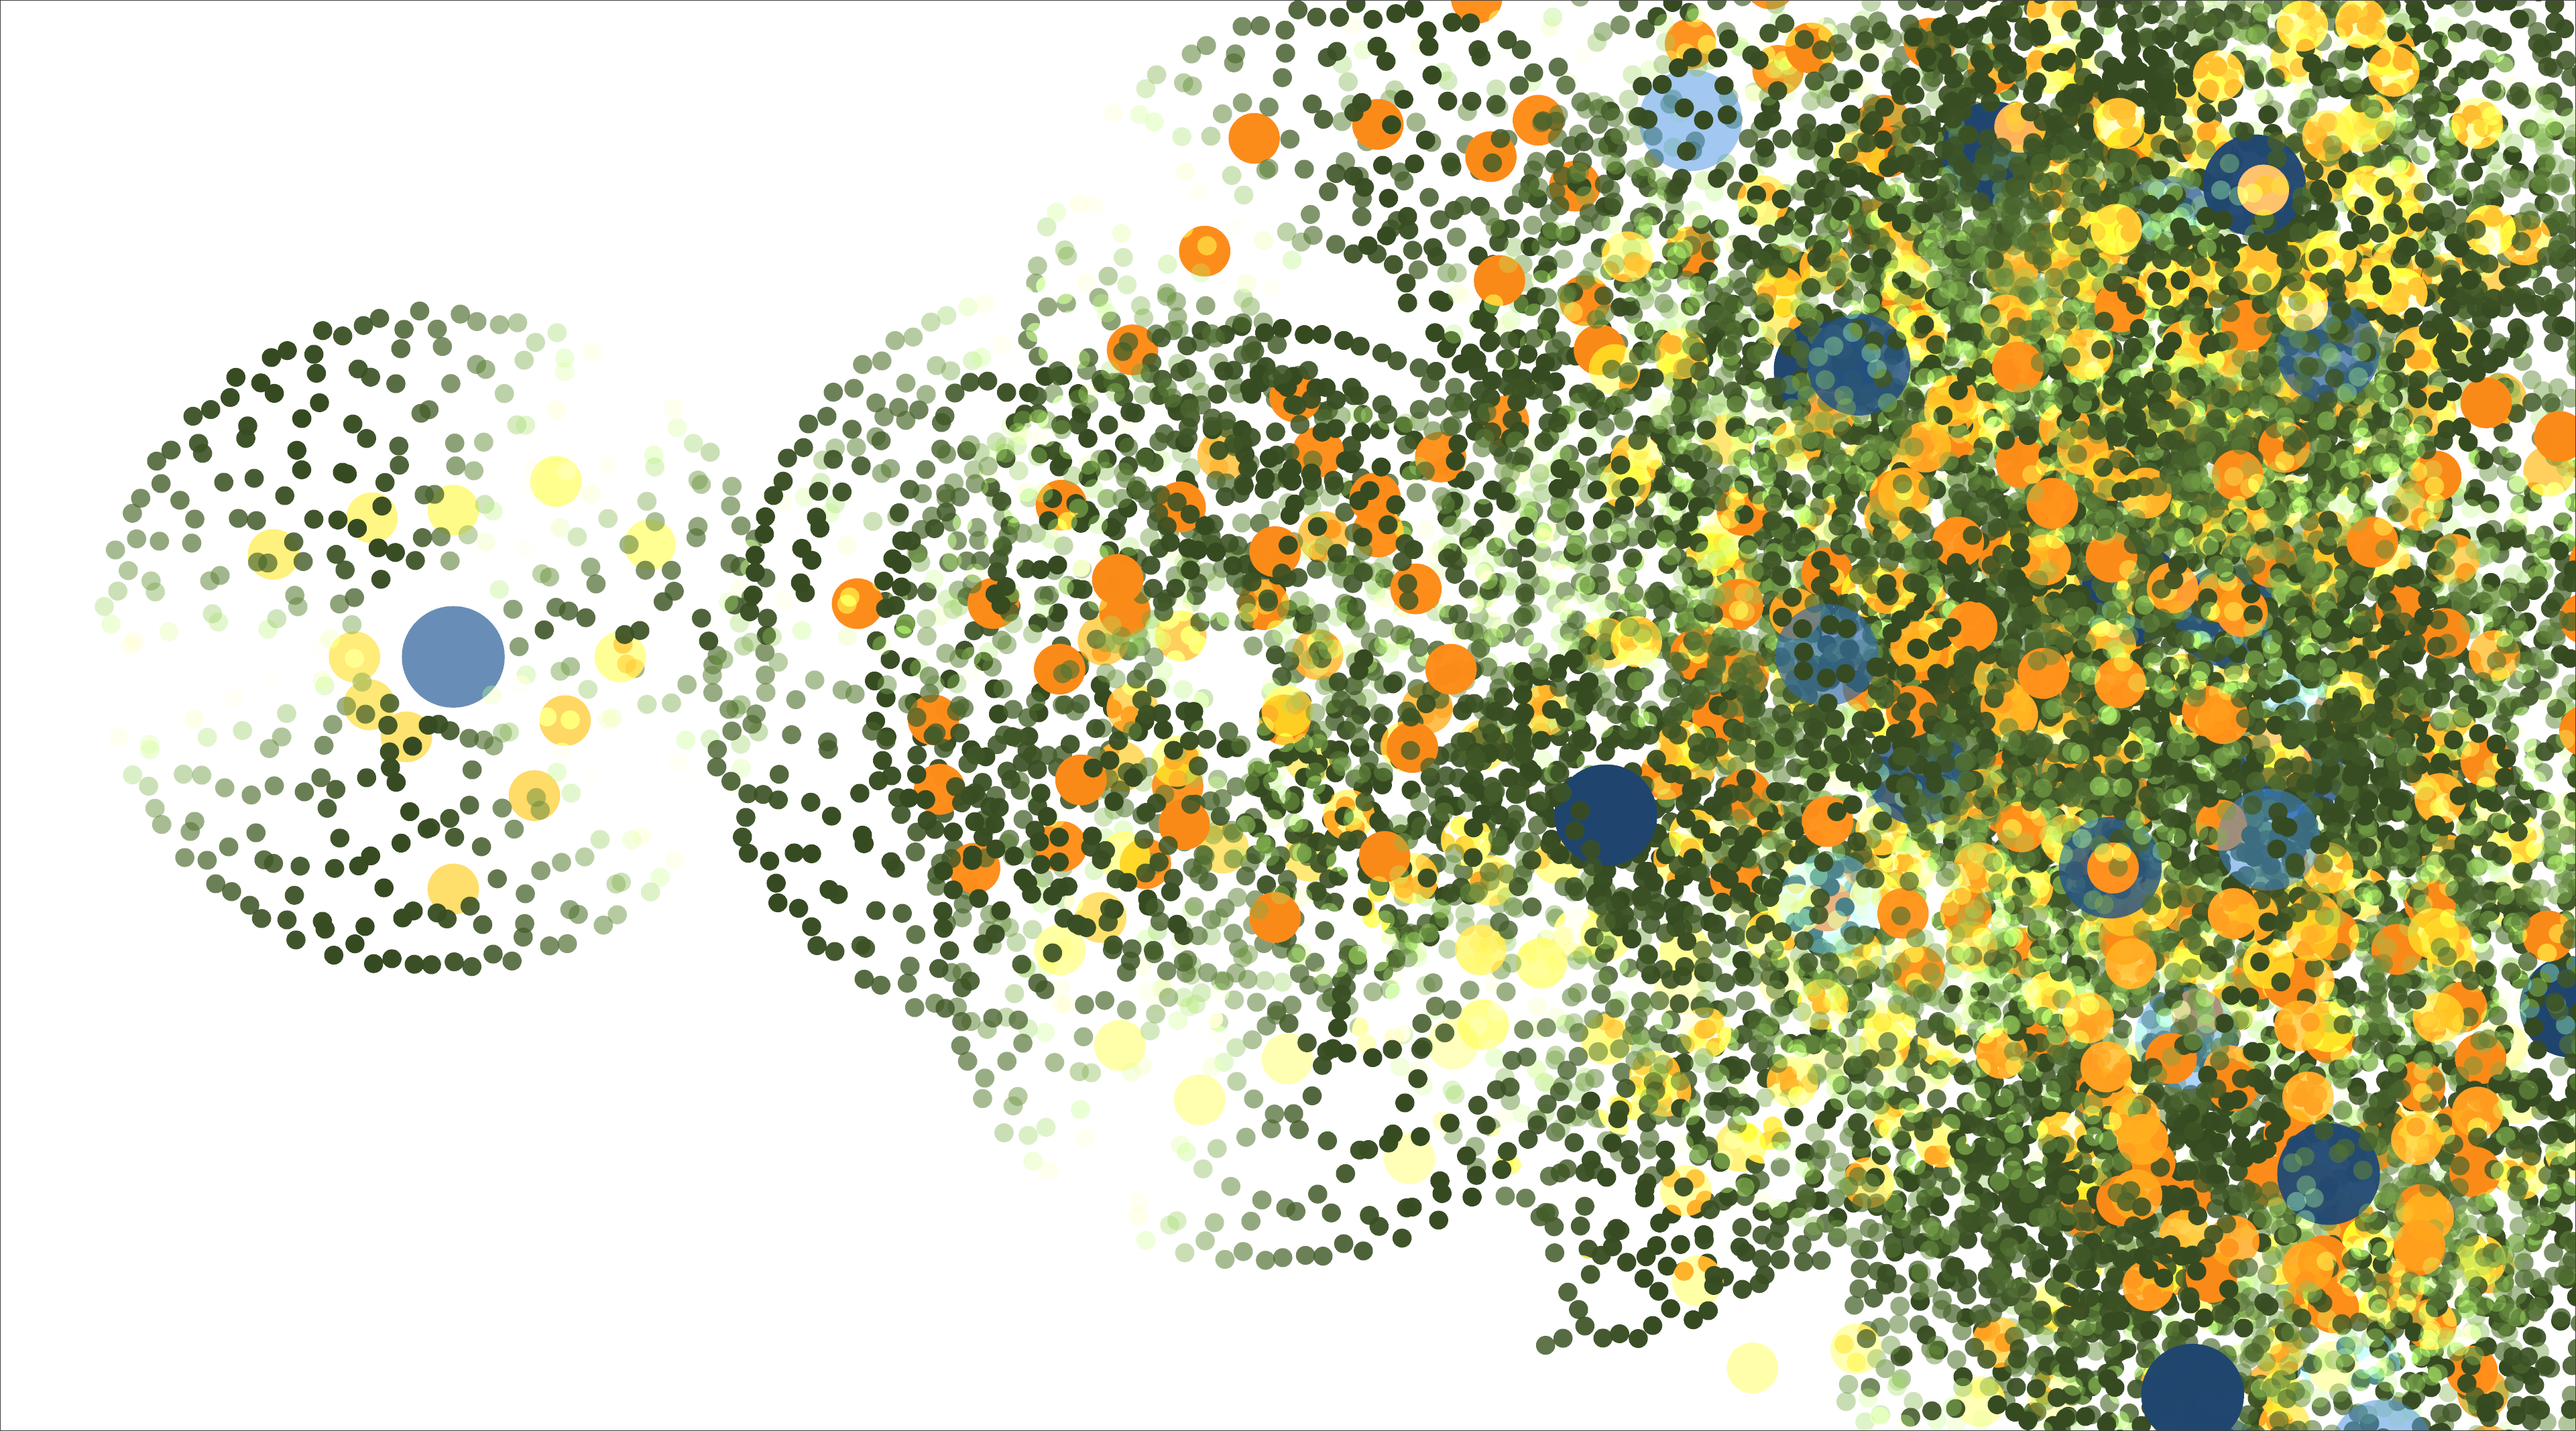
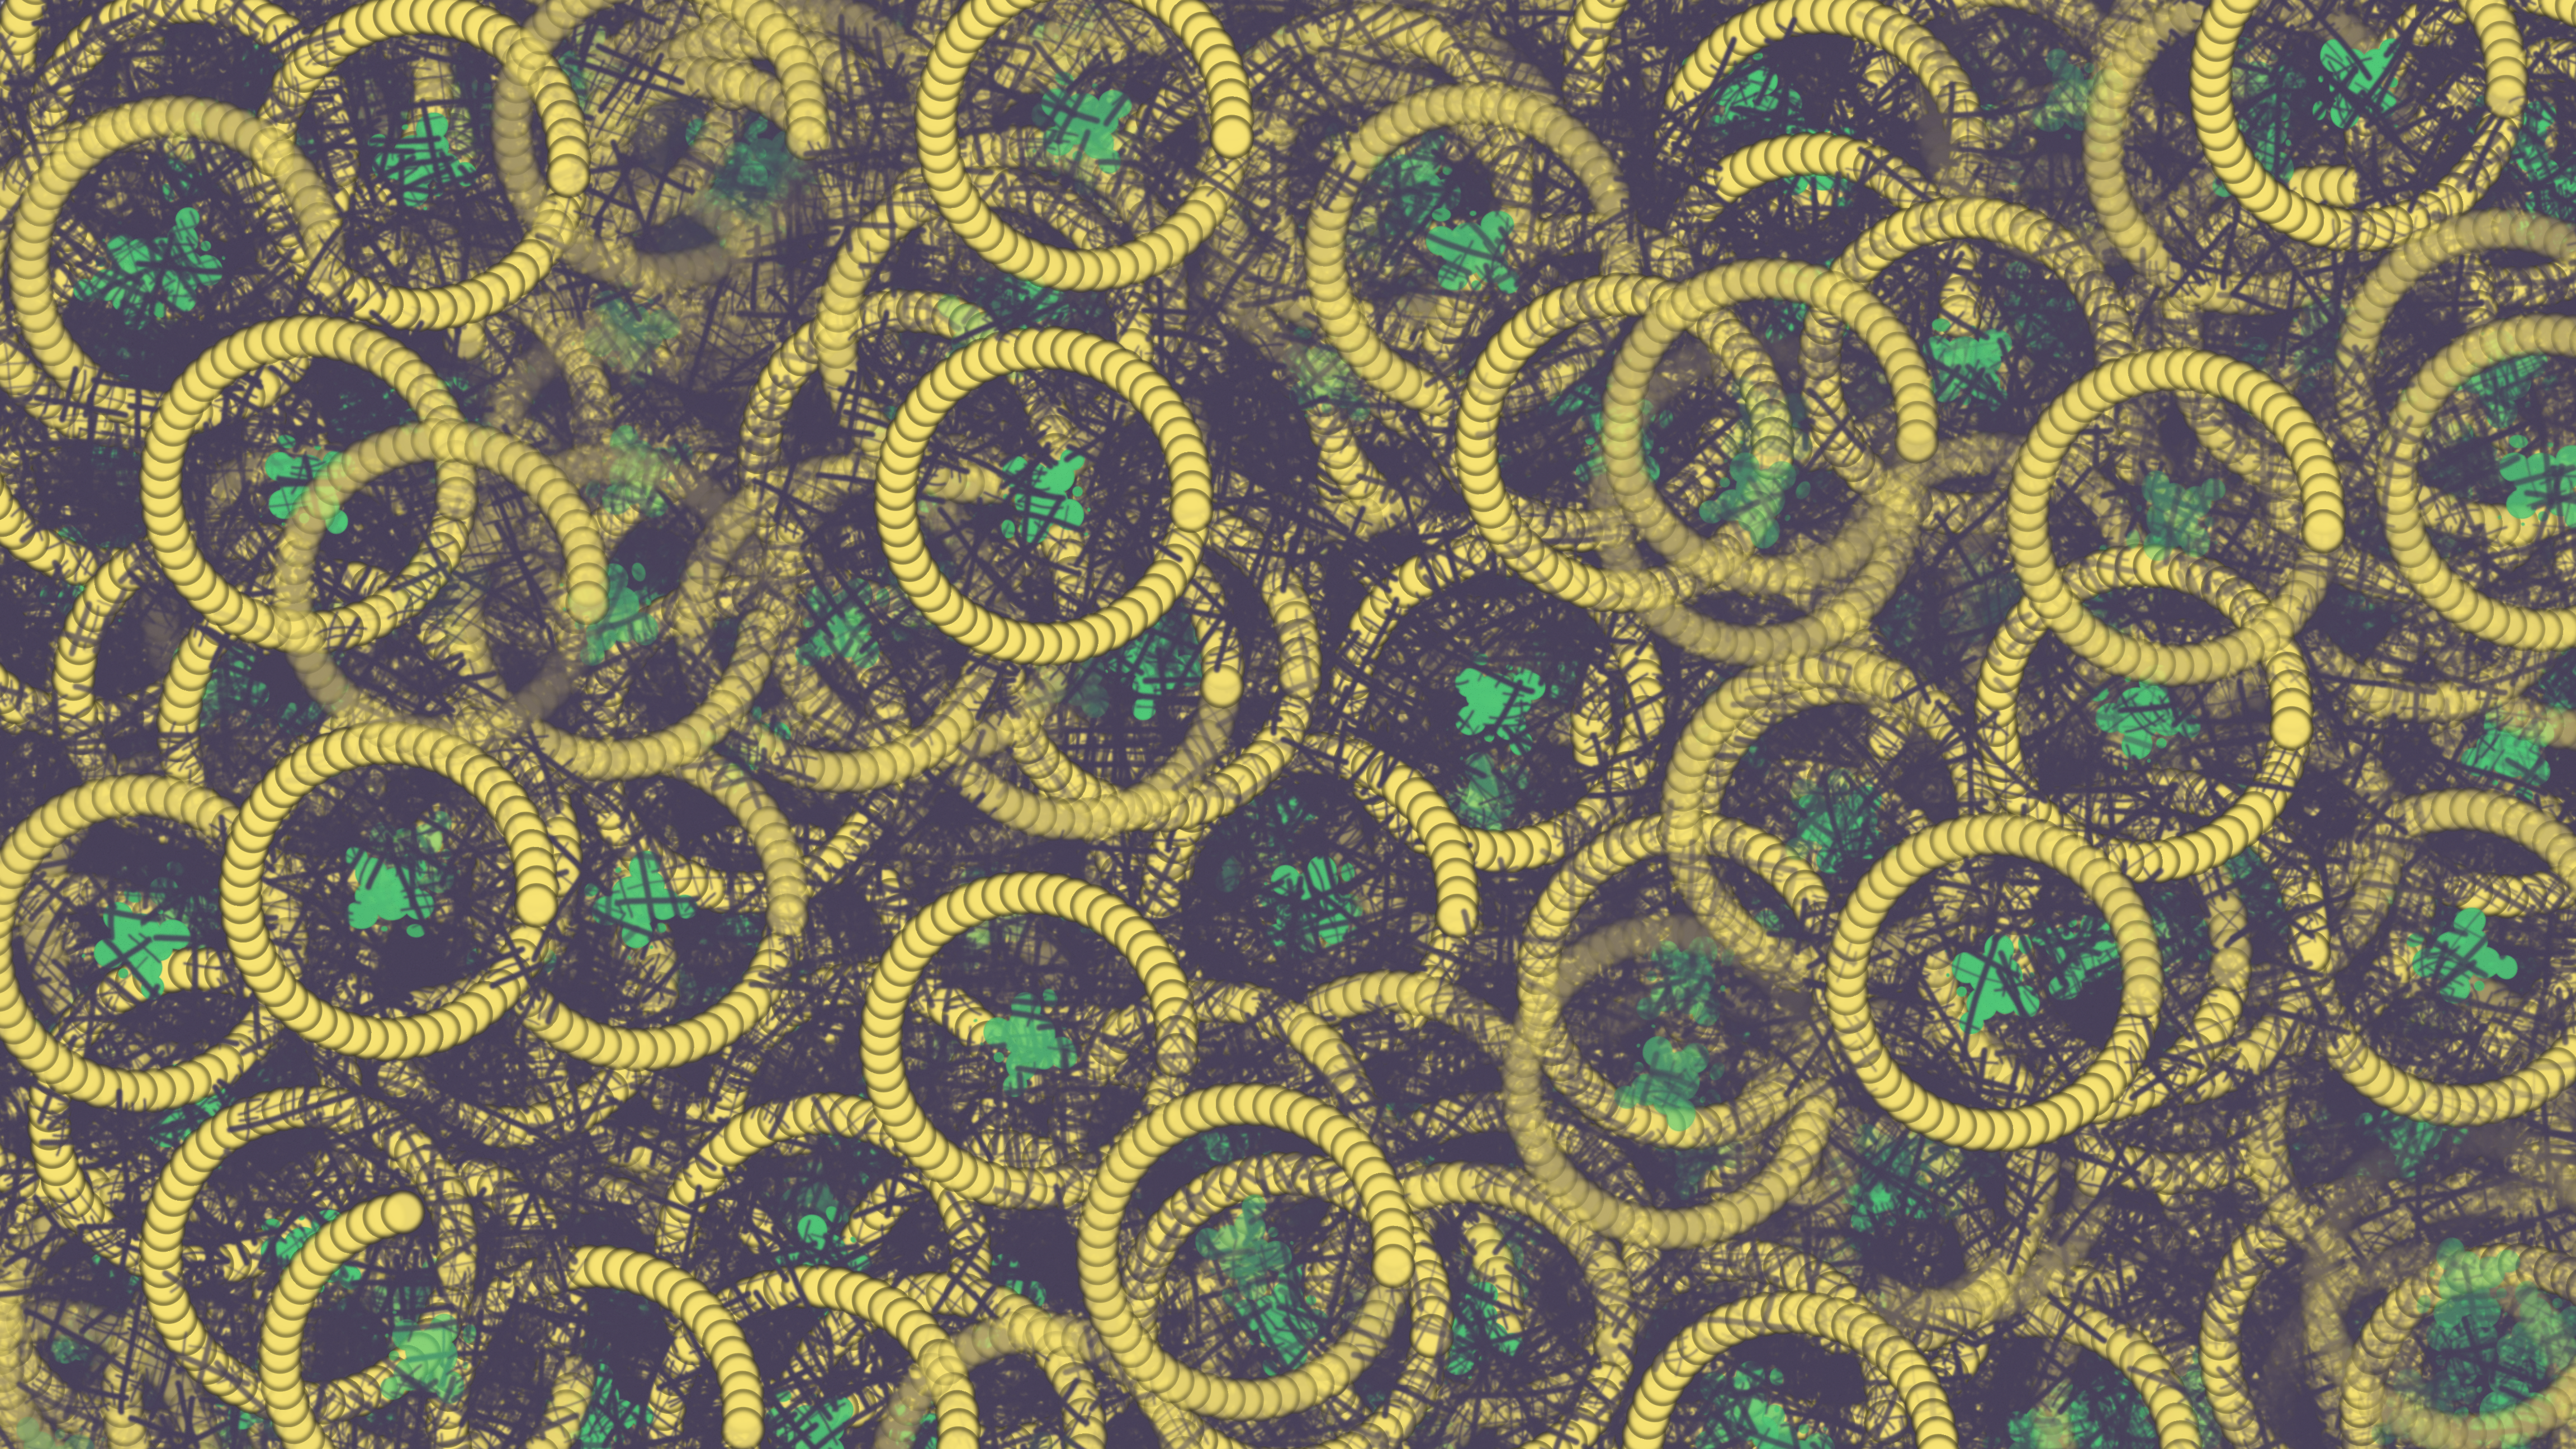
I went ahead and added some more colors to the pallette, tweaked the radii a little more, and things really started to get fun:

What's the point...illism without brushes?
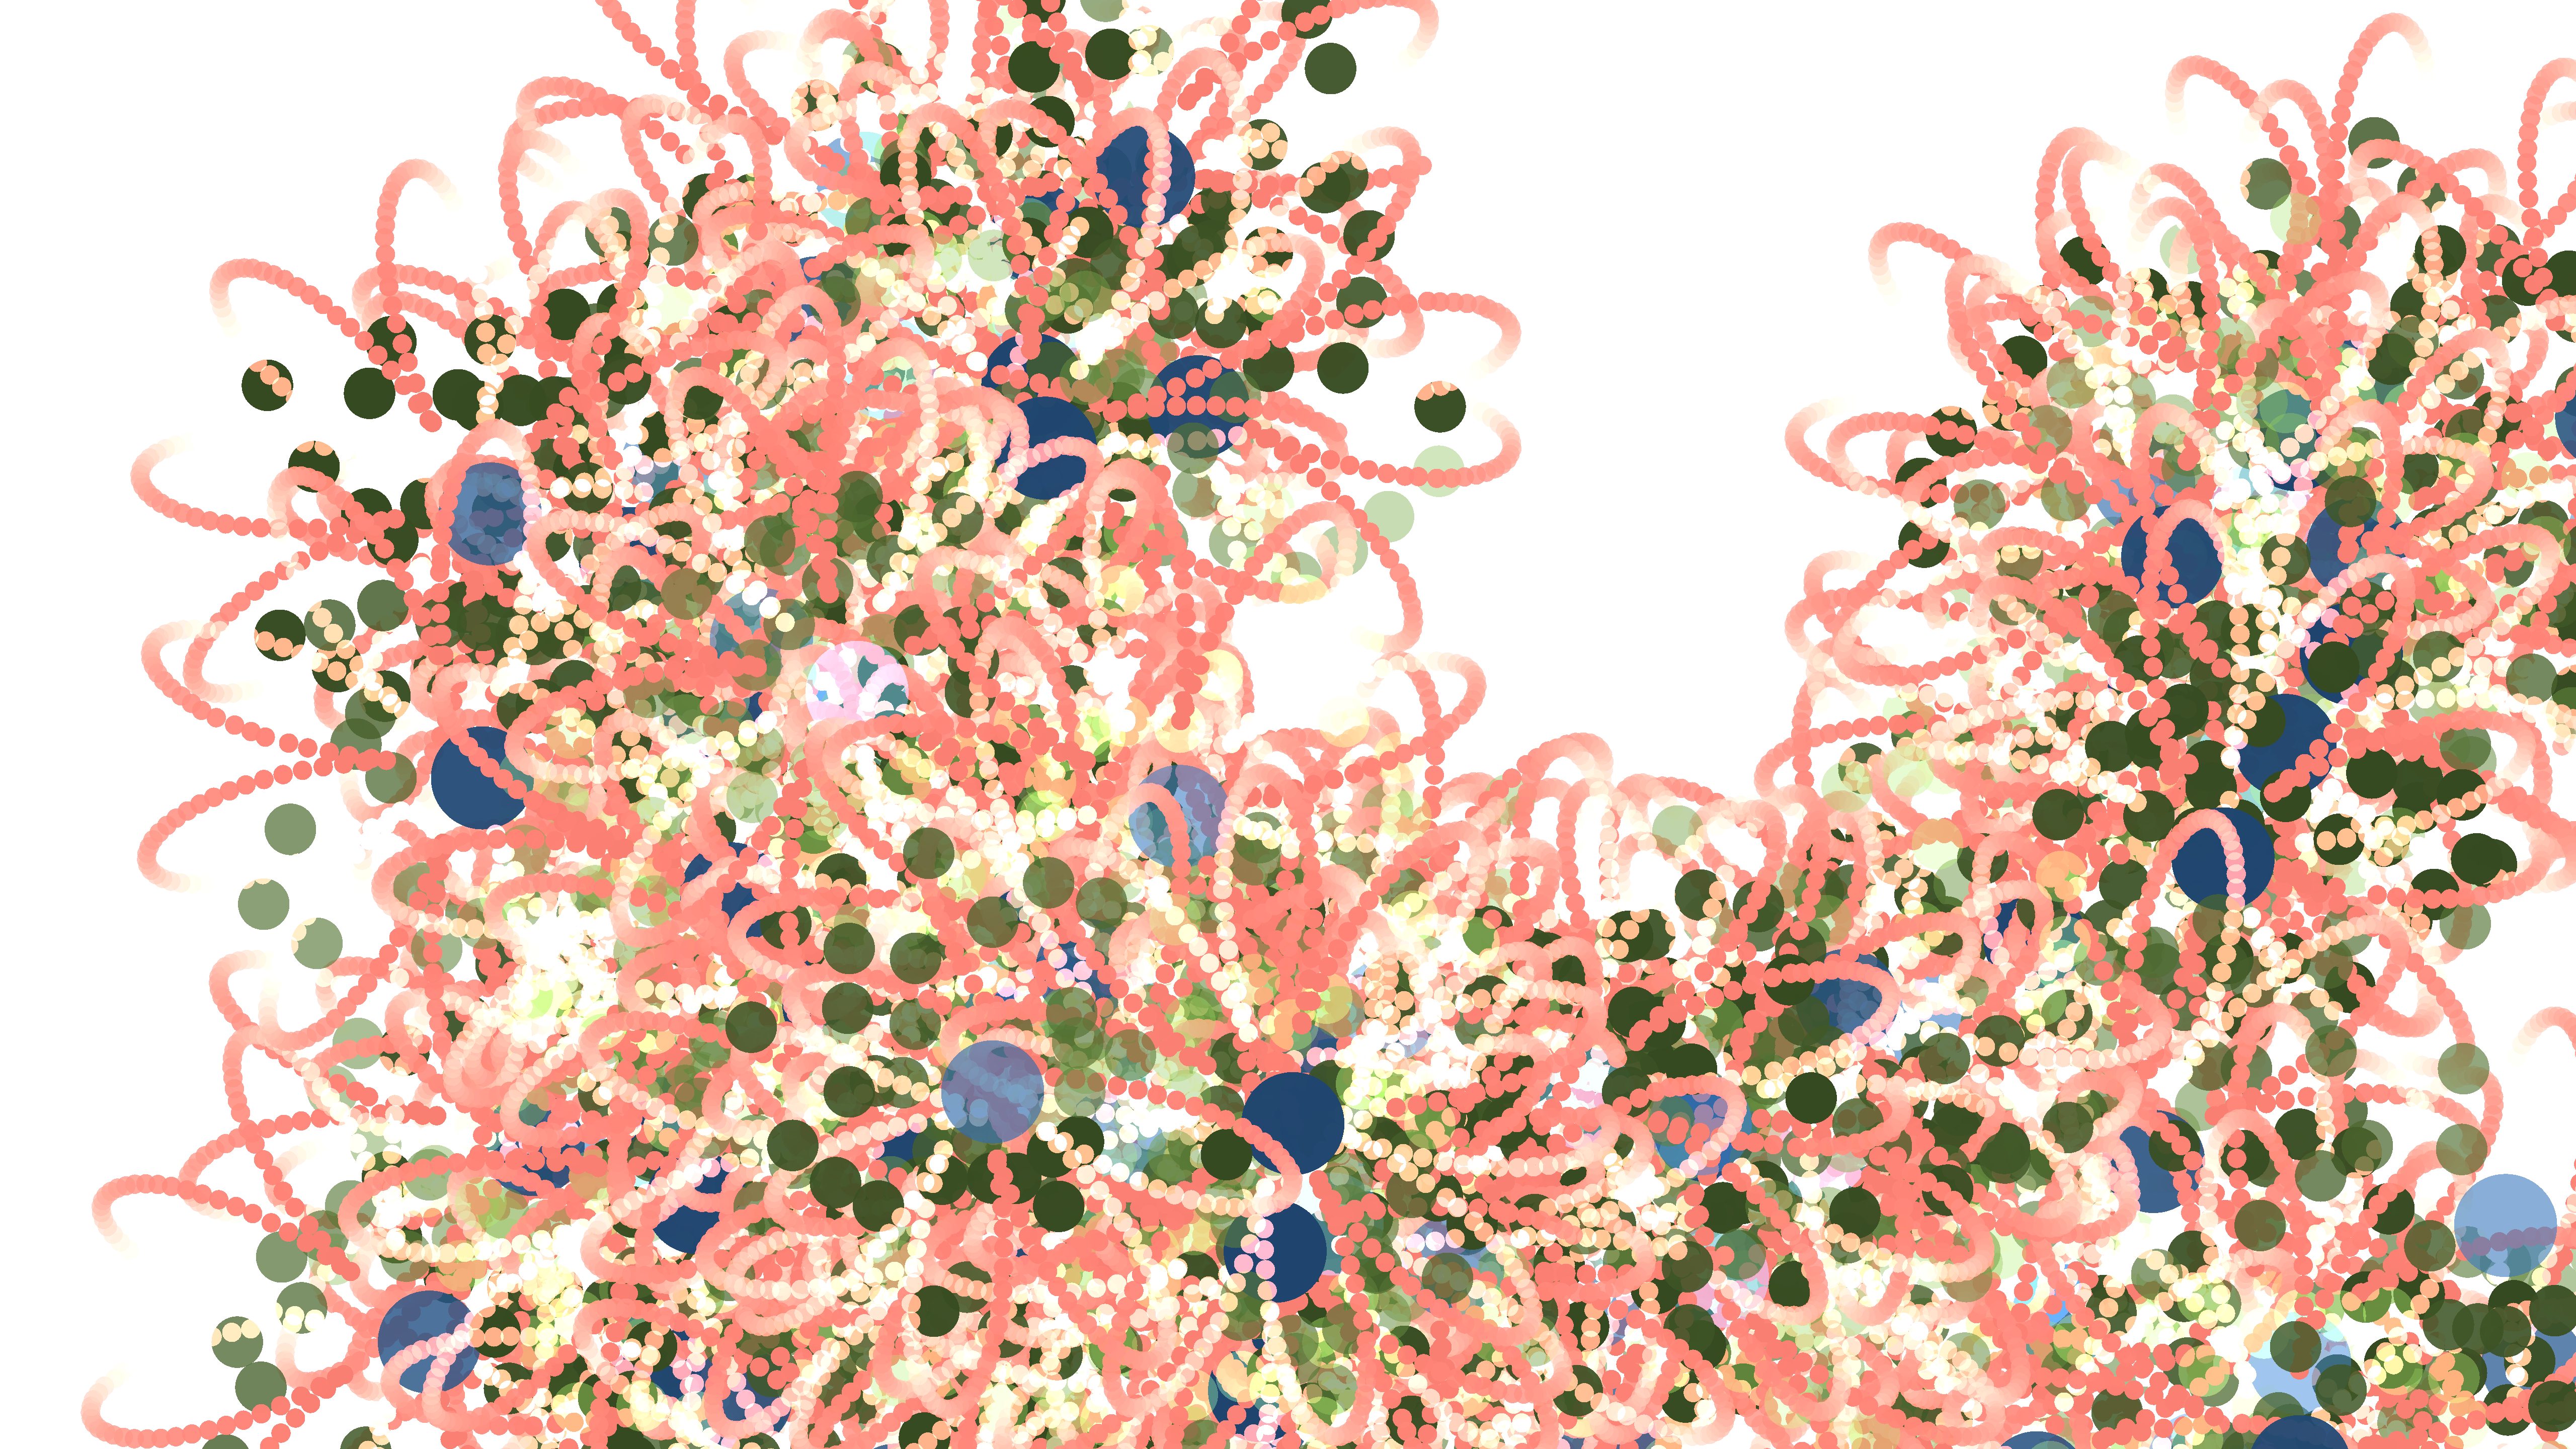
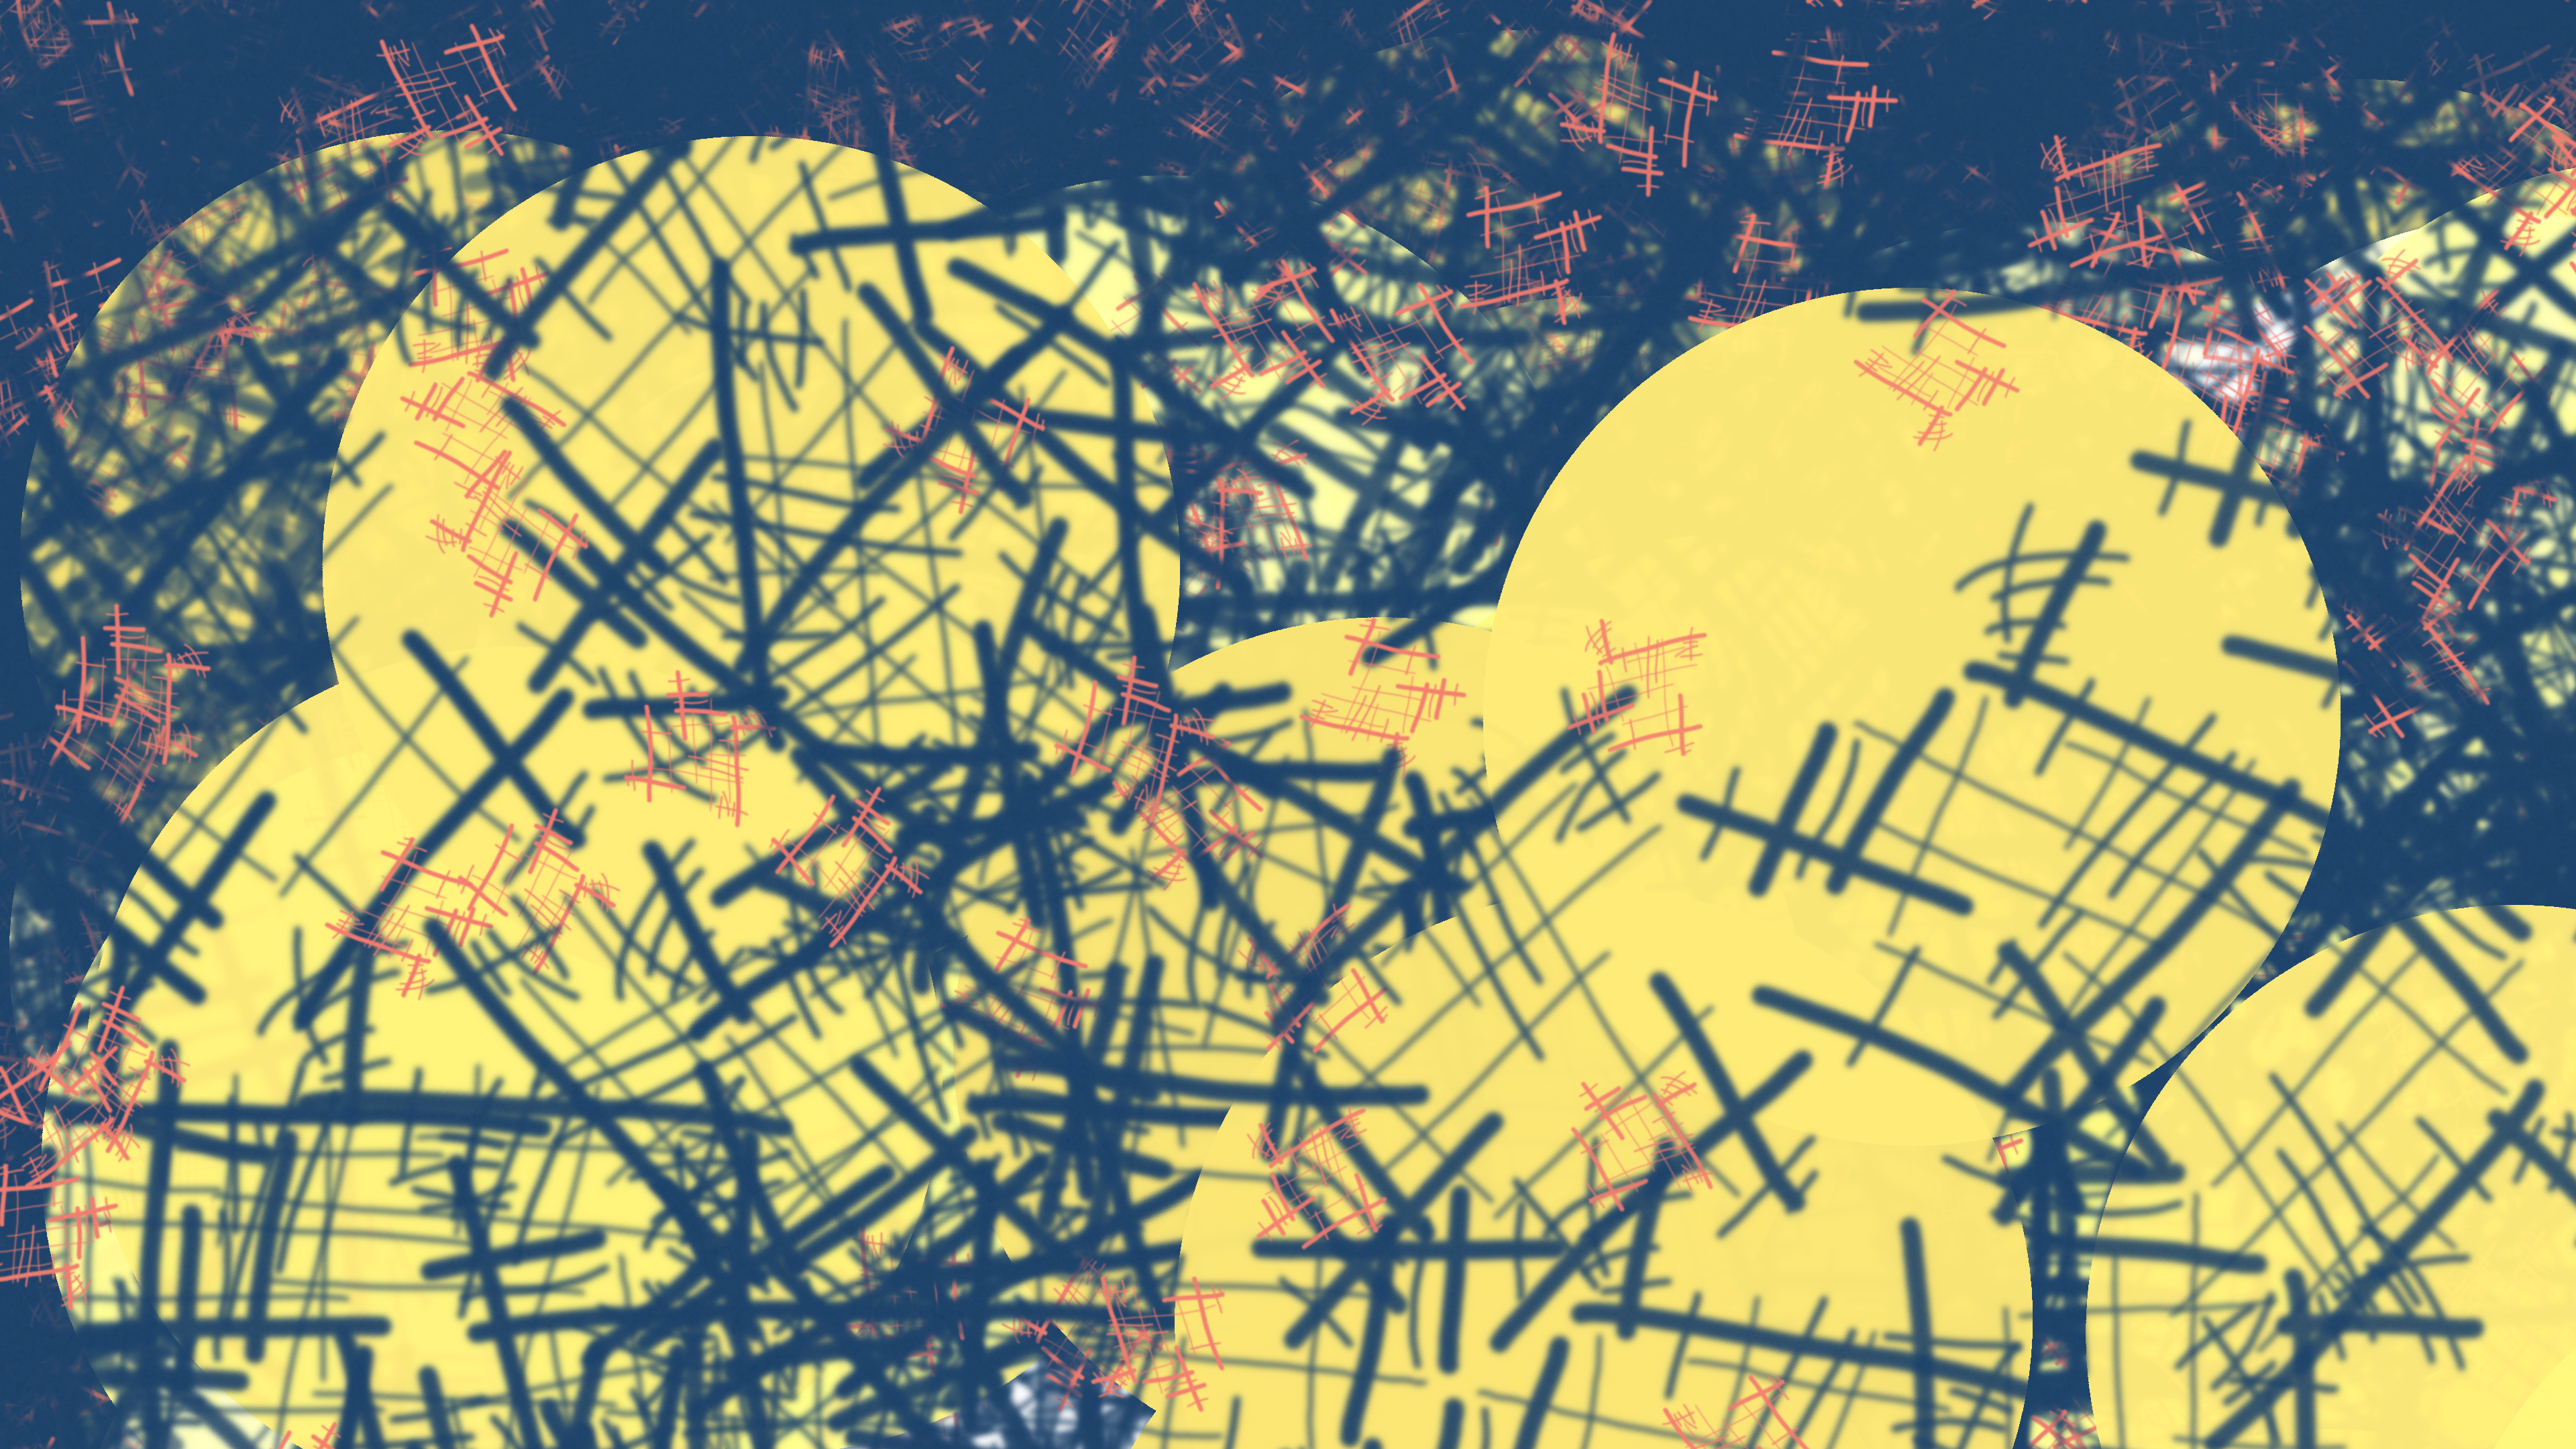
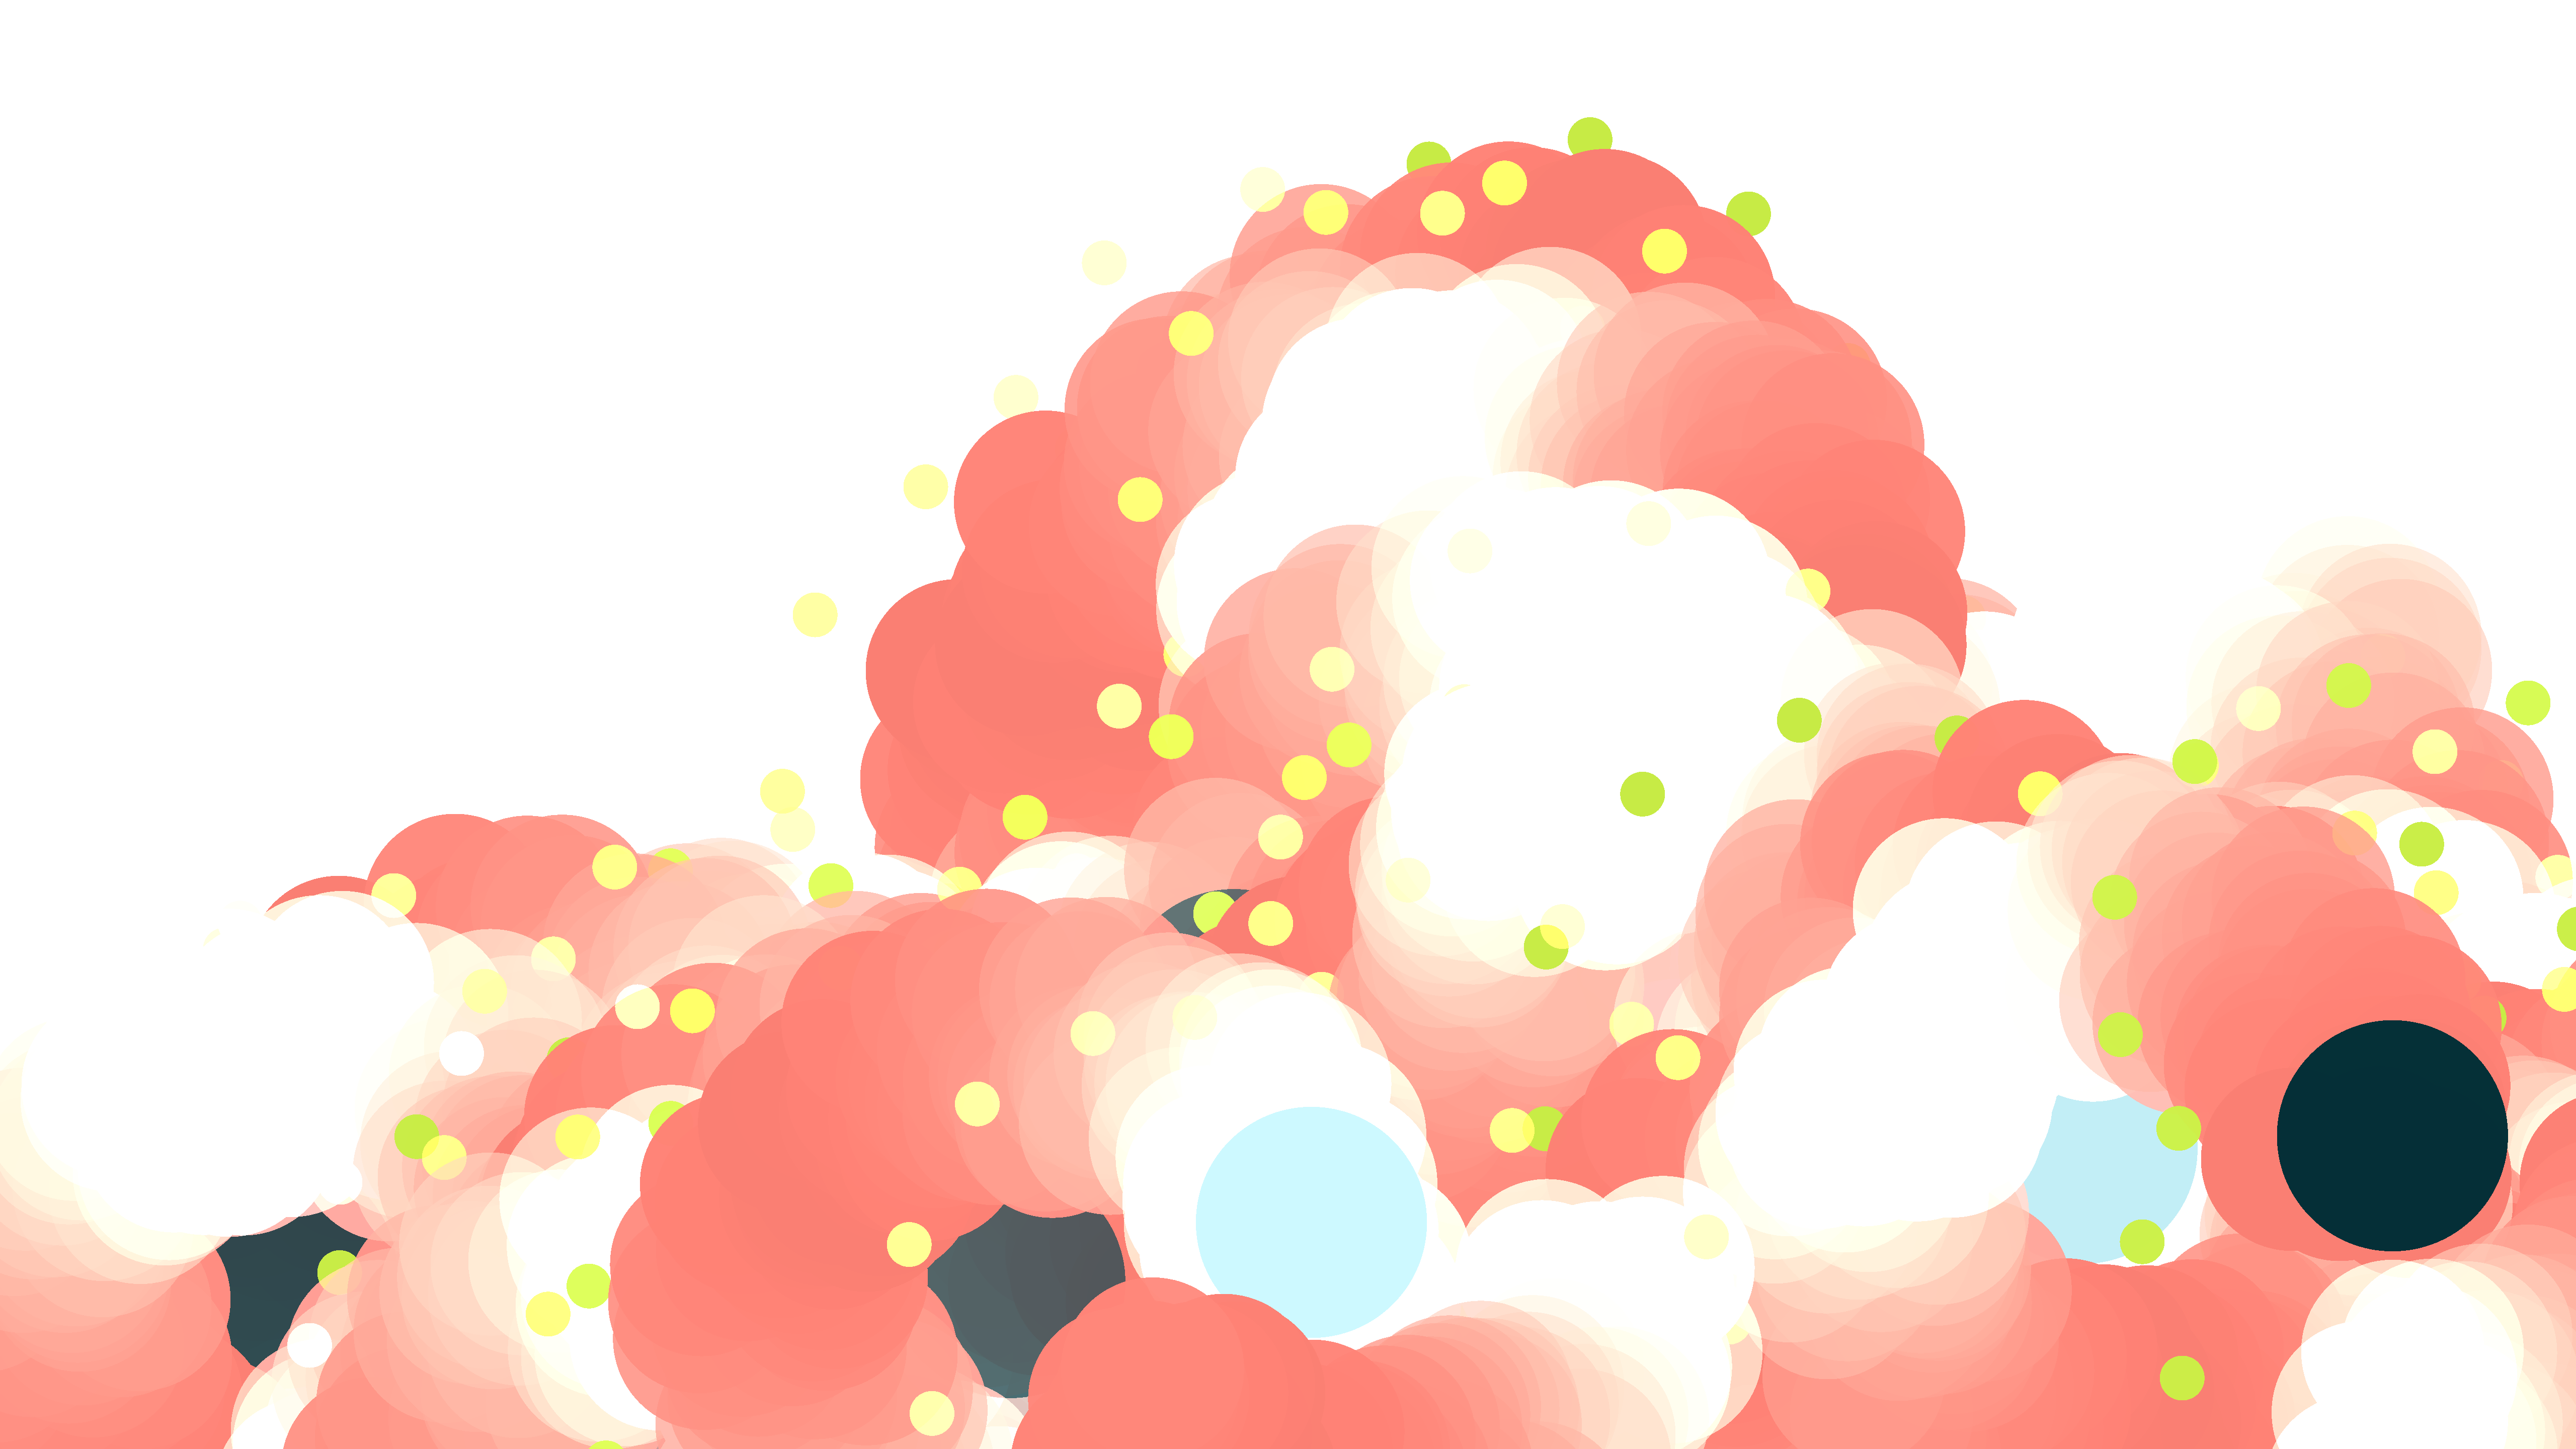
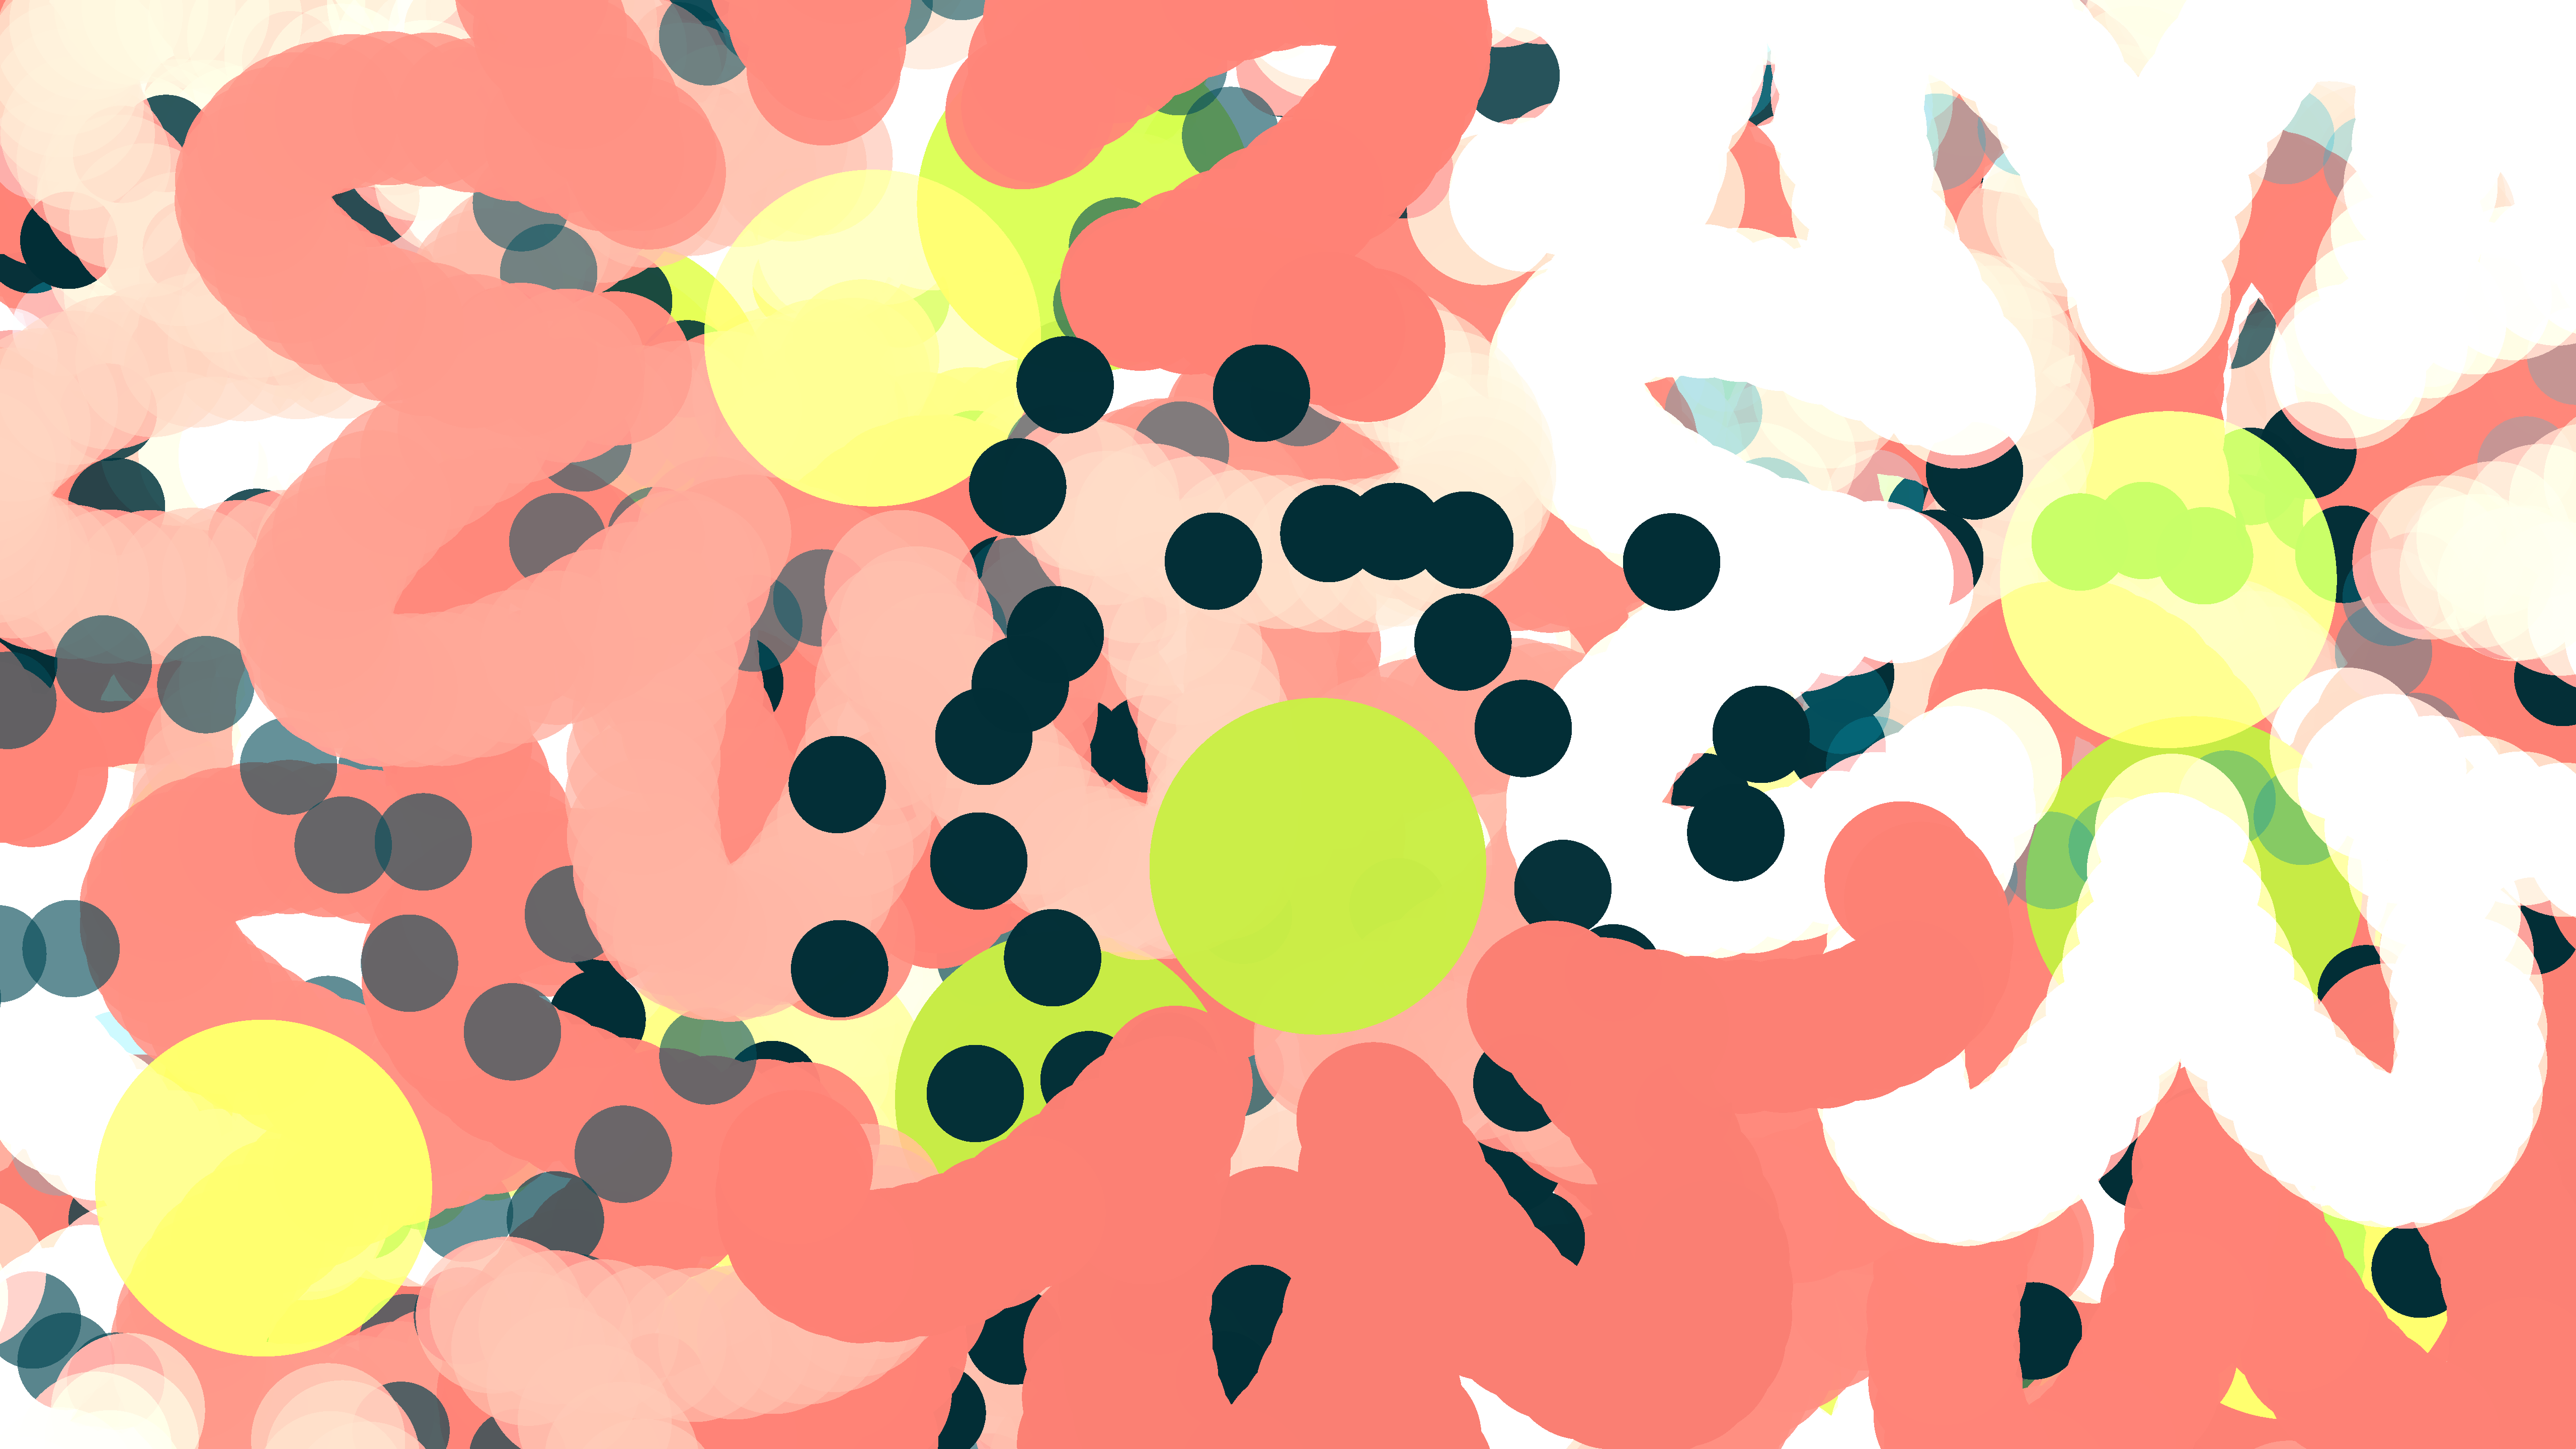
The last major addition to the program was to introduce some texture. So far we'd only been drawing circles. Colored circles of varying translucency, mind you, which went some way to creating the varied range you see above, but I felt that something could be attained by providing some textural variation.
In adding some textures, then, I decided to adopt the metaphor of "brush strokes". After all, by this time I was already running with the title "Radial Pointillist", so it just seemed appropriate. Basically they are just *.png images representing brush strokes that replaced the original circles:

Basic, Embossed, Scratch, Splat, respectively.
As I mentioned, in terms of application, the brush textures essentially replaced the original circle shapes. All the modifications previously applied to the circles — such as positioning, radial variation, and color — remained as-is and were now applied to the textures.
I also made two additions in incorporating the brushes:
Rotate the brush texture randomly on each placement. This was quite a necessary change. Otherwise, for non-uniform textures like Scratch or Splat, the result would look very repetitive and "cookie-cutter". Rotating them randomly gave them a more "natural" placement and even meant that as they flowed against their neighbors, there was opportunity for more varied patterns to form.
I developed a couple of methods for choosing which brushes to apply. In one, a different brush is selected for each node type (parent, spawn, spawn2) at the beginning of each drawing. I call this "assigned brushes". The other method was to randomly assign a brush every time a node is drawn. Whether to use "assigned brushes" or "random brushes" also became a setting in the program.
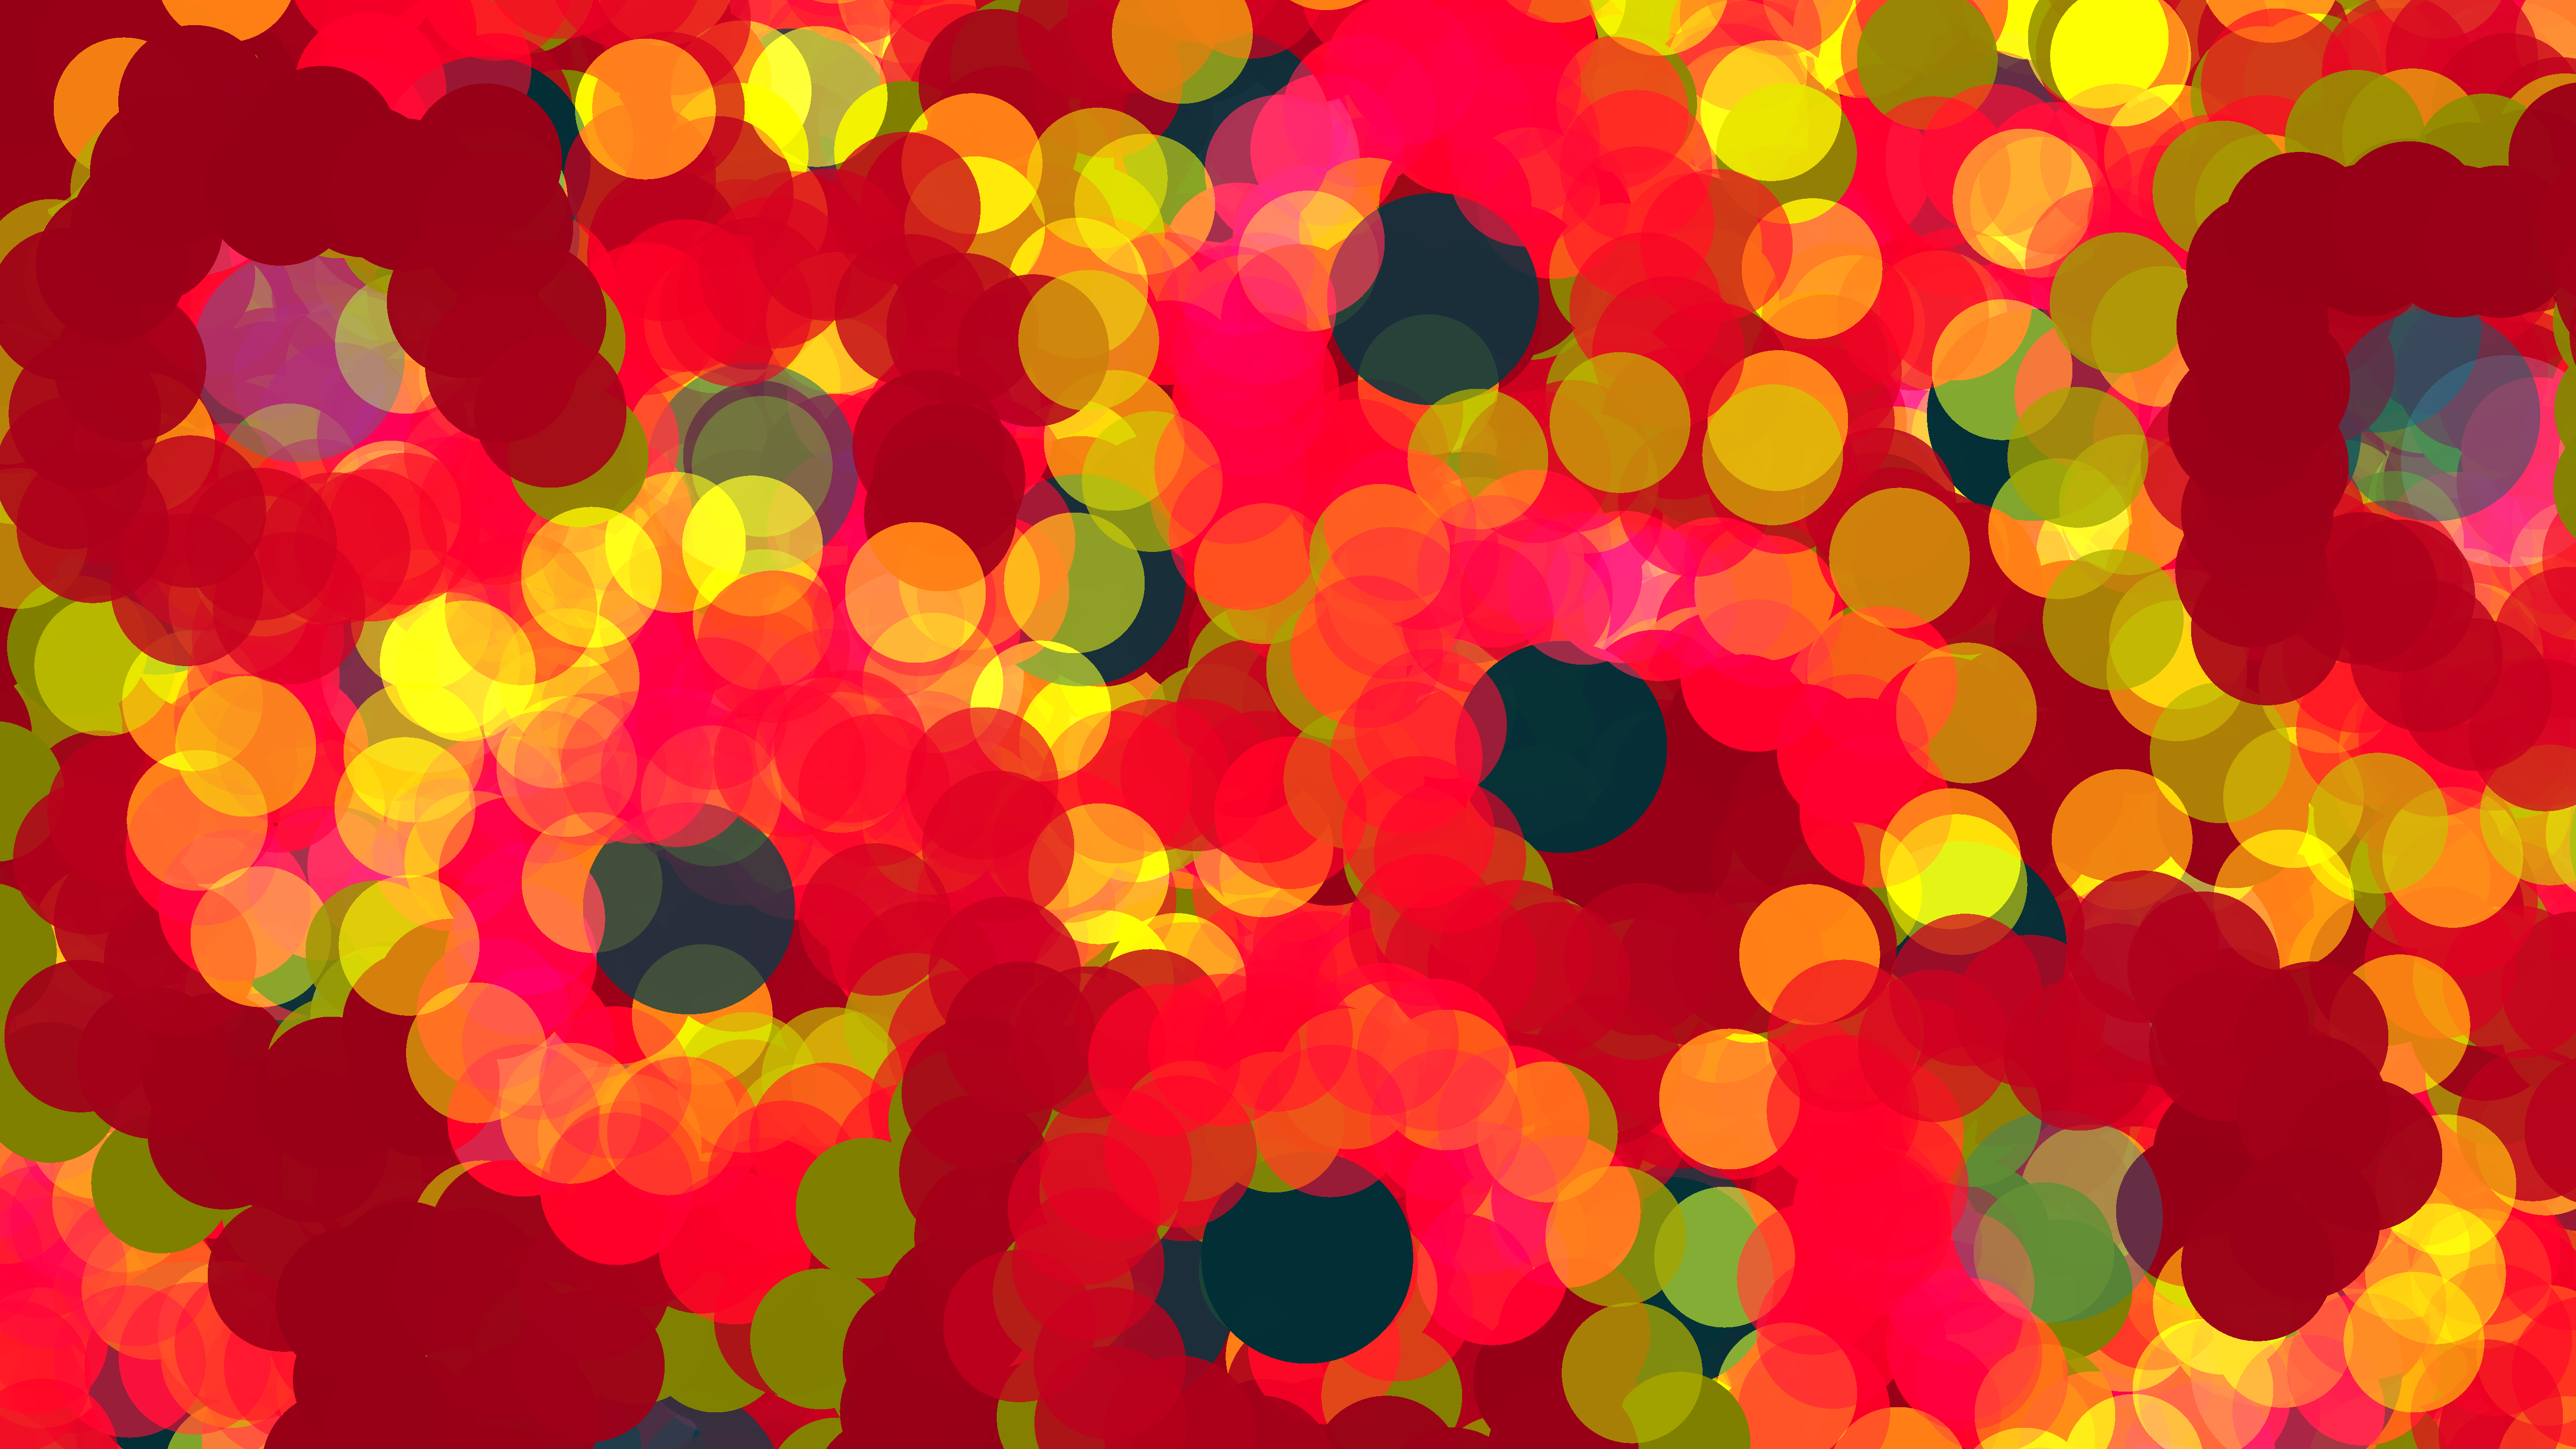
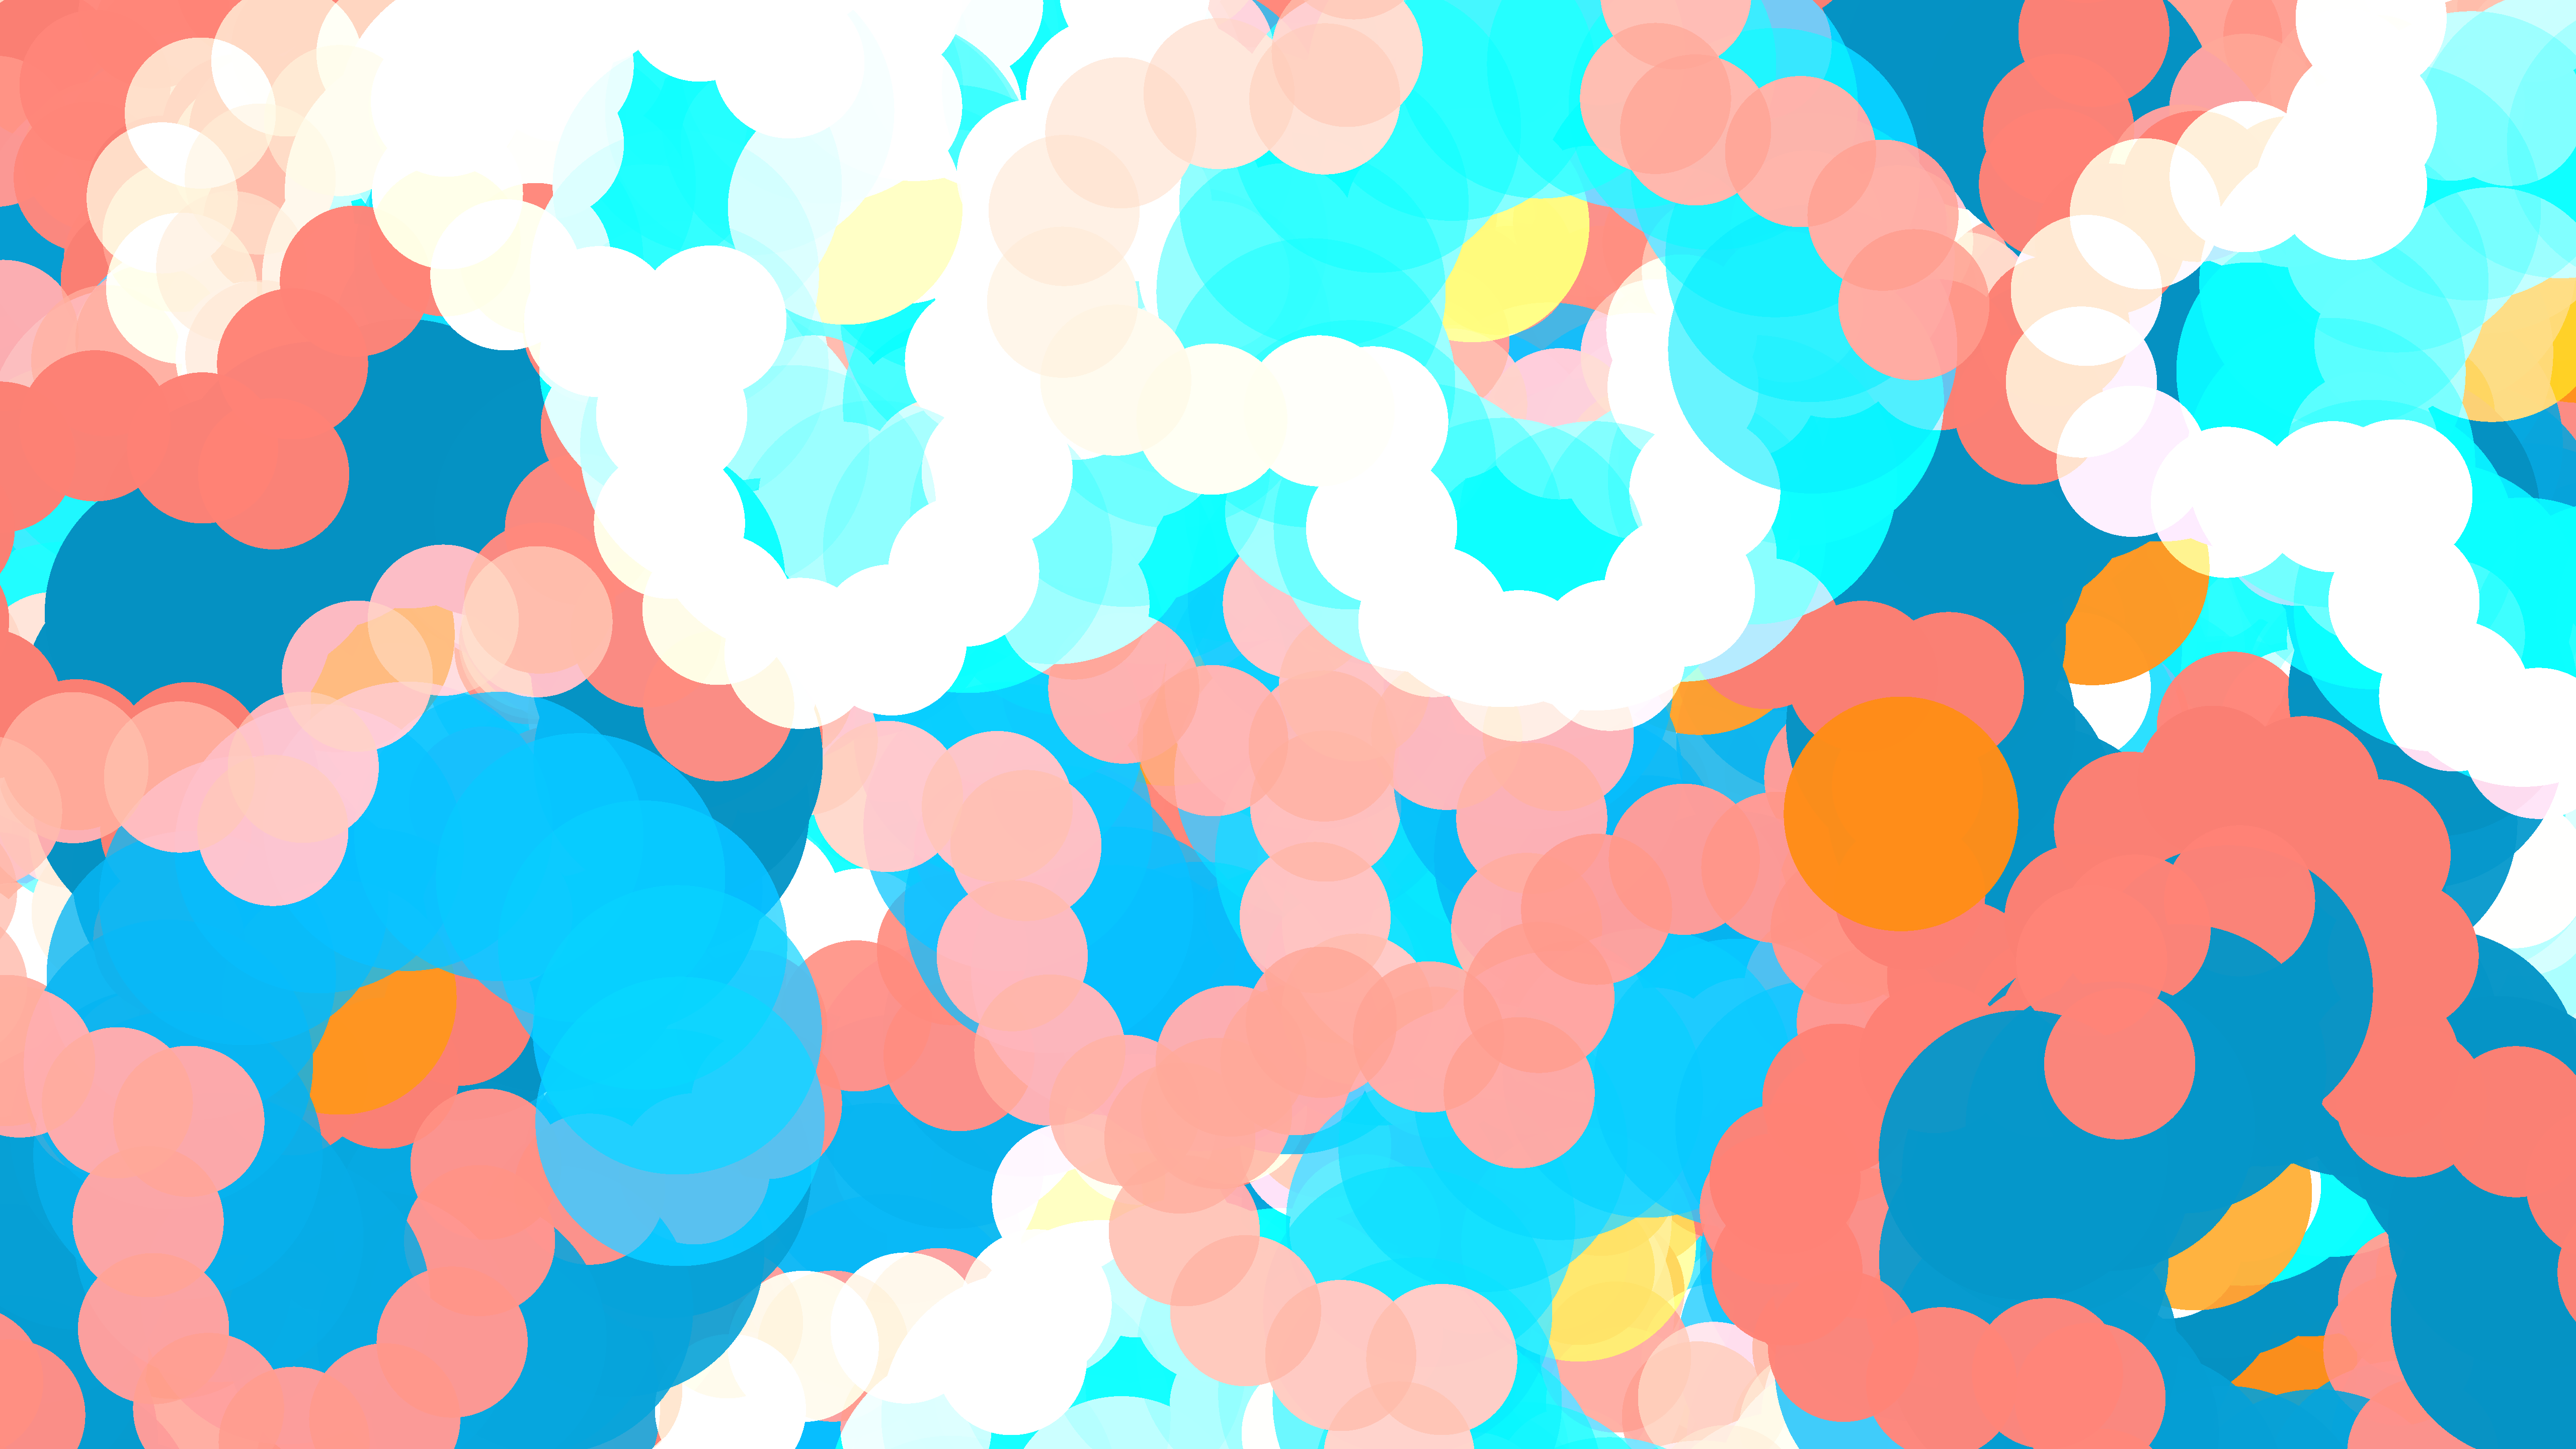
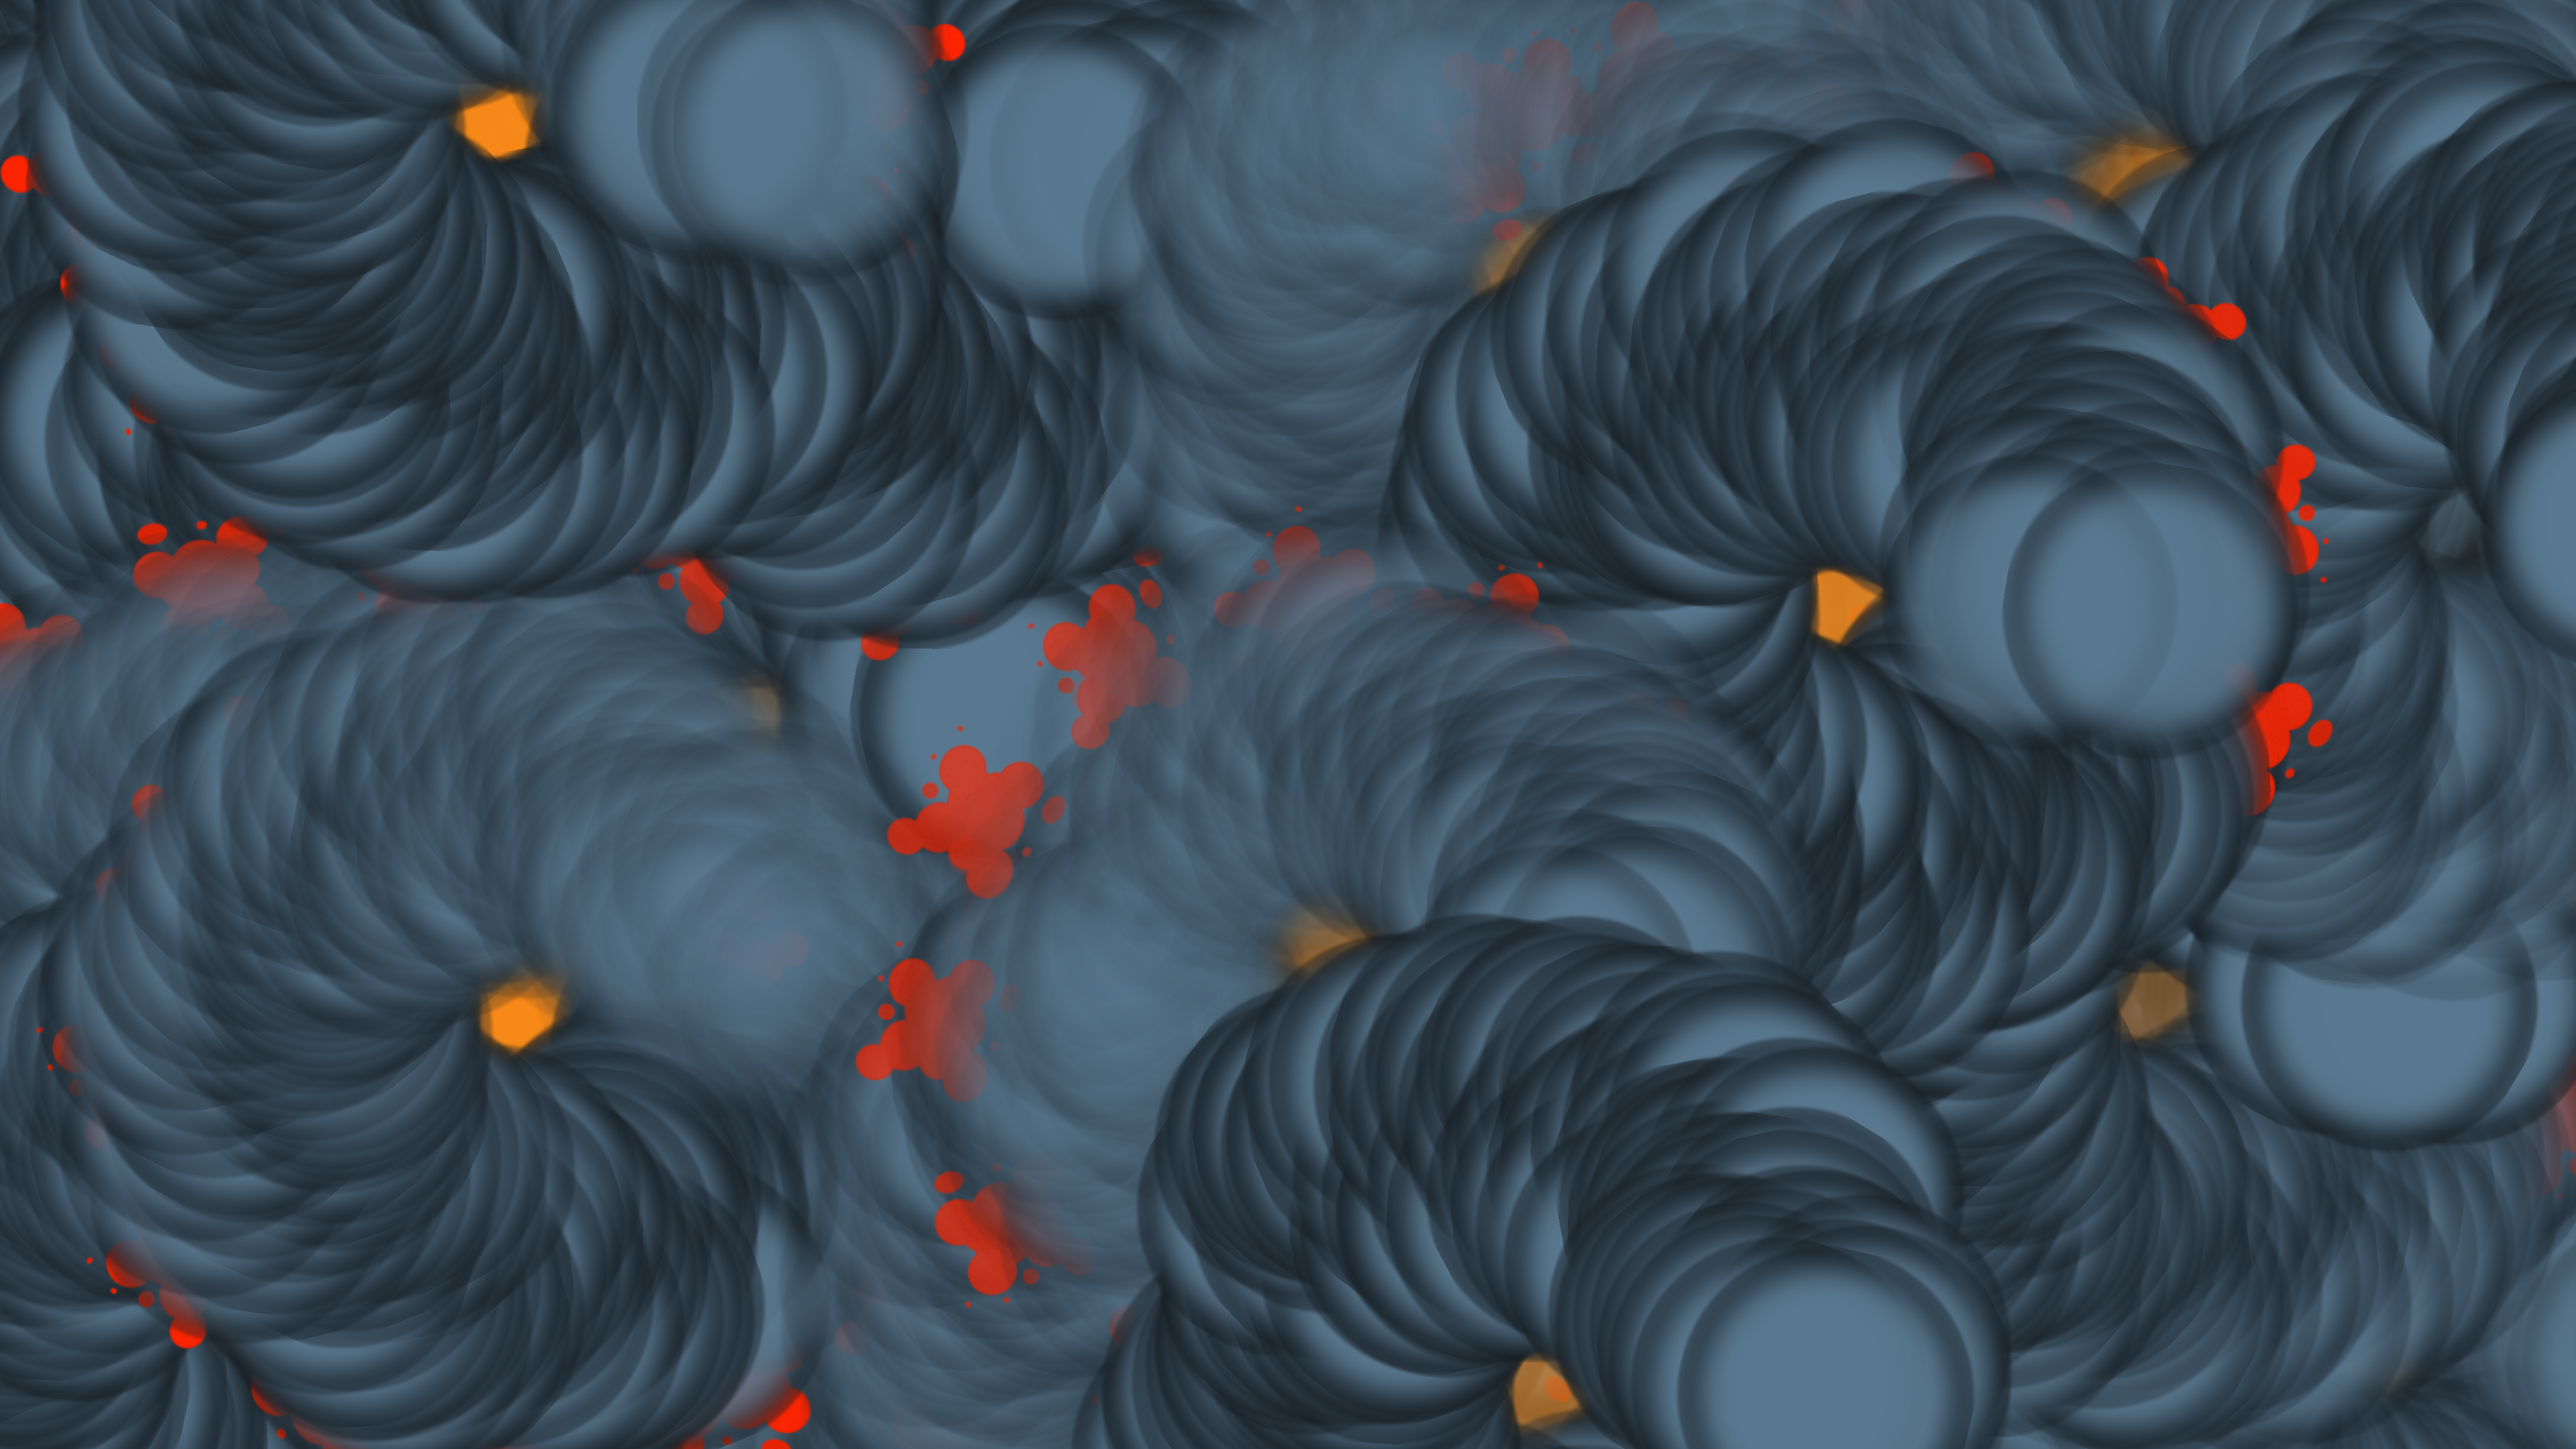
The brushes finally brought the program to the types of results I previewed at the beginning:
Here are a few more I like for good measure:


That's all folks
If you're still here, thank you for letting me share what I've been working on. I'd love to hear any feedback you may have, so feel free to get in touch. Before I wrap this up, I just want to reiterate some of my observations from the exercise:
1. Automate those settings and parameters
Having an automated or otherwise easily repeatable way to vary the parameters of the generative work is a real boon, as discussed in the Settings section above. In this effort, I only started doing it a little over half-way into the journey, but I think it will be something I introduce much earlier in future pieces as it illuminates possibilities so effectively.
2. Texture blues
I have a couple of reservations about adding the textures ("brushes") at the end.
First, in terms of just production value, I have to confess I could have put a lot more effort into them. These were just very quick 5-minute efforts in GIMP, and I'm sure with a lot more care one could produce much better "brush textures". The Scratch and Splat textures in particular may be a little corny, tbh.
More fundamentally, one could say the introduction of hand-produced textures didn't really add to the piece from a generative perspective. I tried to mitigate that fact by introducing variation when assigning brushes to node types, as well as rotating them, but there's a sort of lingering feeling that I was "cheating" a little bit by introducing them. But you have to kind of walk a line here and I think, at least for a first piece, I may be forgiven since they do bring some aesthetic value =).
3. Watching a generative program at work can be fun...but also infuriating
I spent a lot of time watching excitedly as my program drew surprising and remarkable compositions, only for it to then go ahead and paint over all the interesting parts, callously turning them to mush. Because it's just a system, just doing it's thing. It doesn't know or care about what things look like.
I'm sure anyone who's done generative work has experienced this. It's part and parcel of the genre — in generative art, the artist's role is shifted from being the actor or "doer" to being a designer and orchestrator.
I don't think it can be avoided, but it certainly makes me want to explore ways that a generative system can be made to somehow evaluate the "composition so far" (without necessarily going into the realm of AI generators).
Also because of this, I was compelled to build into the program some capture automation. The program can be configured to capture the drawn image after a specified period, and then start a new drawing with new randomized settings.
This allowed me to, for example, leave it drawing images overnight, and then do a sort of "curation" process in the morning, choosing images I found interesting and trashing the unremarkable ones. Again, it's the transition of the artist from "doer" to "curator" (or maybe "cultivator").
Tech stuff
Thanks so much for reading! Before I sign off, let me drop some technical info as promised:
Source code
You can find the source code here on Github as a part of my sketches repository.
App layer
Radial Pointillist is made with Notan, a portable multimedia layer in Rust. It's a fantastic, well put together crate with a small but very helpful and enthusiastic community, and it perfectly fit the bill when I was looking for something similar to Processing, but also geared for people with more programming experience. It's been a great package to dive back into graphics with after many years away.